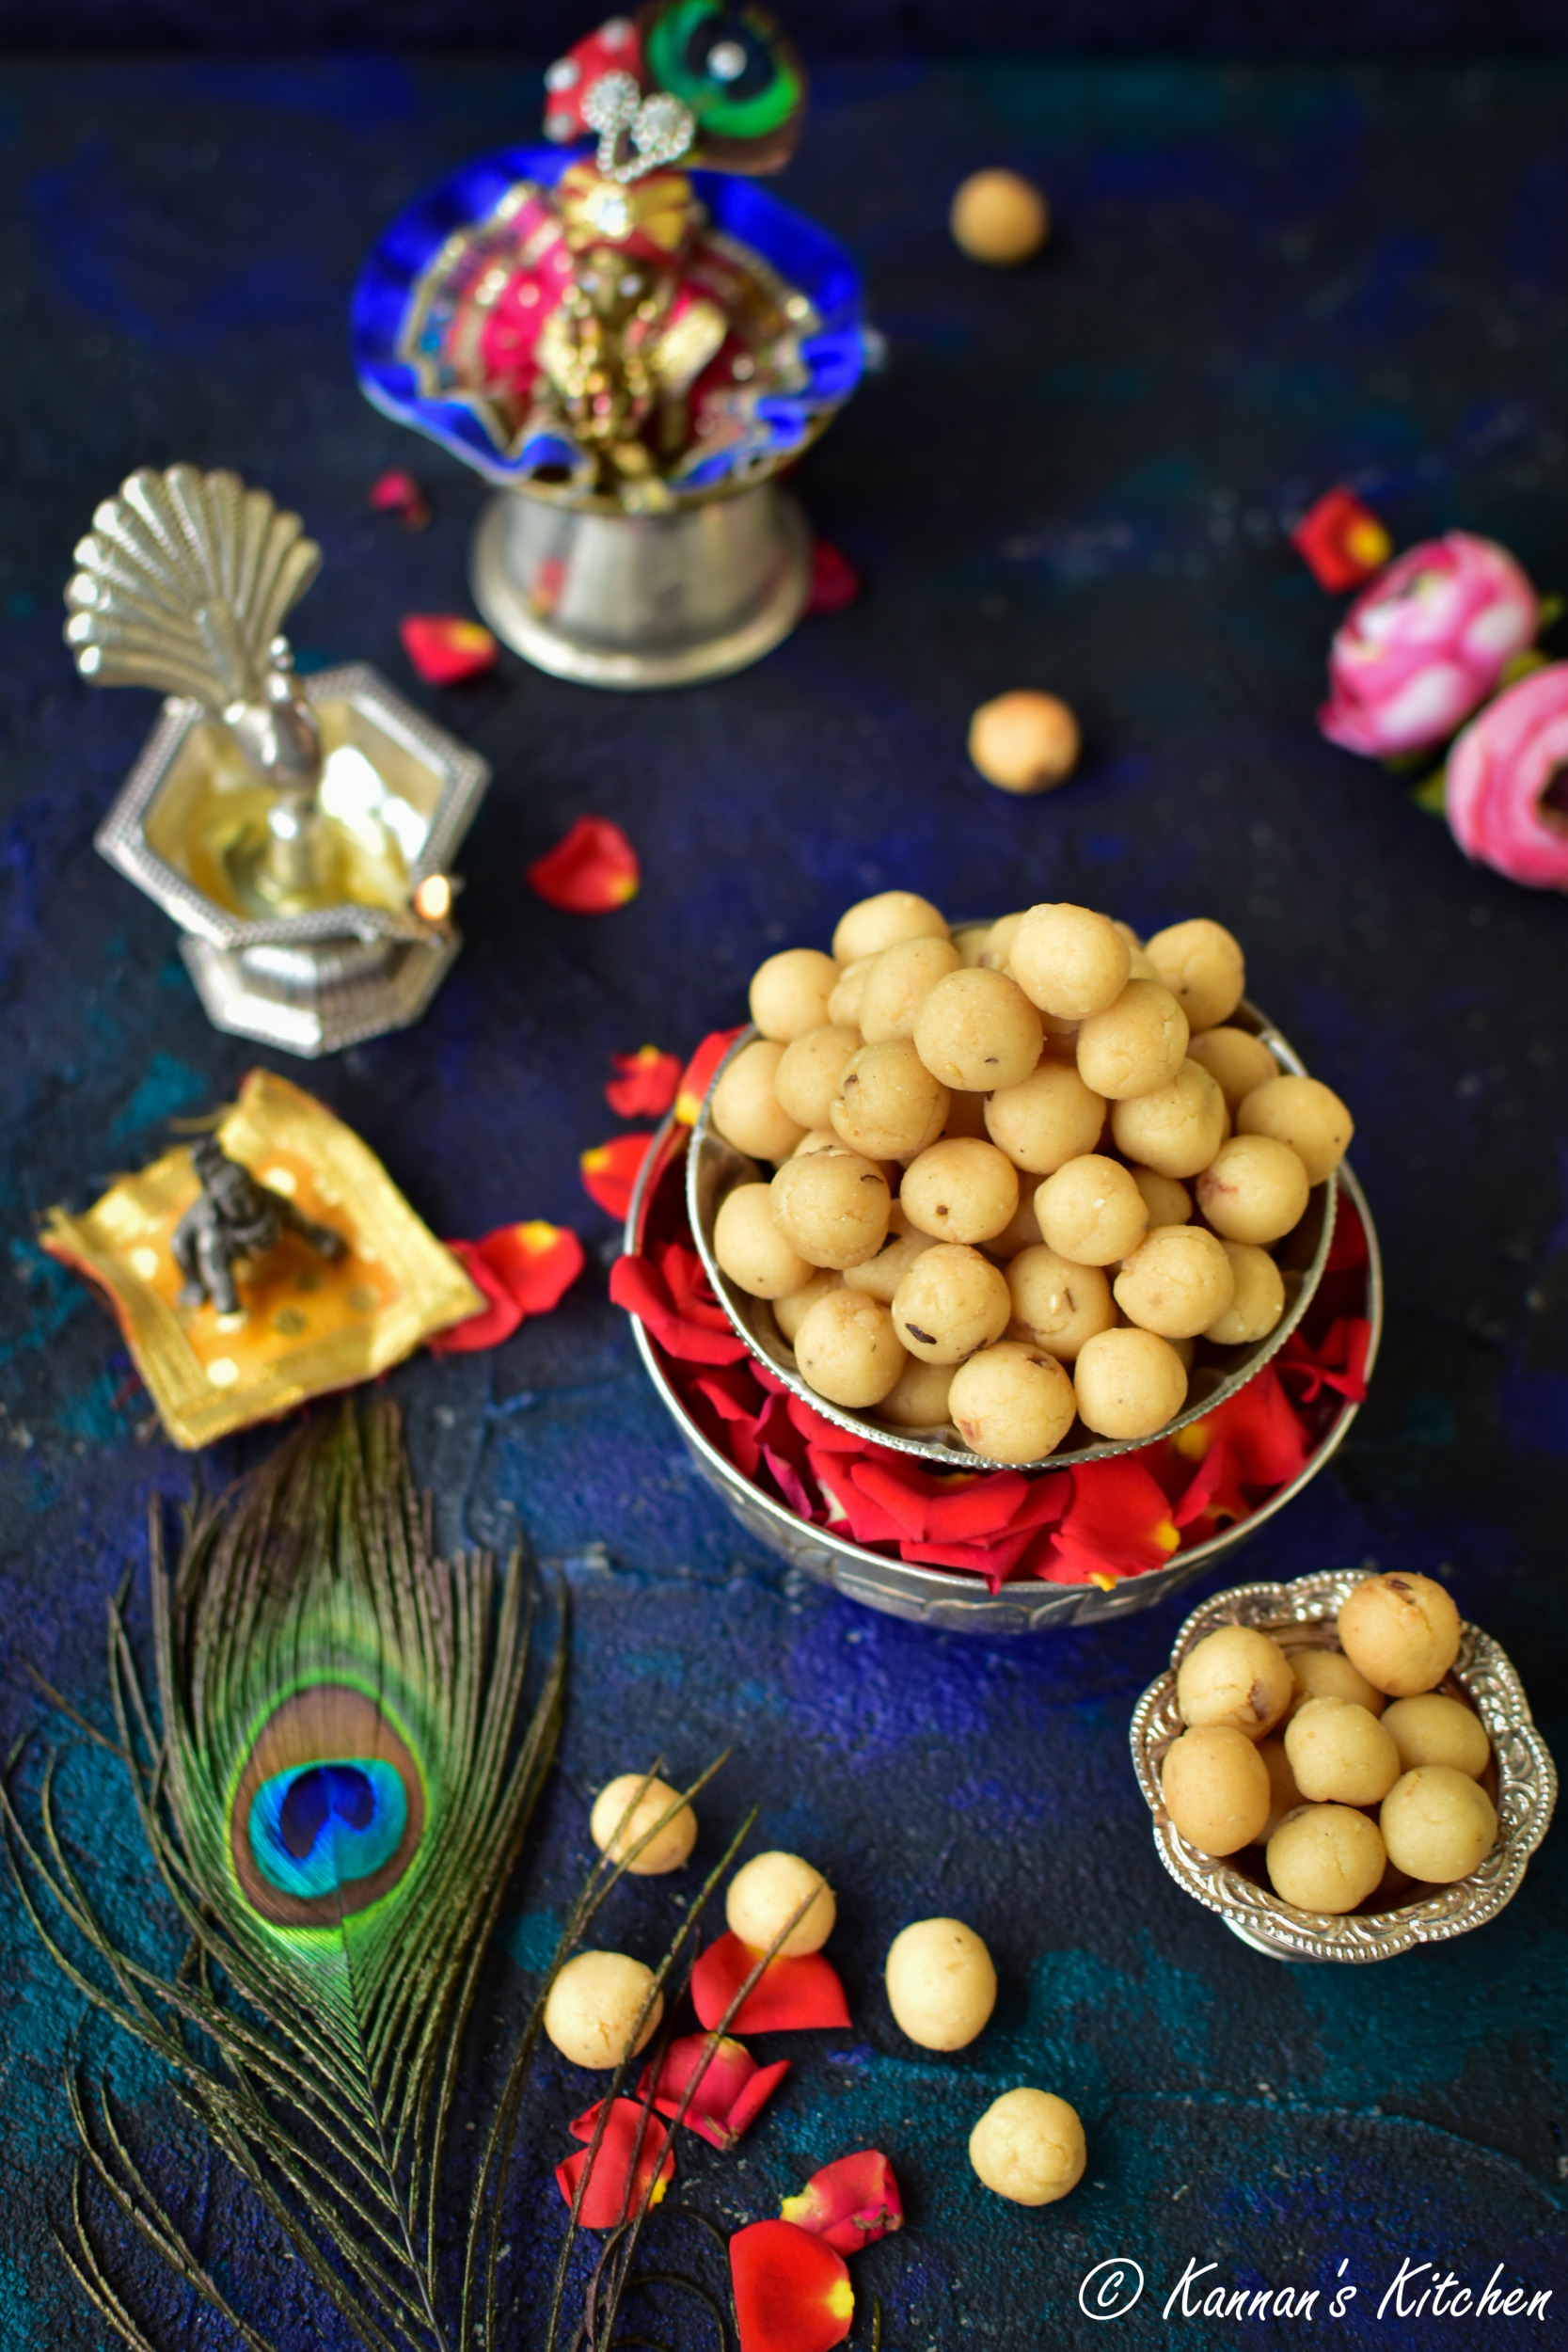
Uppu Seedai
Uppu seedai is a savoury, round-shaped crunchy snack made using rice flour, urad dal flour, butter, coconut and sesame seeds
Equipment
- Measuring Cups
- Measuring Spoons
Ingredients
- 1½ cup Rice Flour Homemade or Store bought
- 3 tbsp Urad Dal Flour
- 3 tbsp Grated Coconut
- 3 tbsp Room Temperature Butter
- 1 tsp White Sesame Seeds
- 1 tsp Jeera or Cumin Seeds
- ¼ tsp Asafoetida
- Oil for frying
- Salt to taste
- Water to knead dough
Instructions
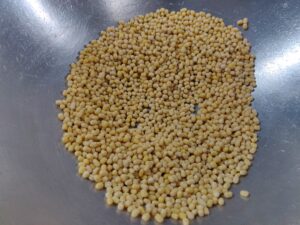
- We will first look at the steps for making homemade rice flour. You can jump to step 6 if you are using store bought flour. Wash and soak any raw rice like dosa rice in water for 2 hours.

- Now drain the water from the rice completely and spread it evenly on a cotton cloth like white dhoti or a towel. Let this air dry for around 30 minutes or until the rice is almost 90% dry. Having slight moisture in the rice helps in easy grinding of the flour.
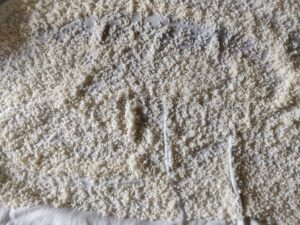
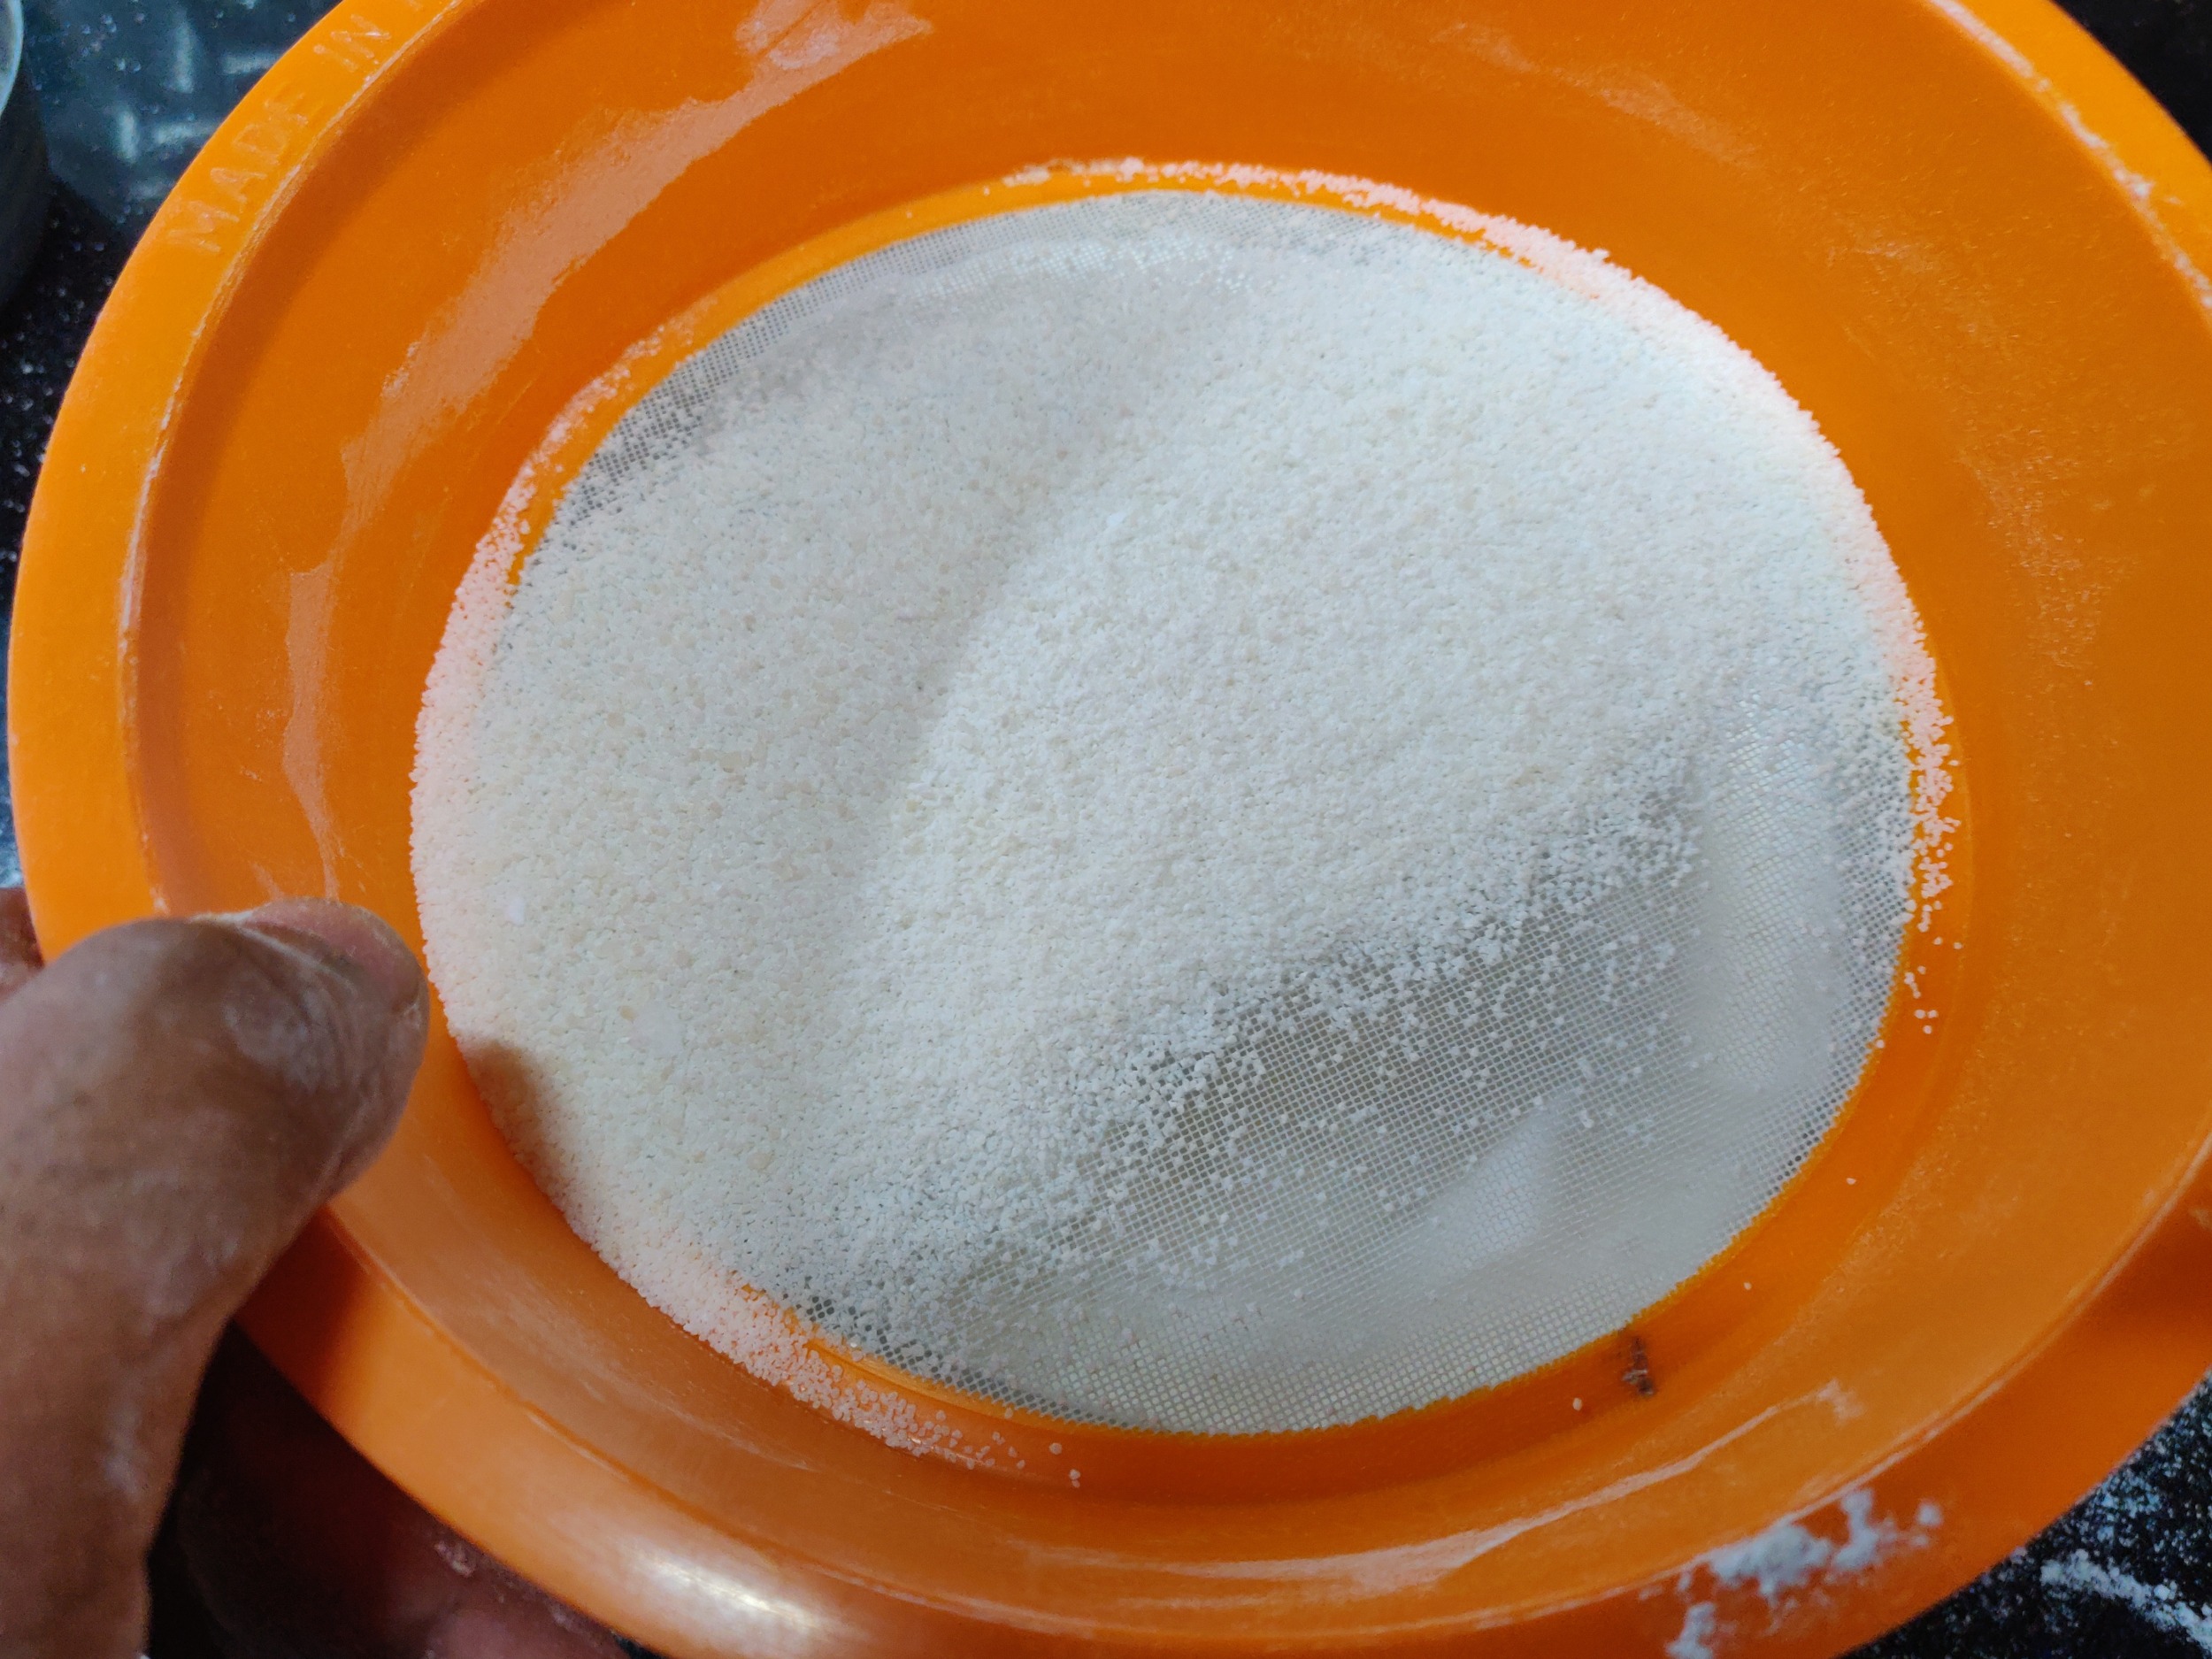
- Now blend the rice flour in mixer in batches till it is very fine.
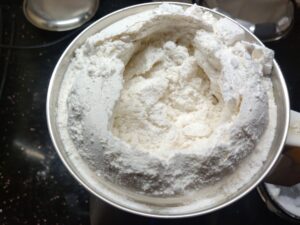
- Sieve the flour after grinding each batch. The leftover rice flour in the sieve can be ground again till it is fine.

- Repeat this process until all the rice is finely ground. Homemade rice flour is ready now and can be stored for 3-4 weeks. At the end of this process you should be left with only a small amount of coarse rice flour from the sieving and this could use this for either making Ma Kolam or feed to birds.
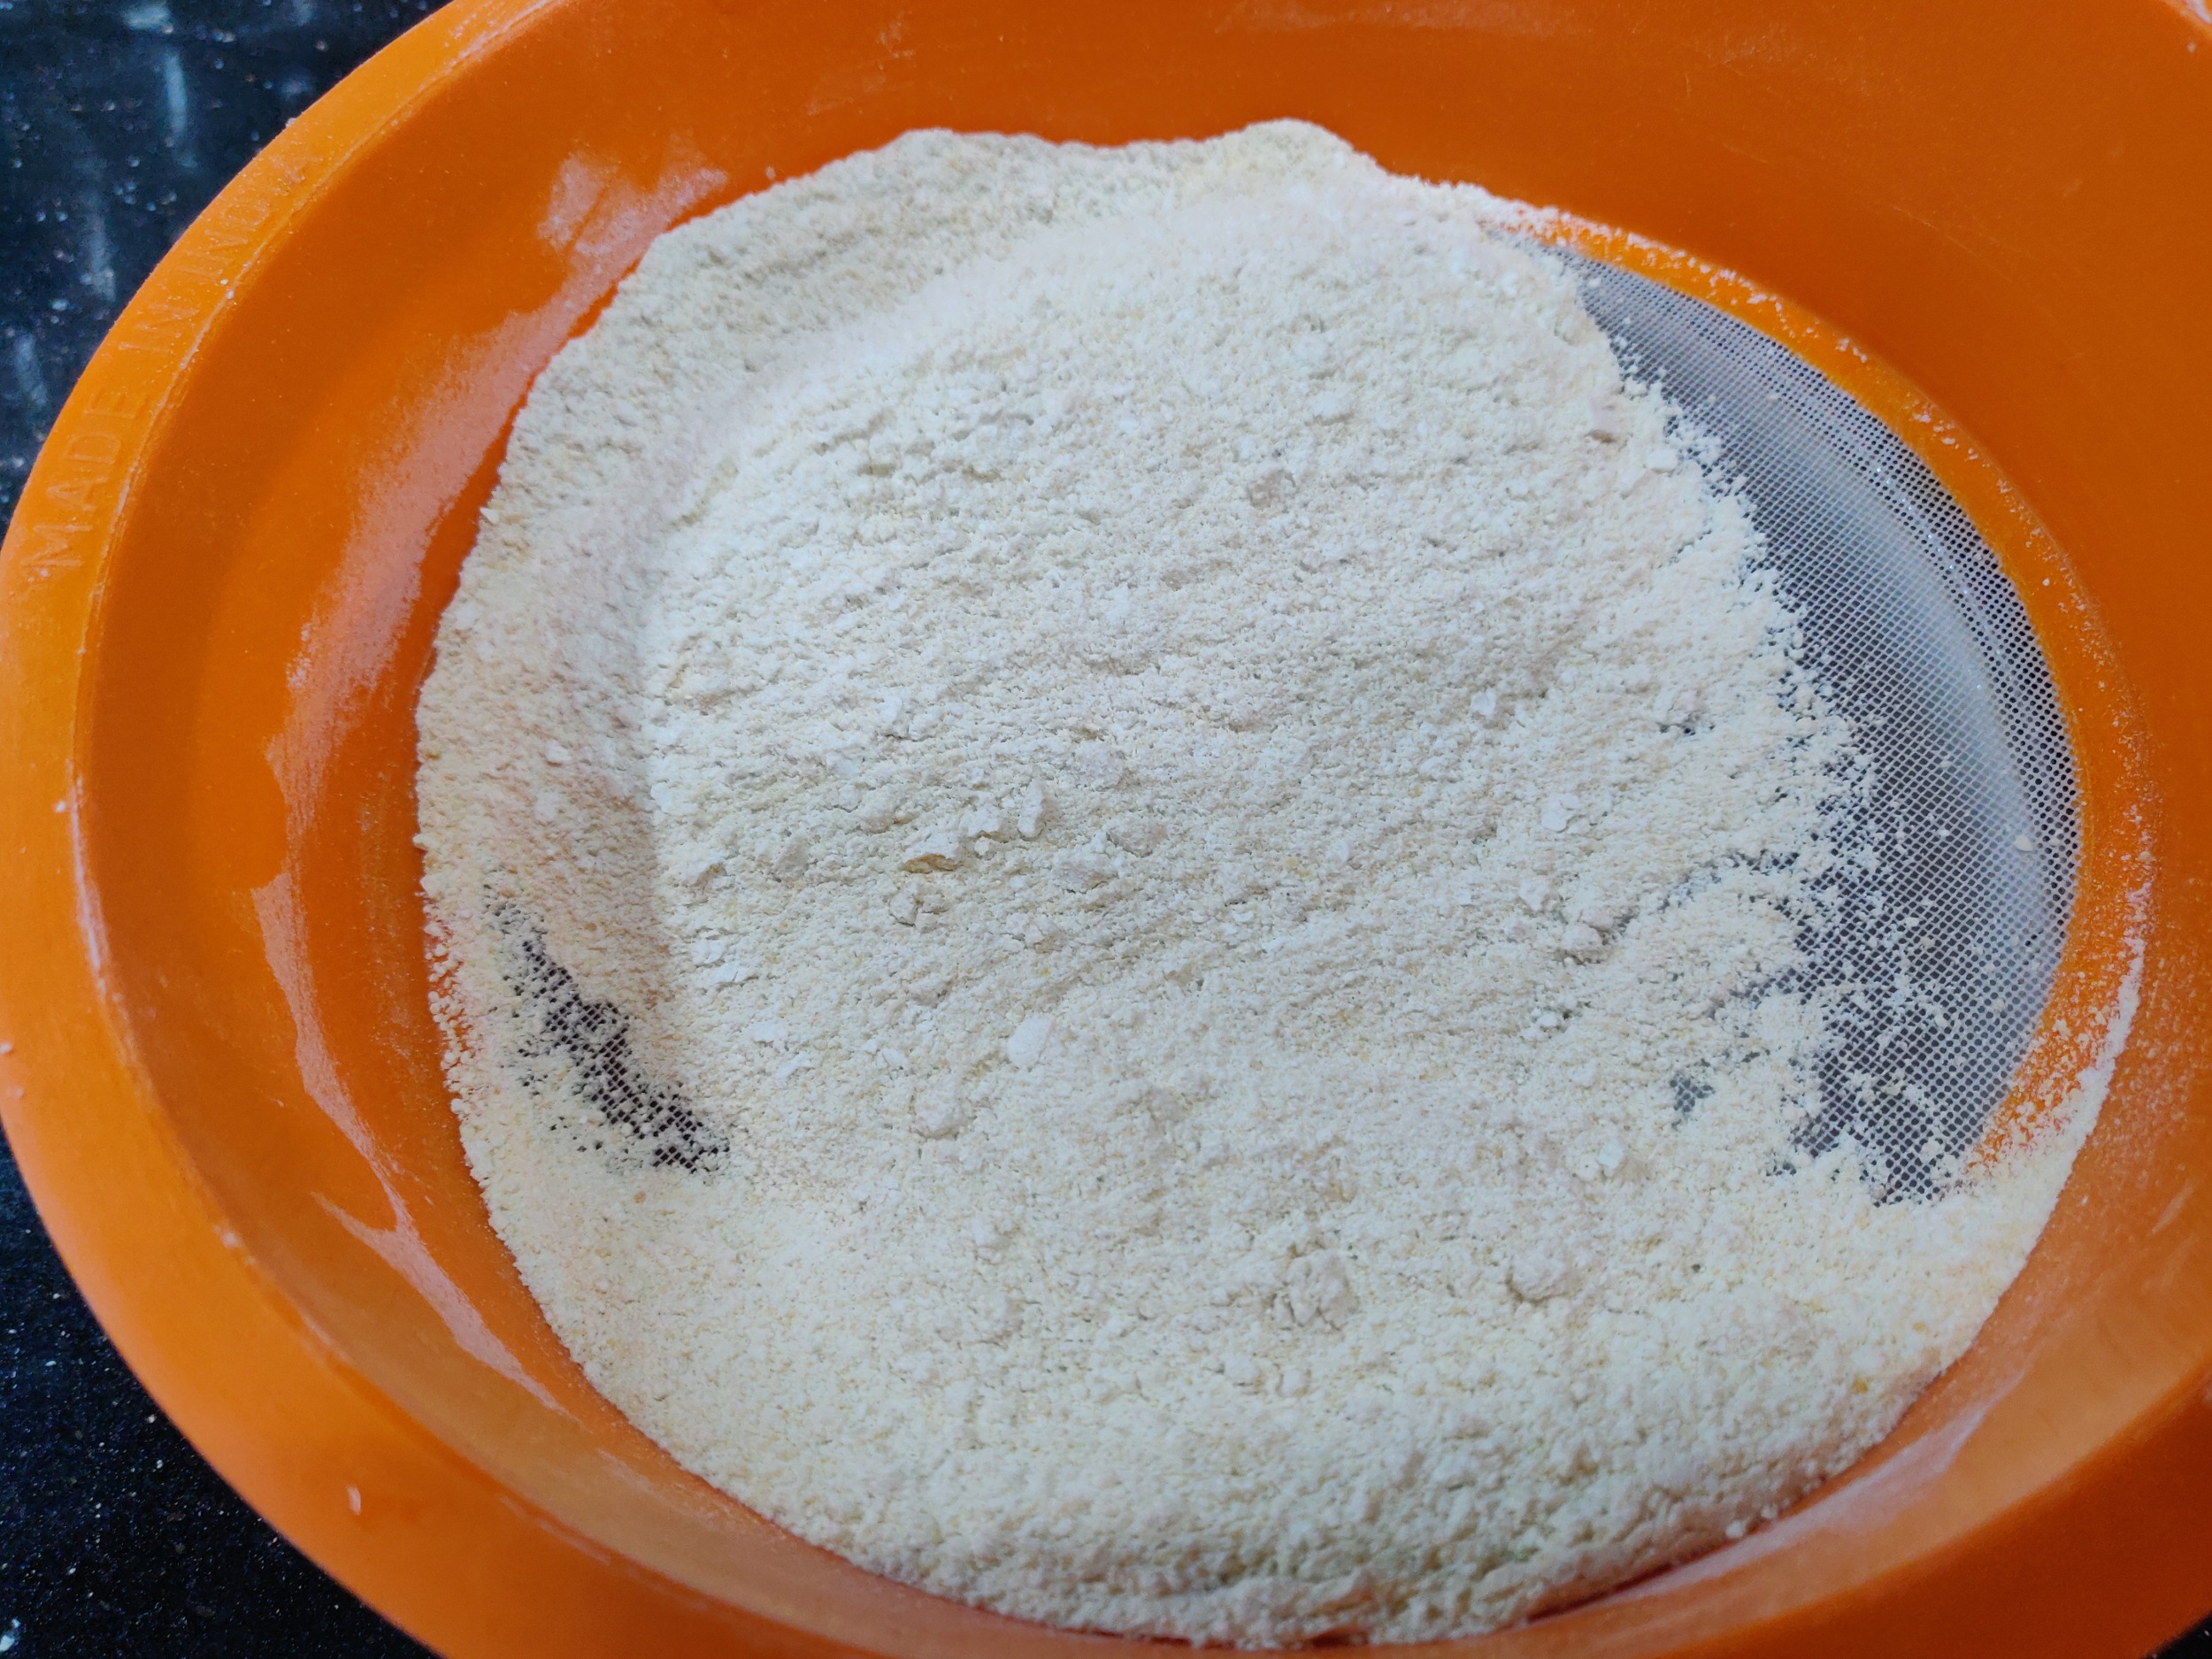
- If you do not have Urad dal powder, follow these steps to make the urad dal powder, else you could jump to step 9. Take around half cup of whole urad dal and dry roast on medium flame till you get aroma. The urad dal should not turn brown or golden, however it should just slightly change colour.
- Cool the urad dal and grind in mixer till it is a fine powder.
- Sieve the urad dal flour and discard the leftover flour in the sieve. Urad dal flour is ready now.
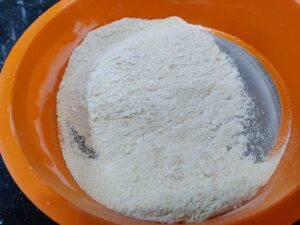
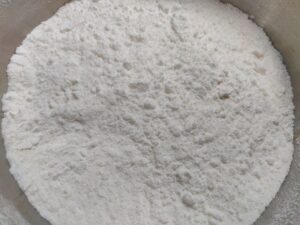
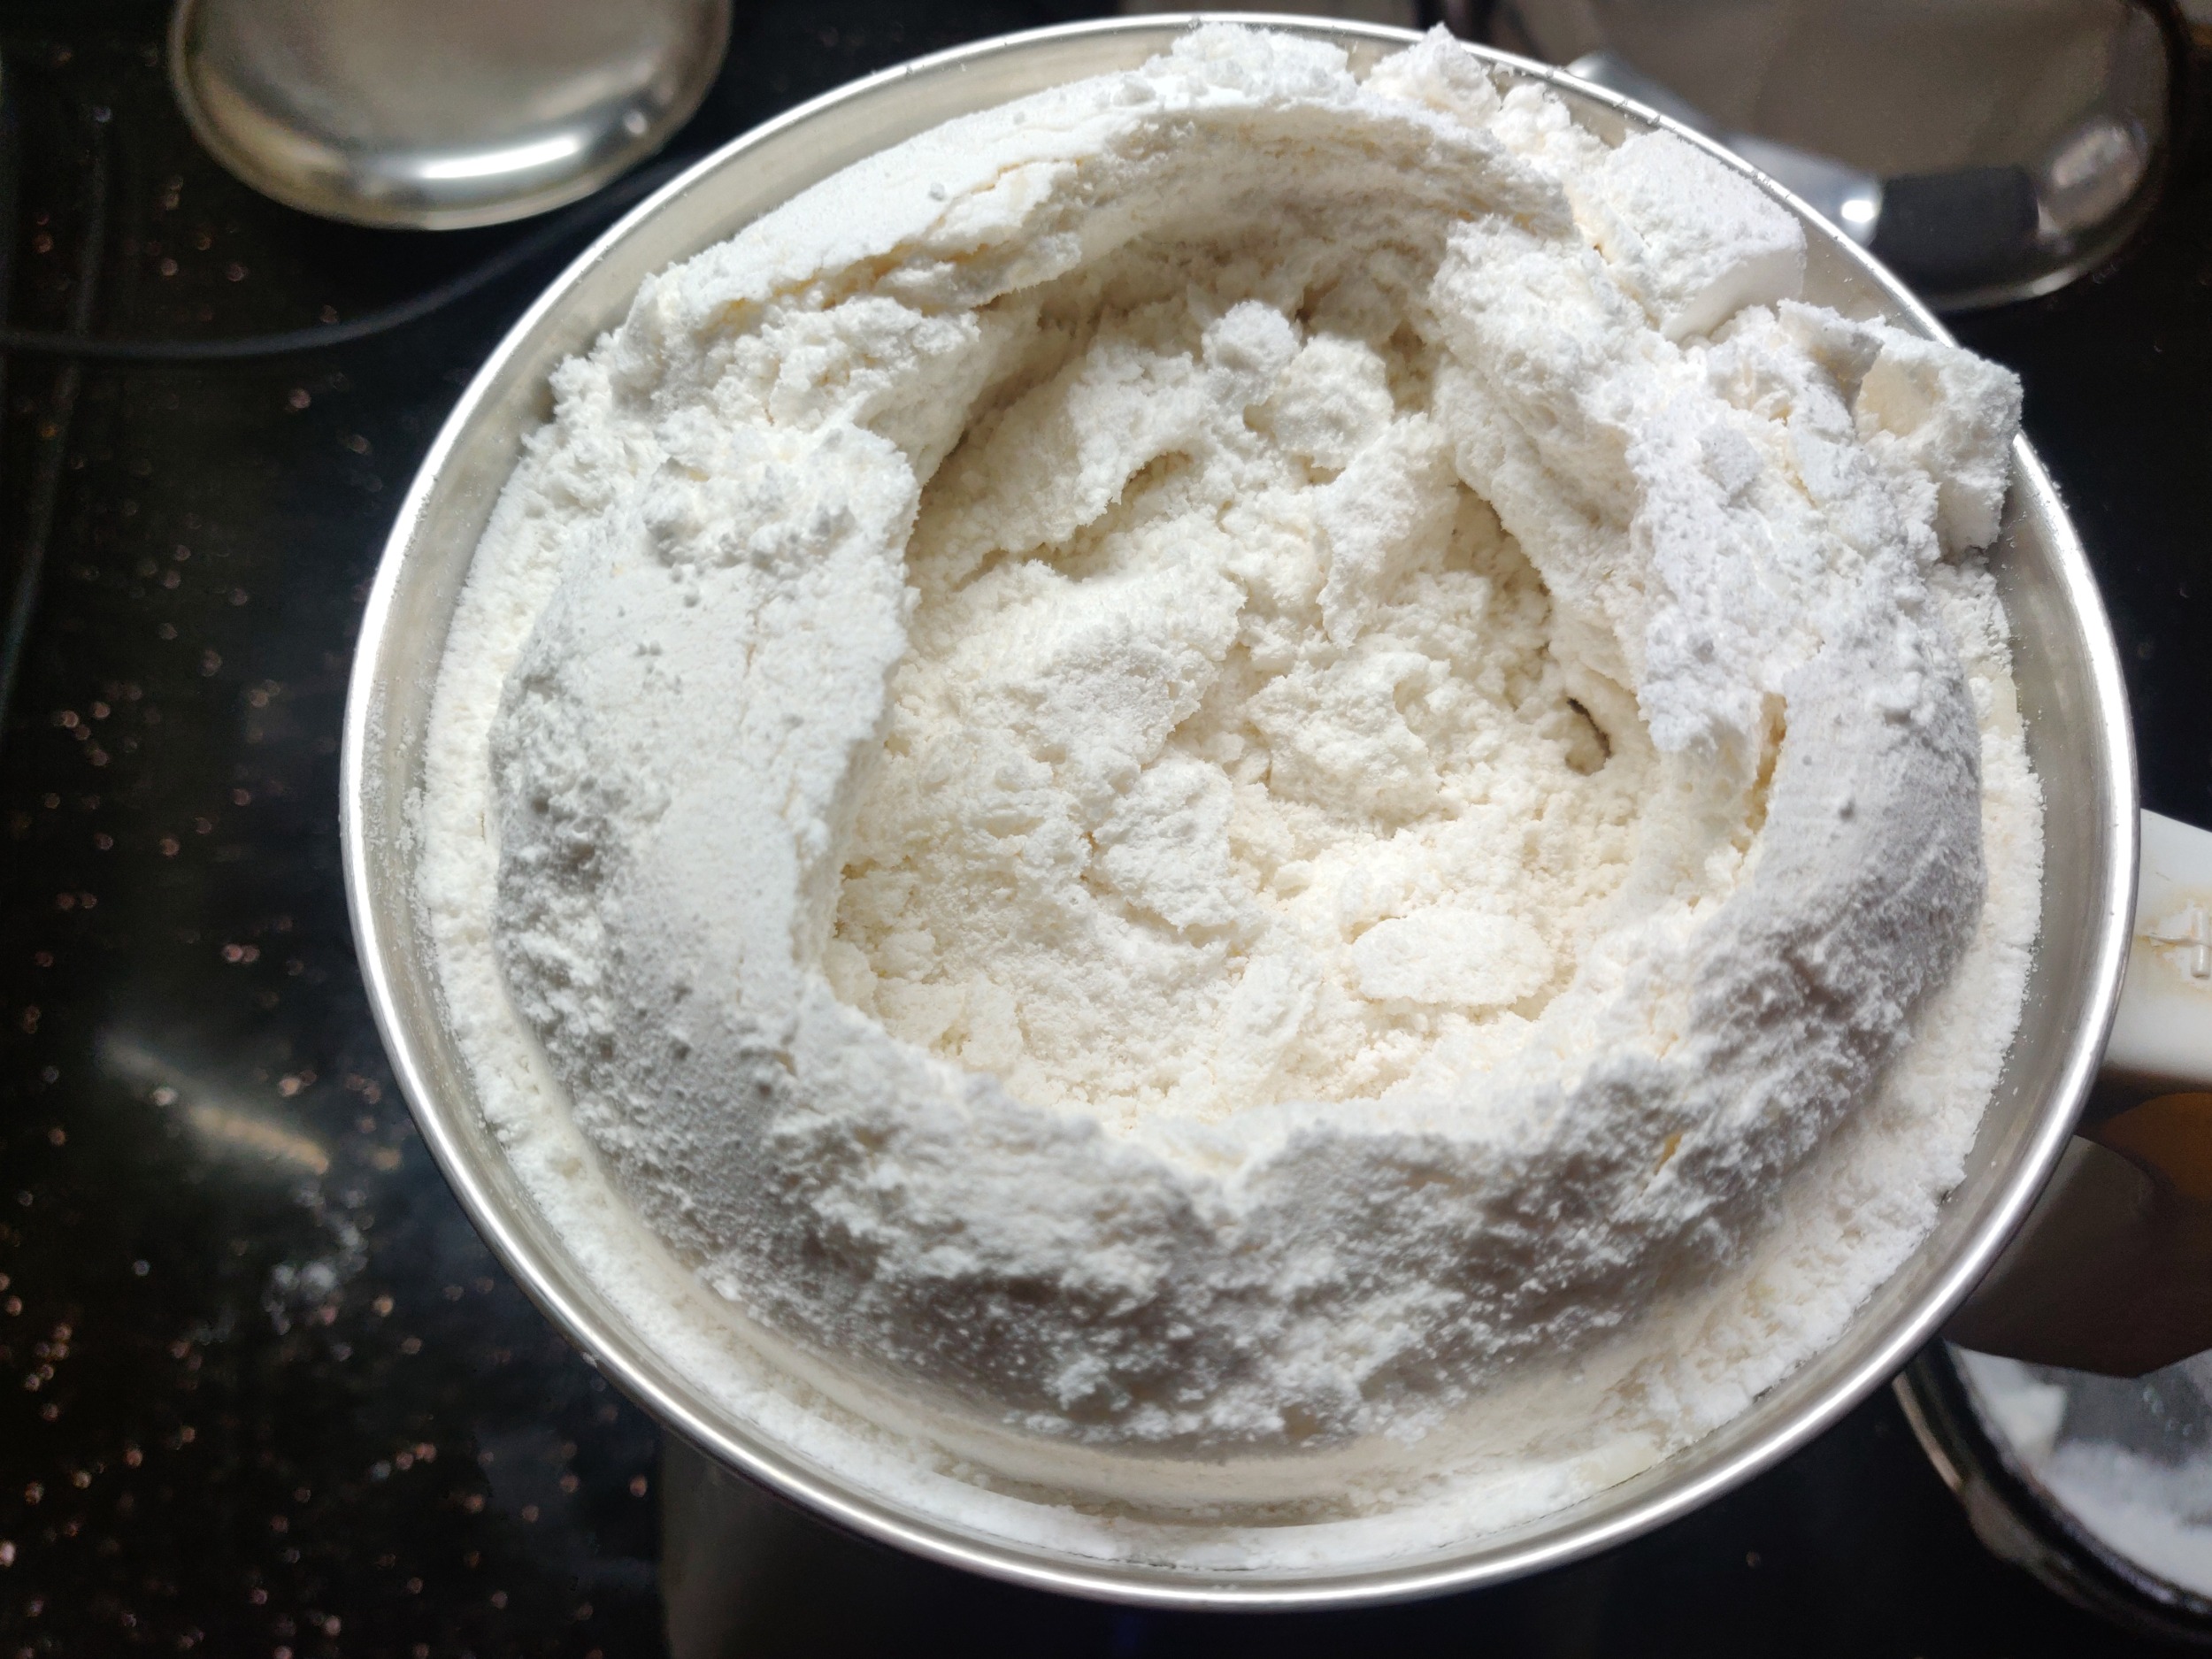
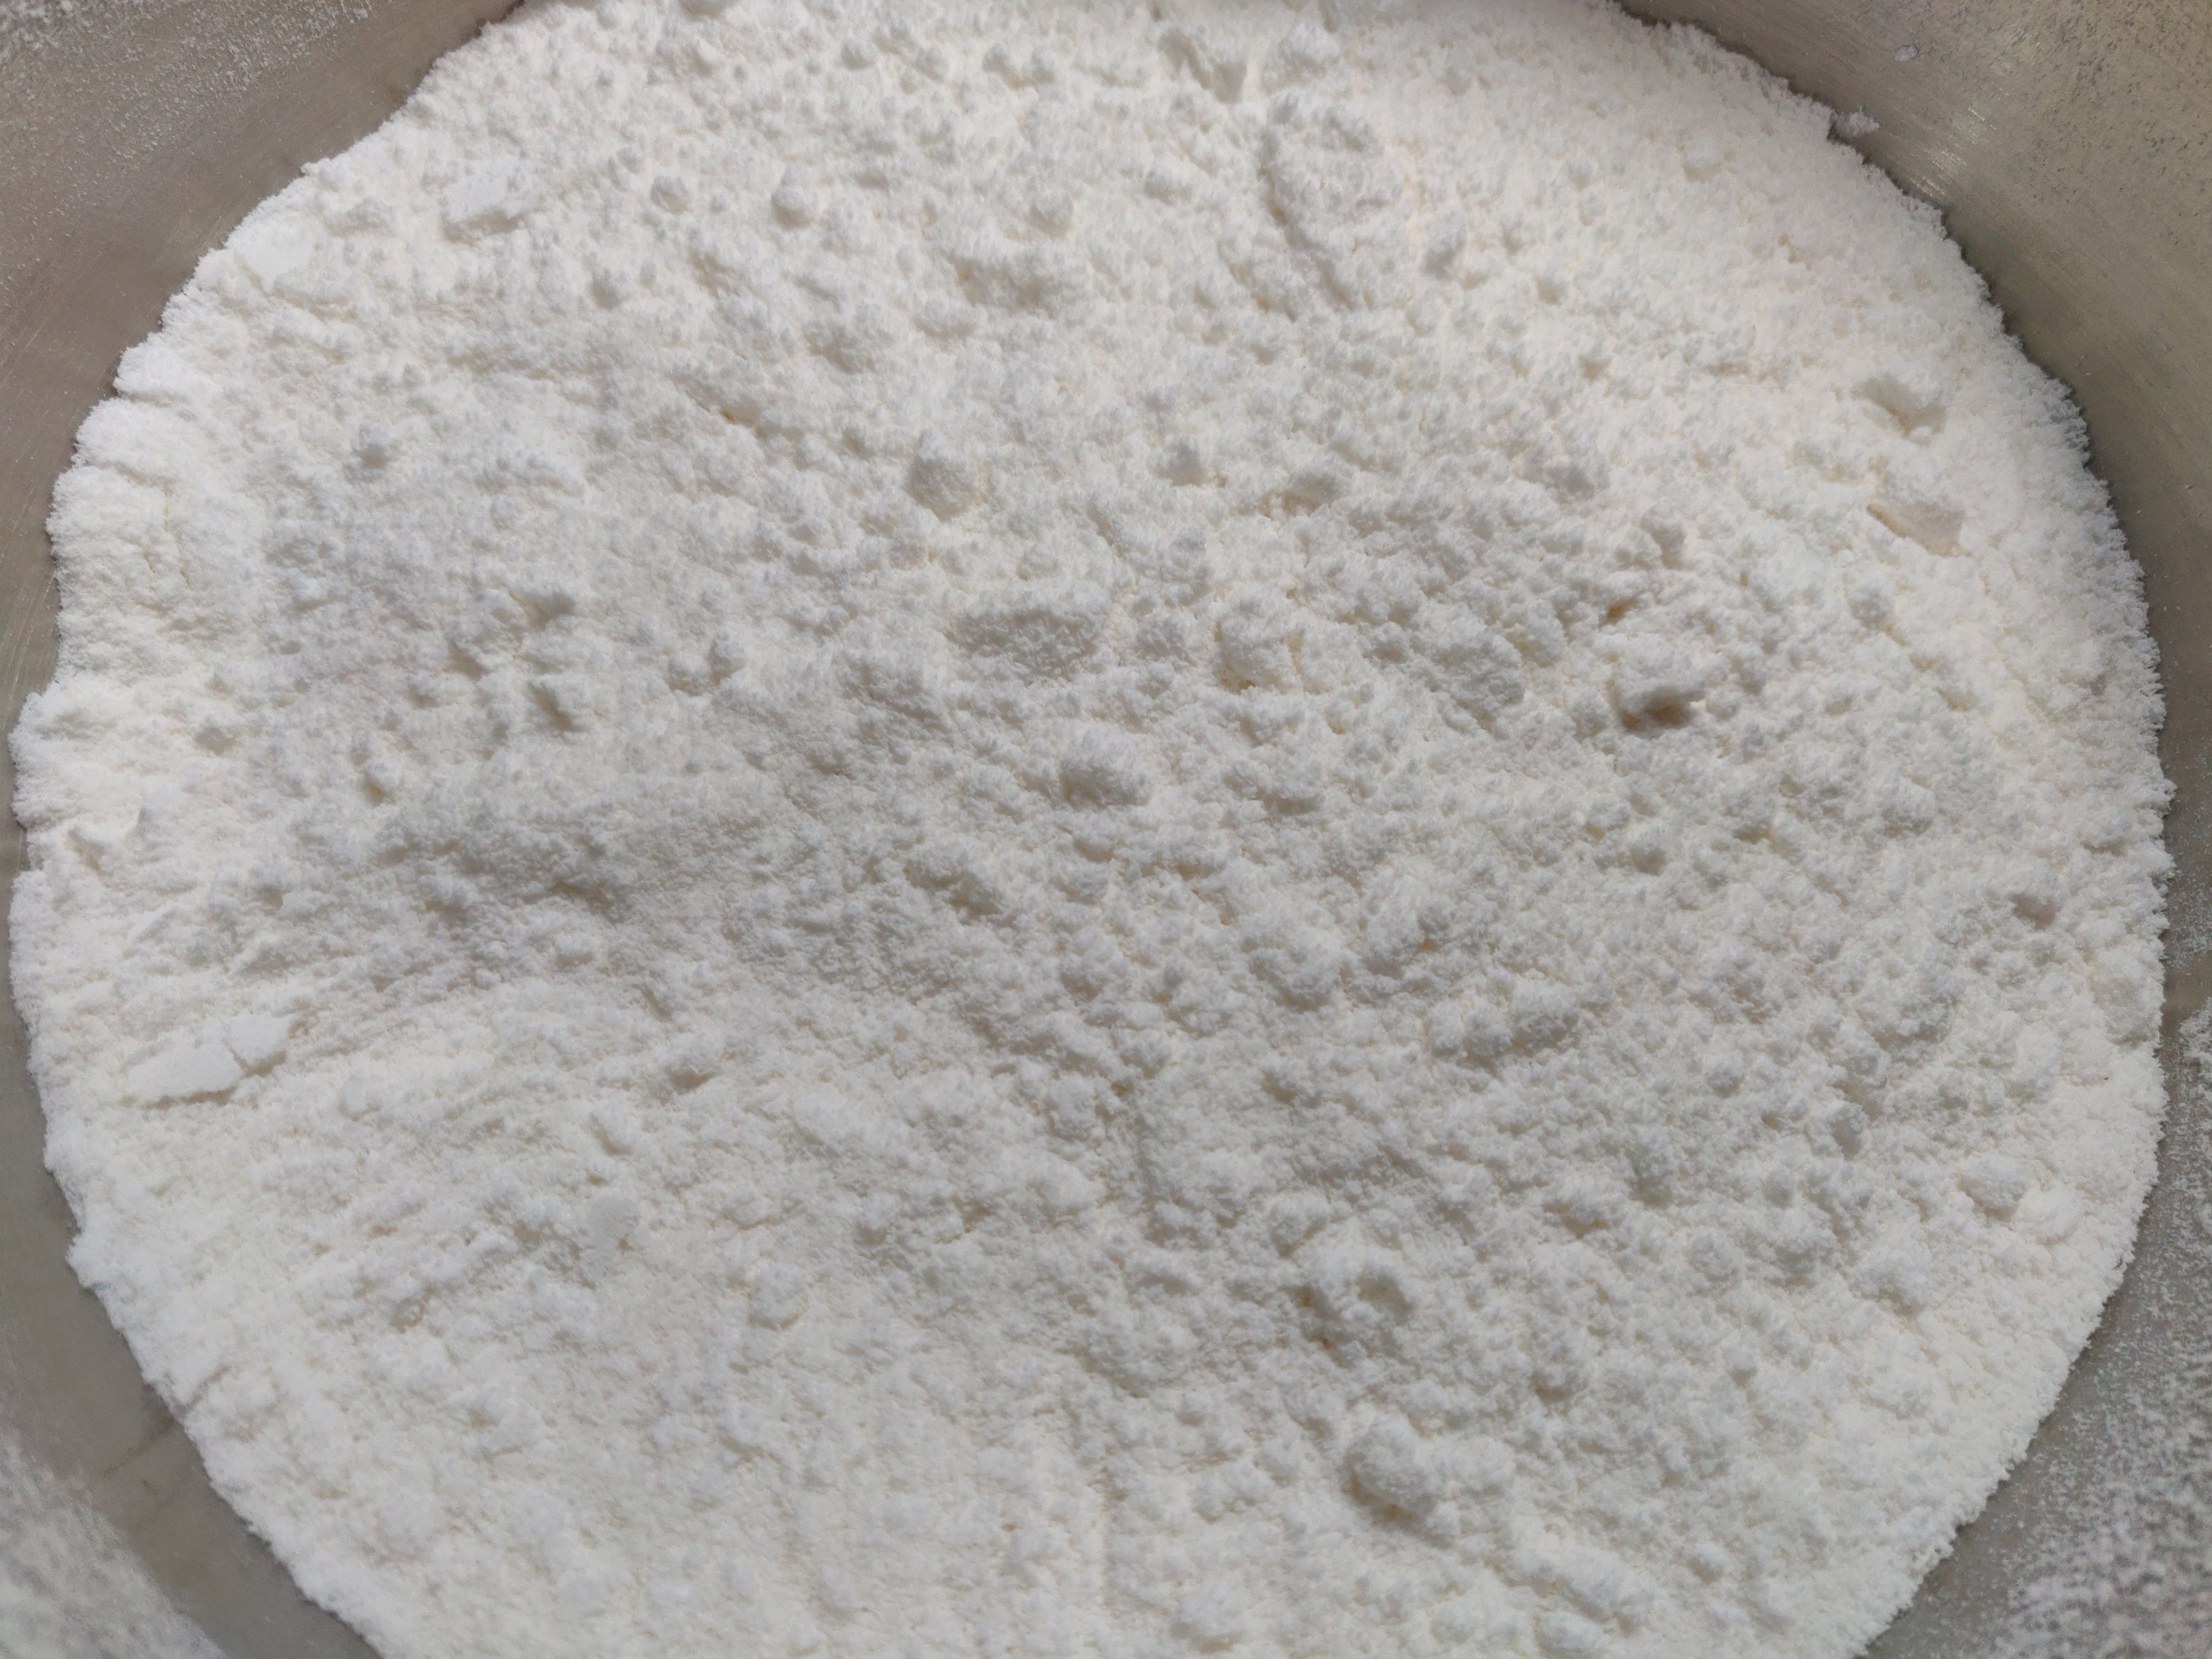
- Dry roast the previously prepared homemade rice flour or the store bought flourflour in a kadai on medium flame only until you just start seeing some steam coming out of the flour or the flour is warm on touch. Do not dry roast for too long and the rice flour should not change colour.
- Cool the rice flour and sieve again so that there are no lumps.
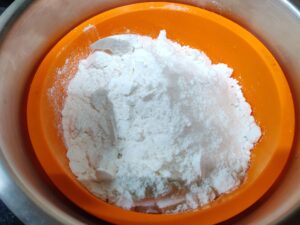
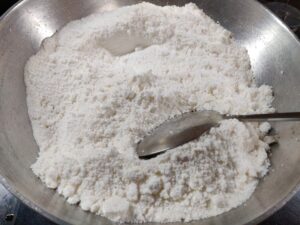
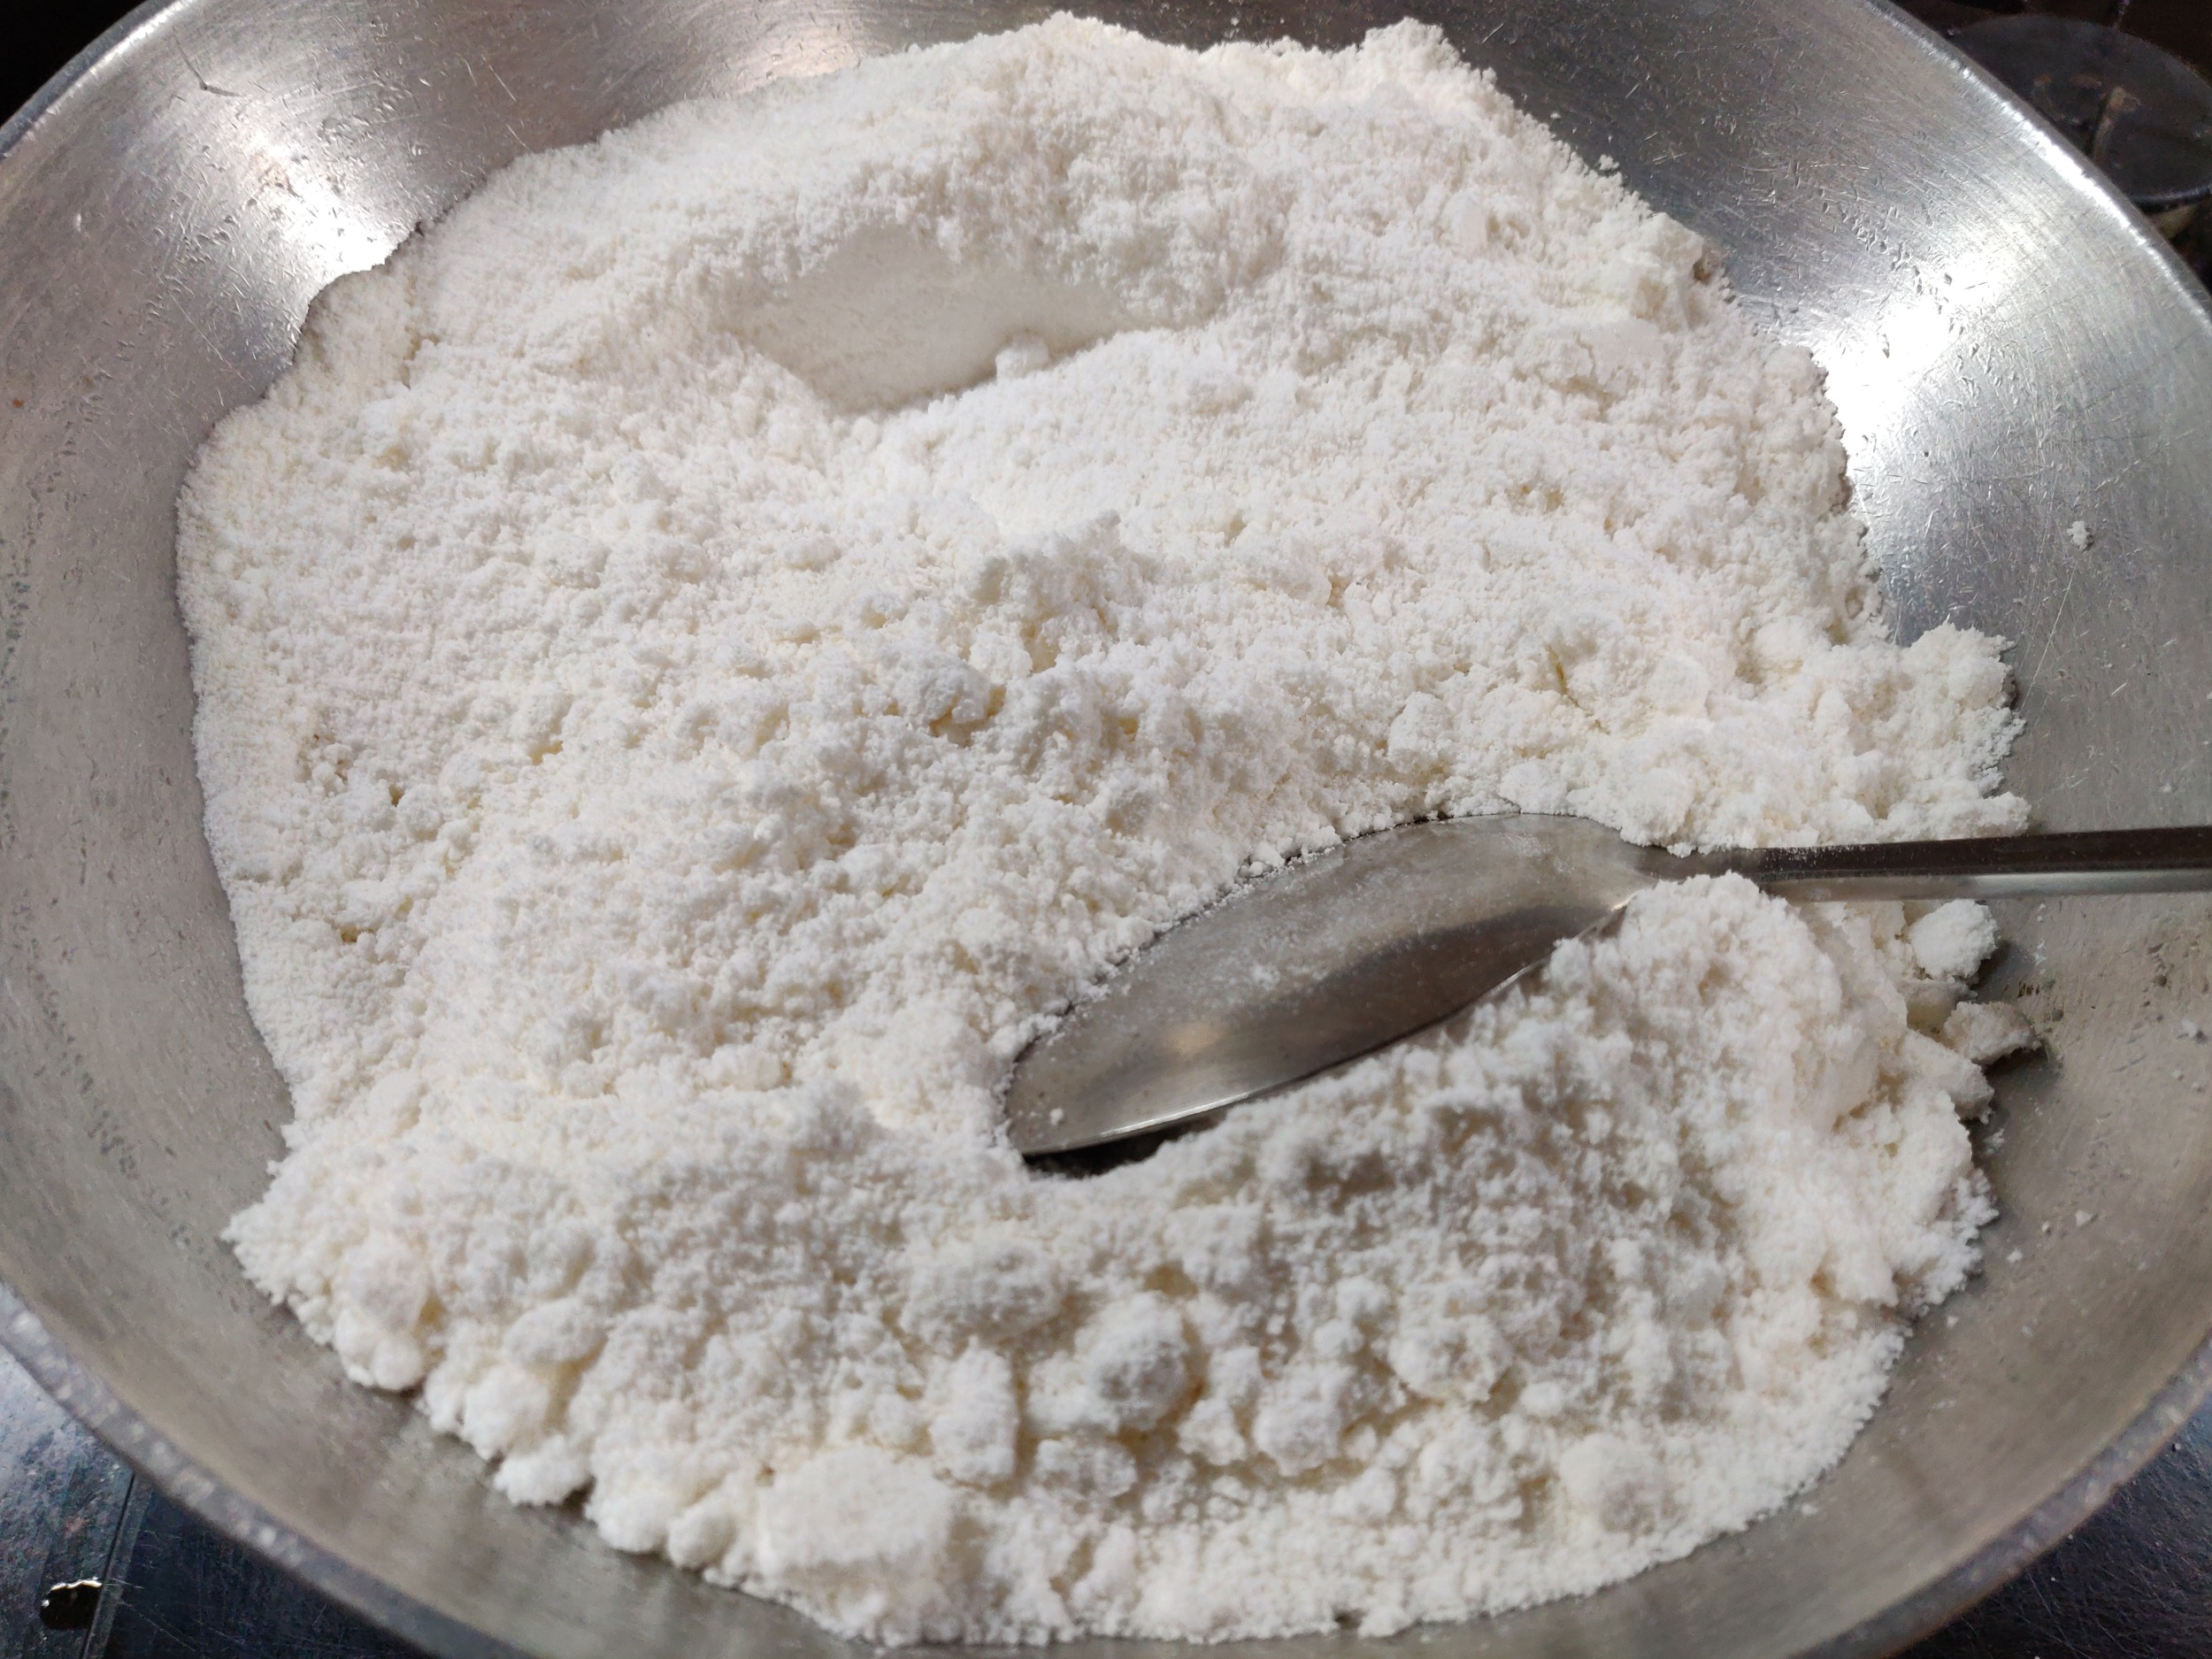
- Now take a mixing bowl and add 1½ cups of the dry roasted and sieved rice flour, 3 tablespoons of urad dal flour, 3 tablespoons of room temperature butter, sesame seeds, jeera, grated coconut, asafoetida, salt to taste and mix well.
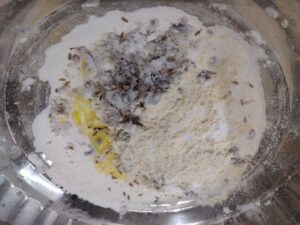
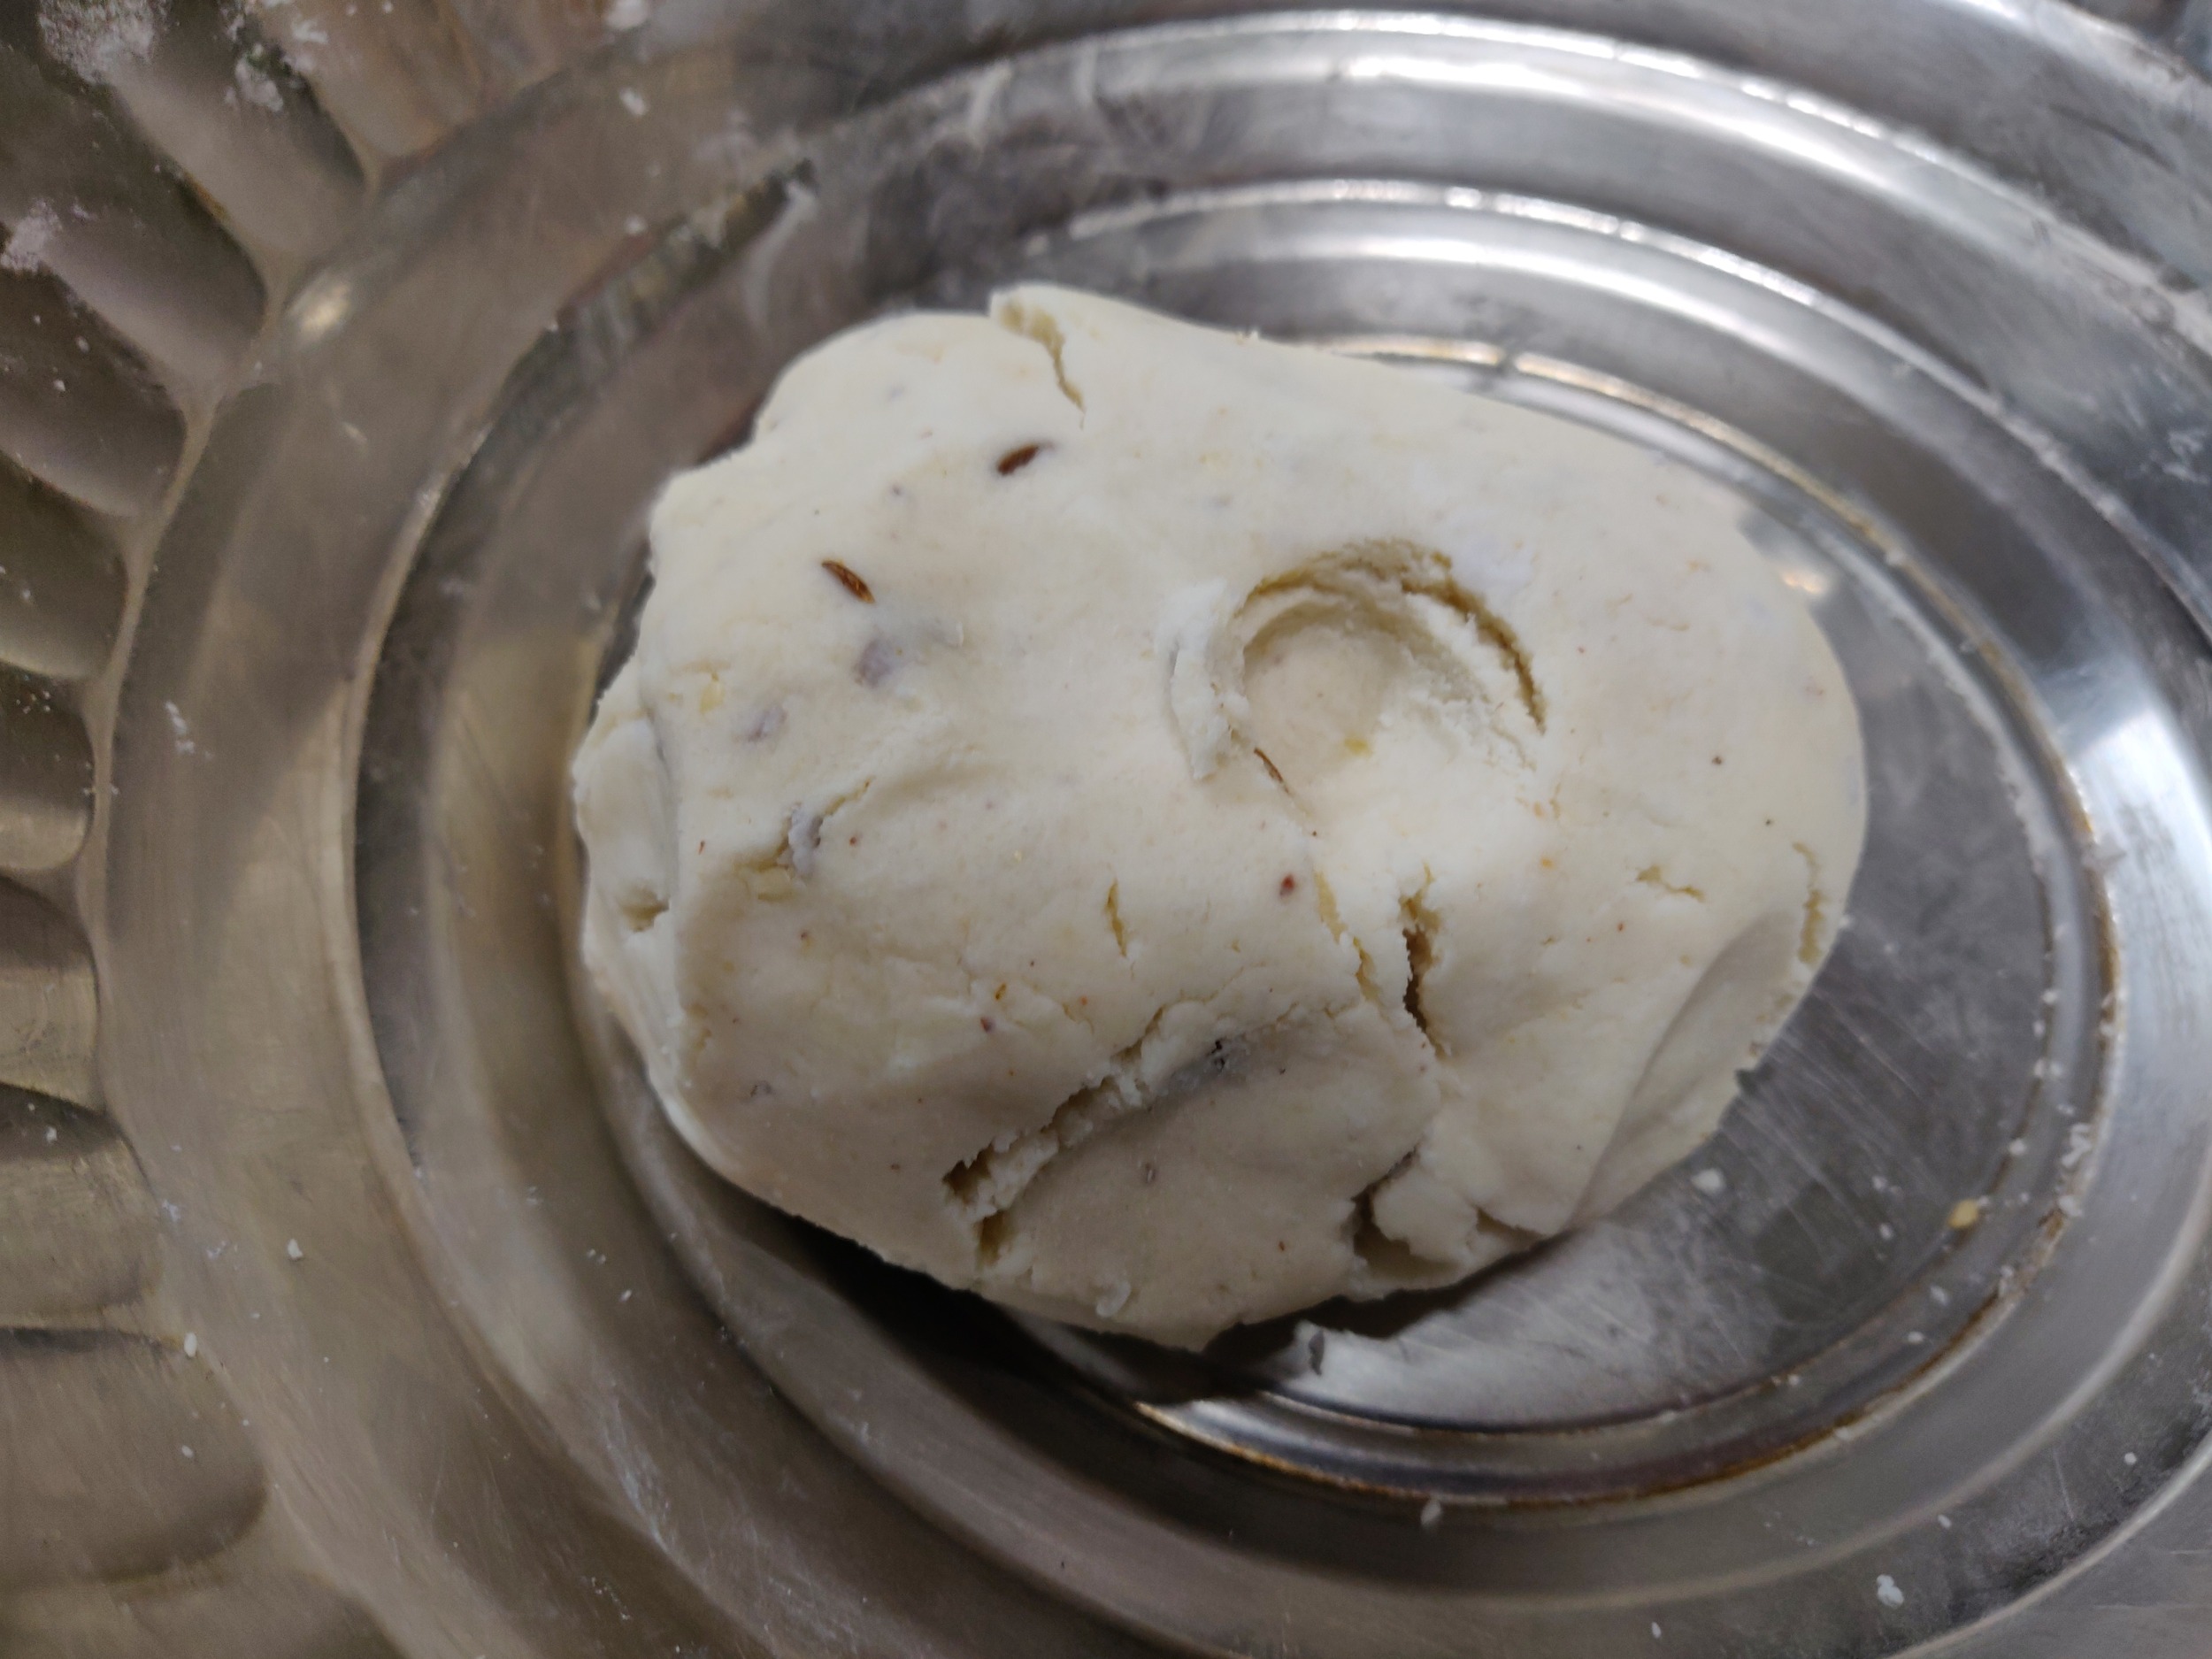
- Add water little by little and knead this to a slightly stiff dough. The correct consistency is when you try to make a depression in the dough using your finger, it should come clean without being too moist or too dry.

- Let this dough rest for 5 to 10 minutes.
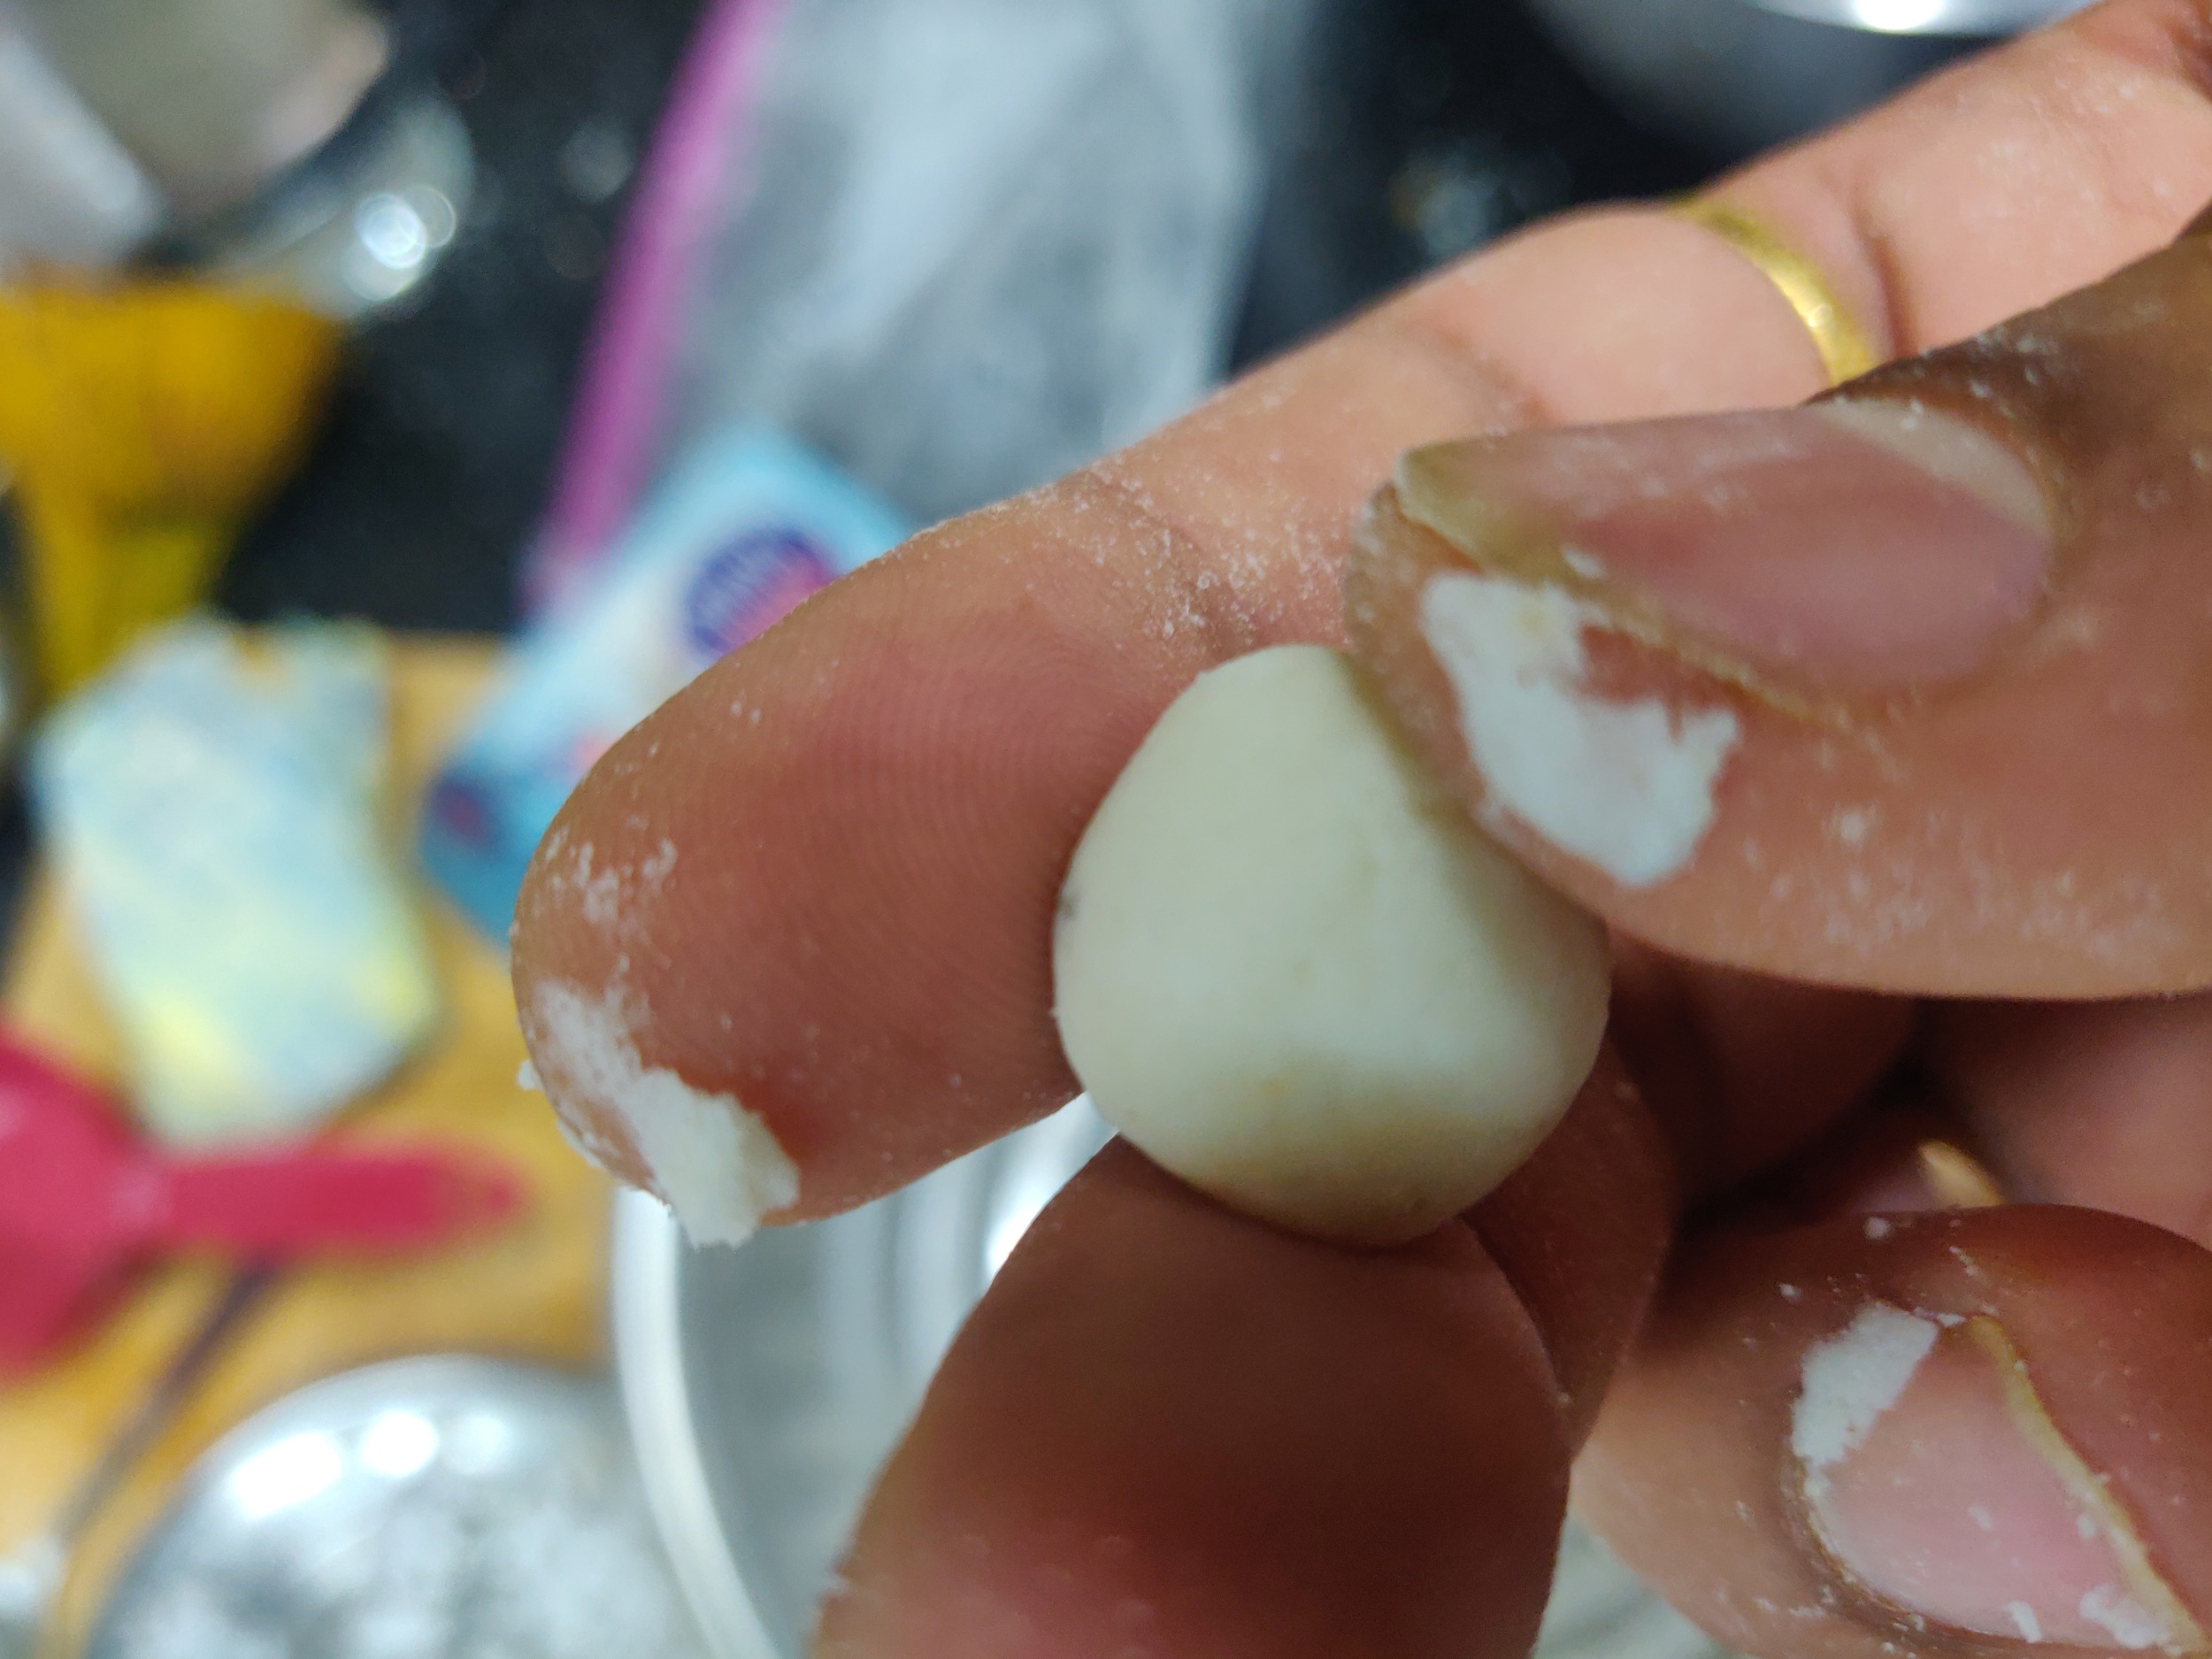
- Now take a small portion of the dough and roll between your fingers as shown in the finger and then you could roll it once gently between your palms to attain a proper shape. The size of seedai should not be more than 1 cm in diameter. Do not roll too tight or to a perfect round though.

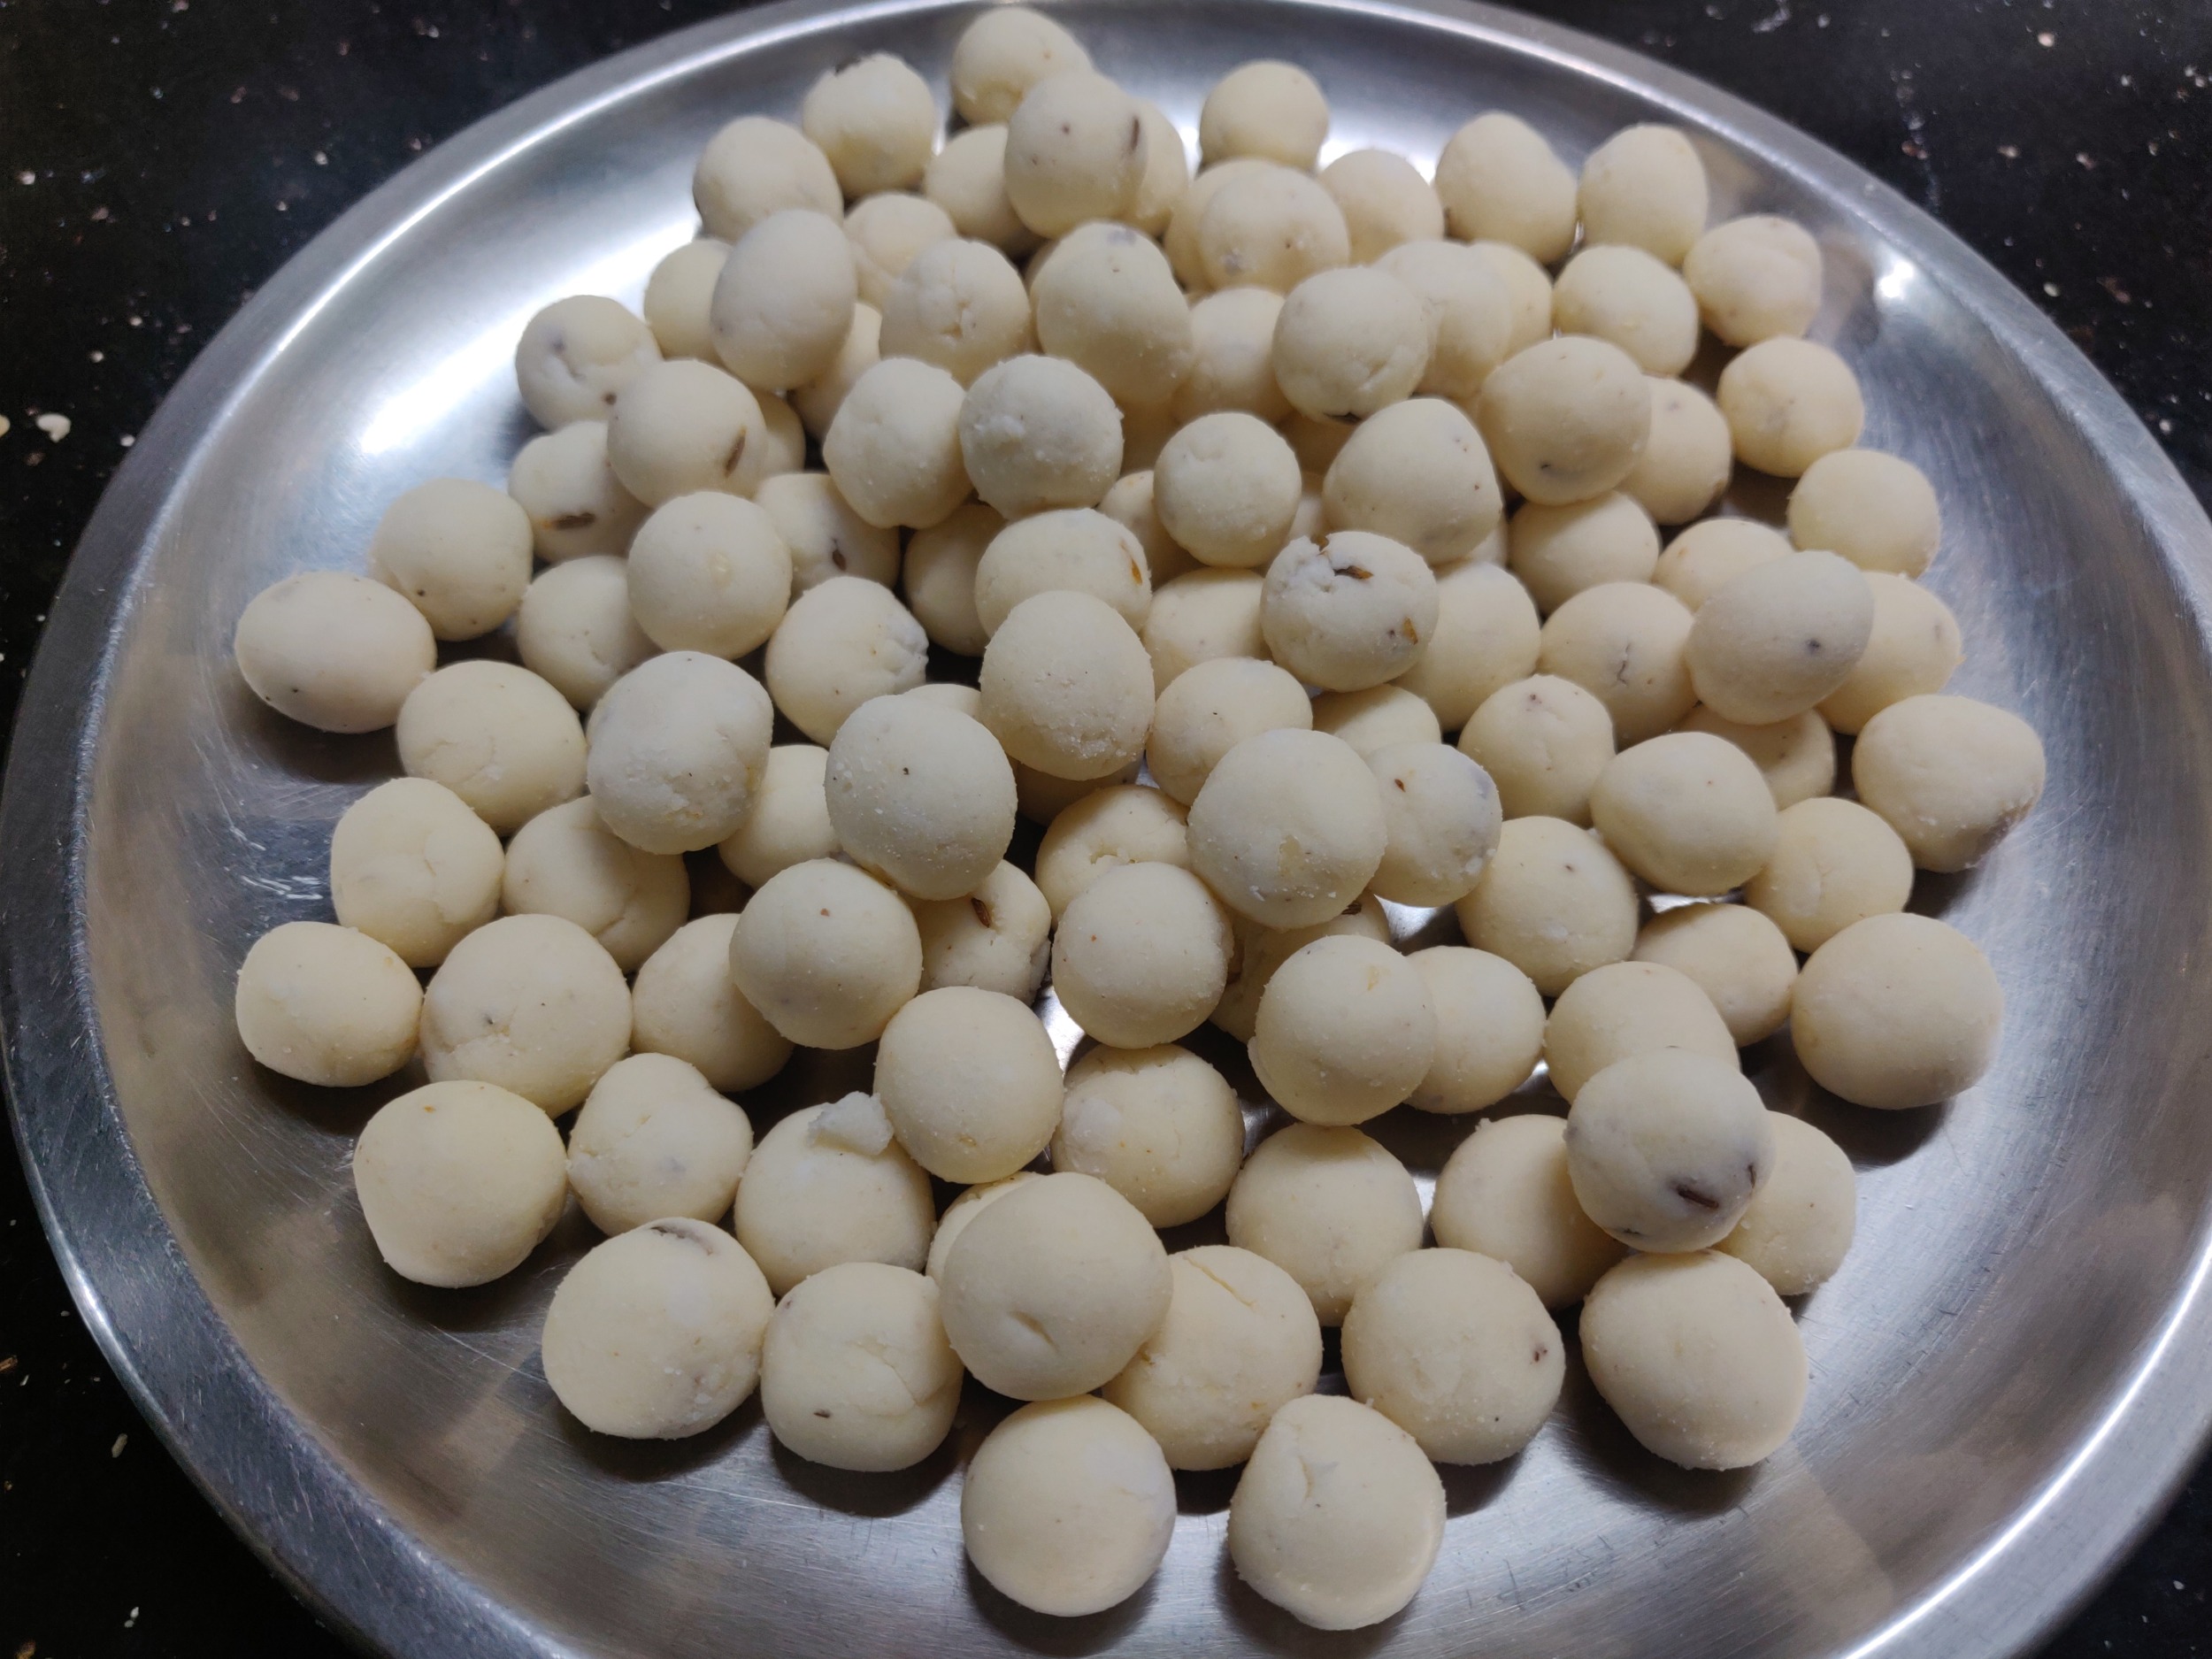
- Continue rolling the remaining dough into small seedai.

- Let the rolled seedai air dry for around 15-20 minutes.
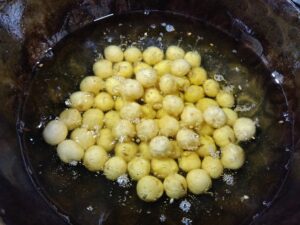
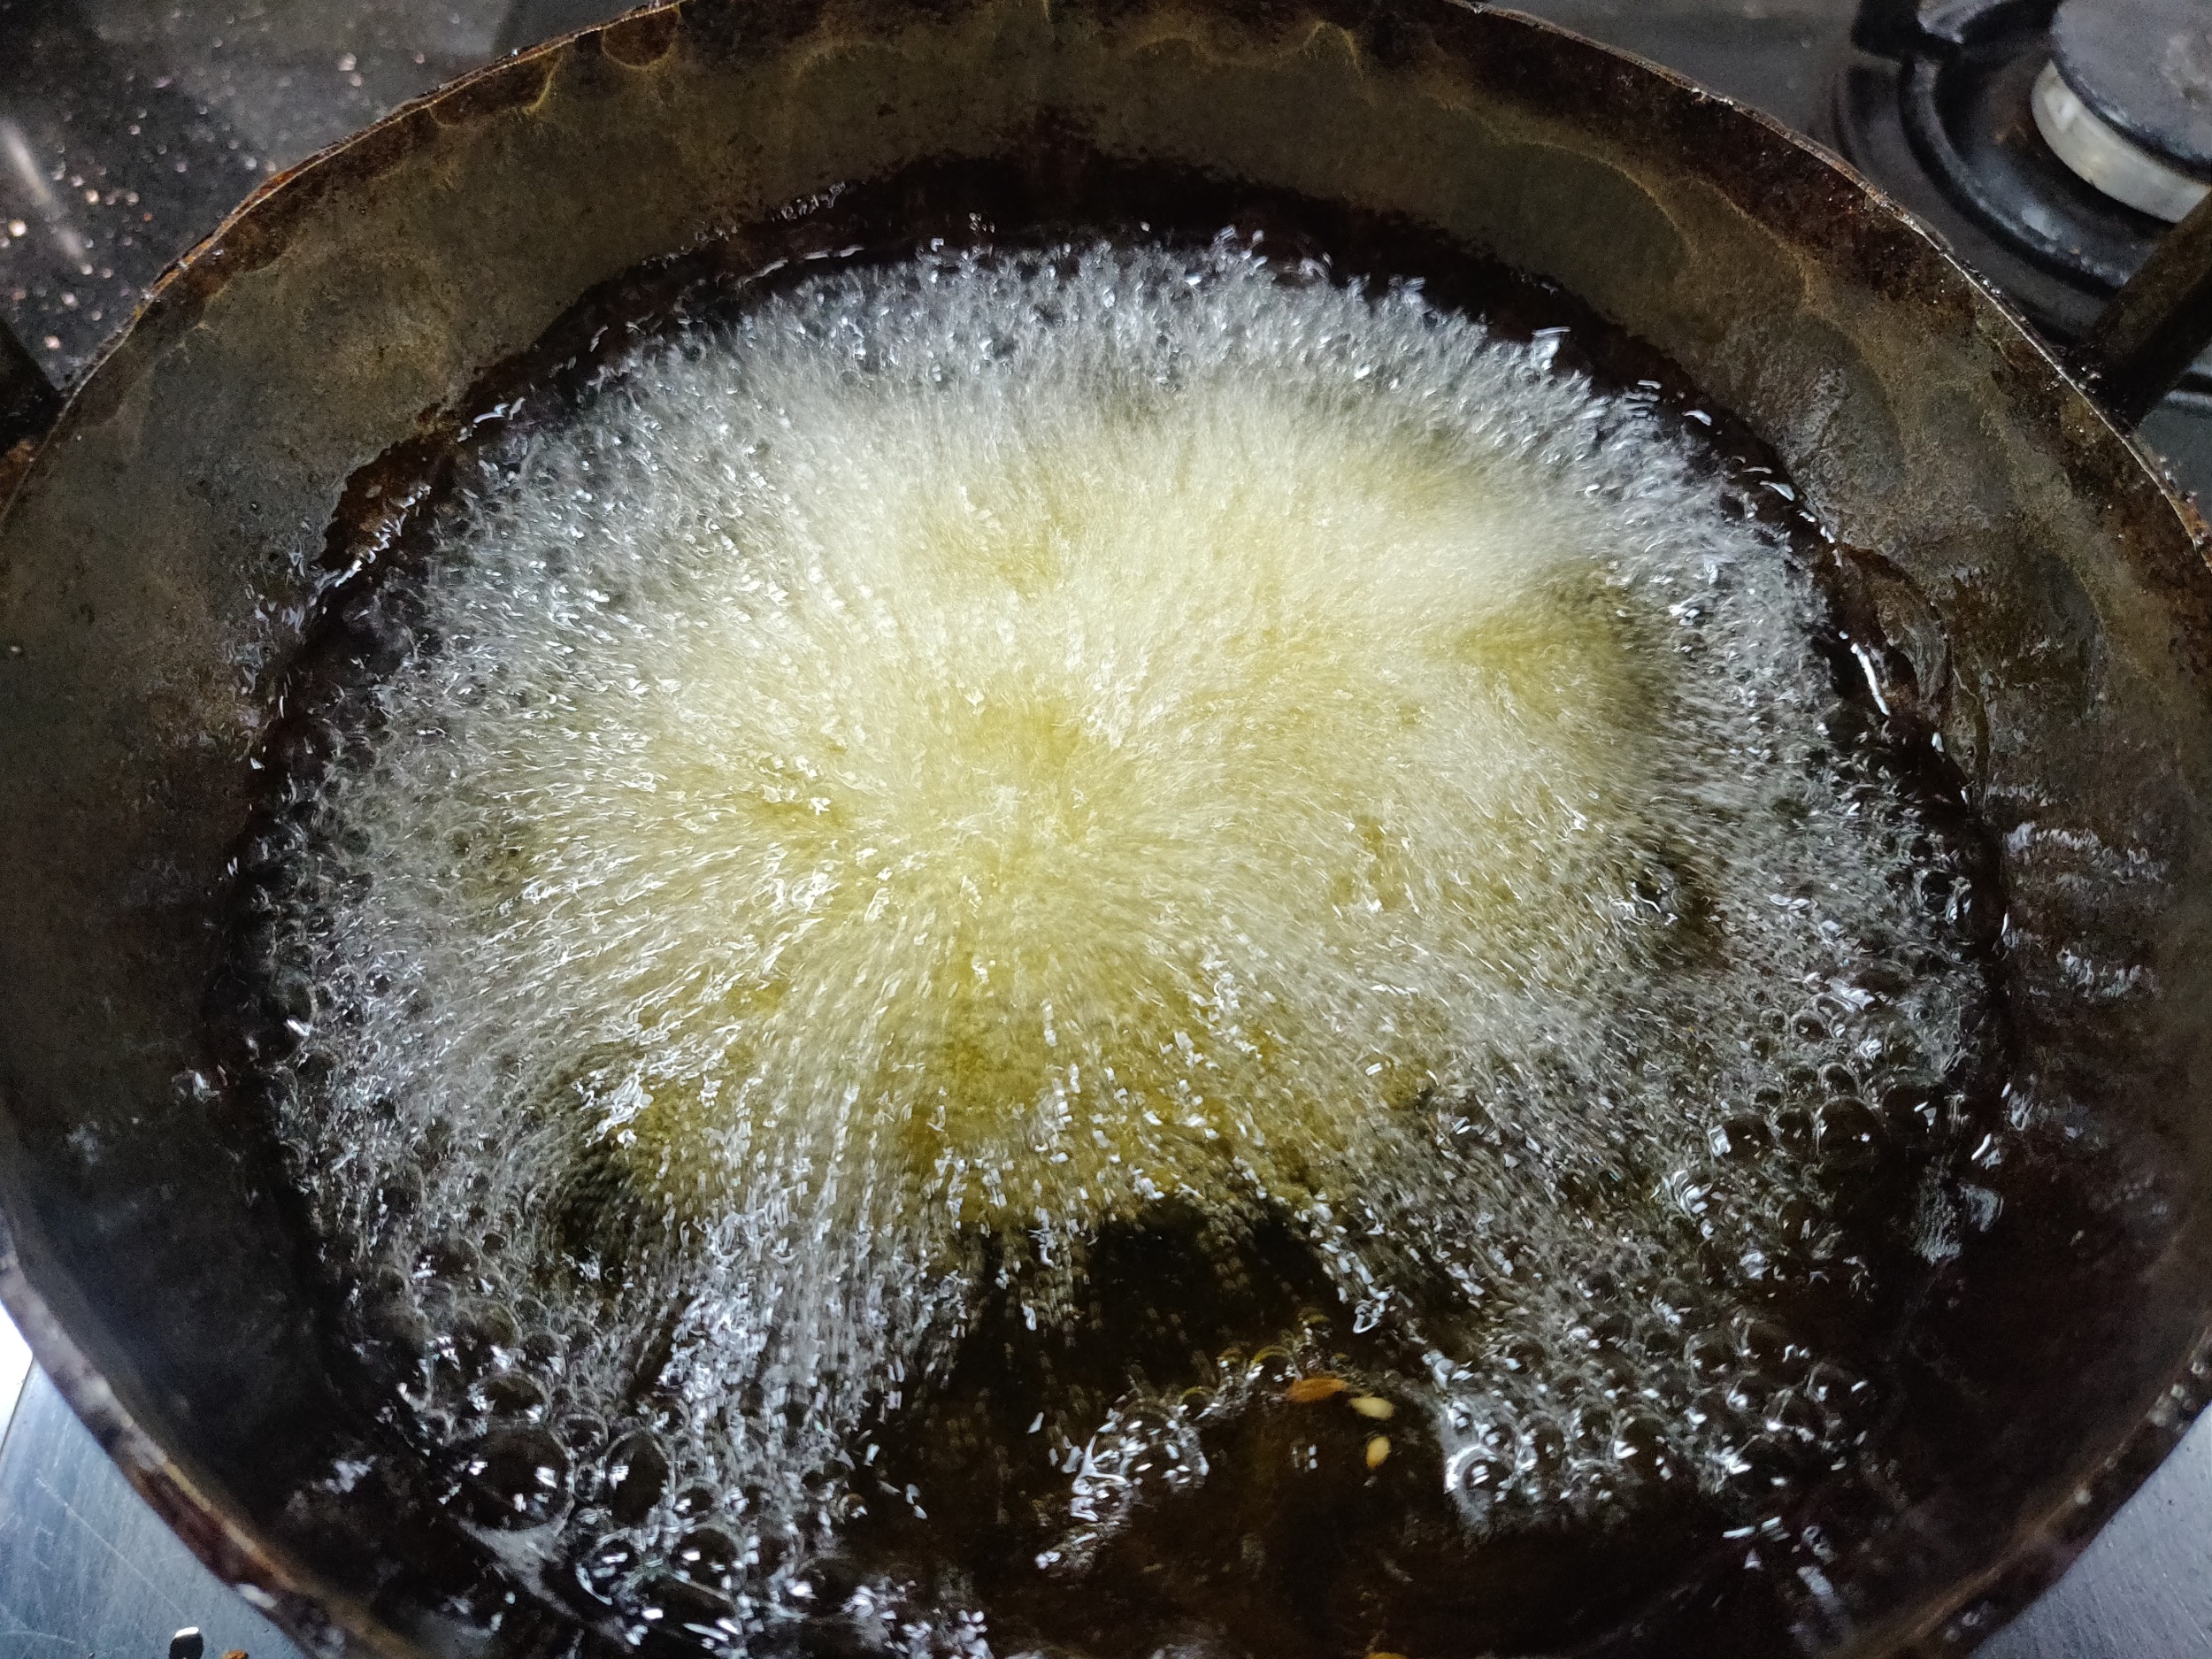
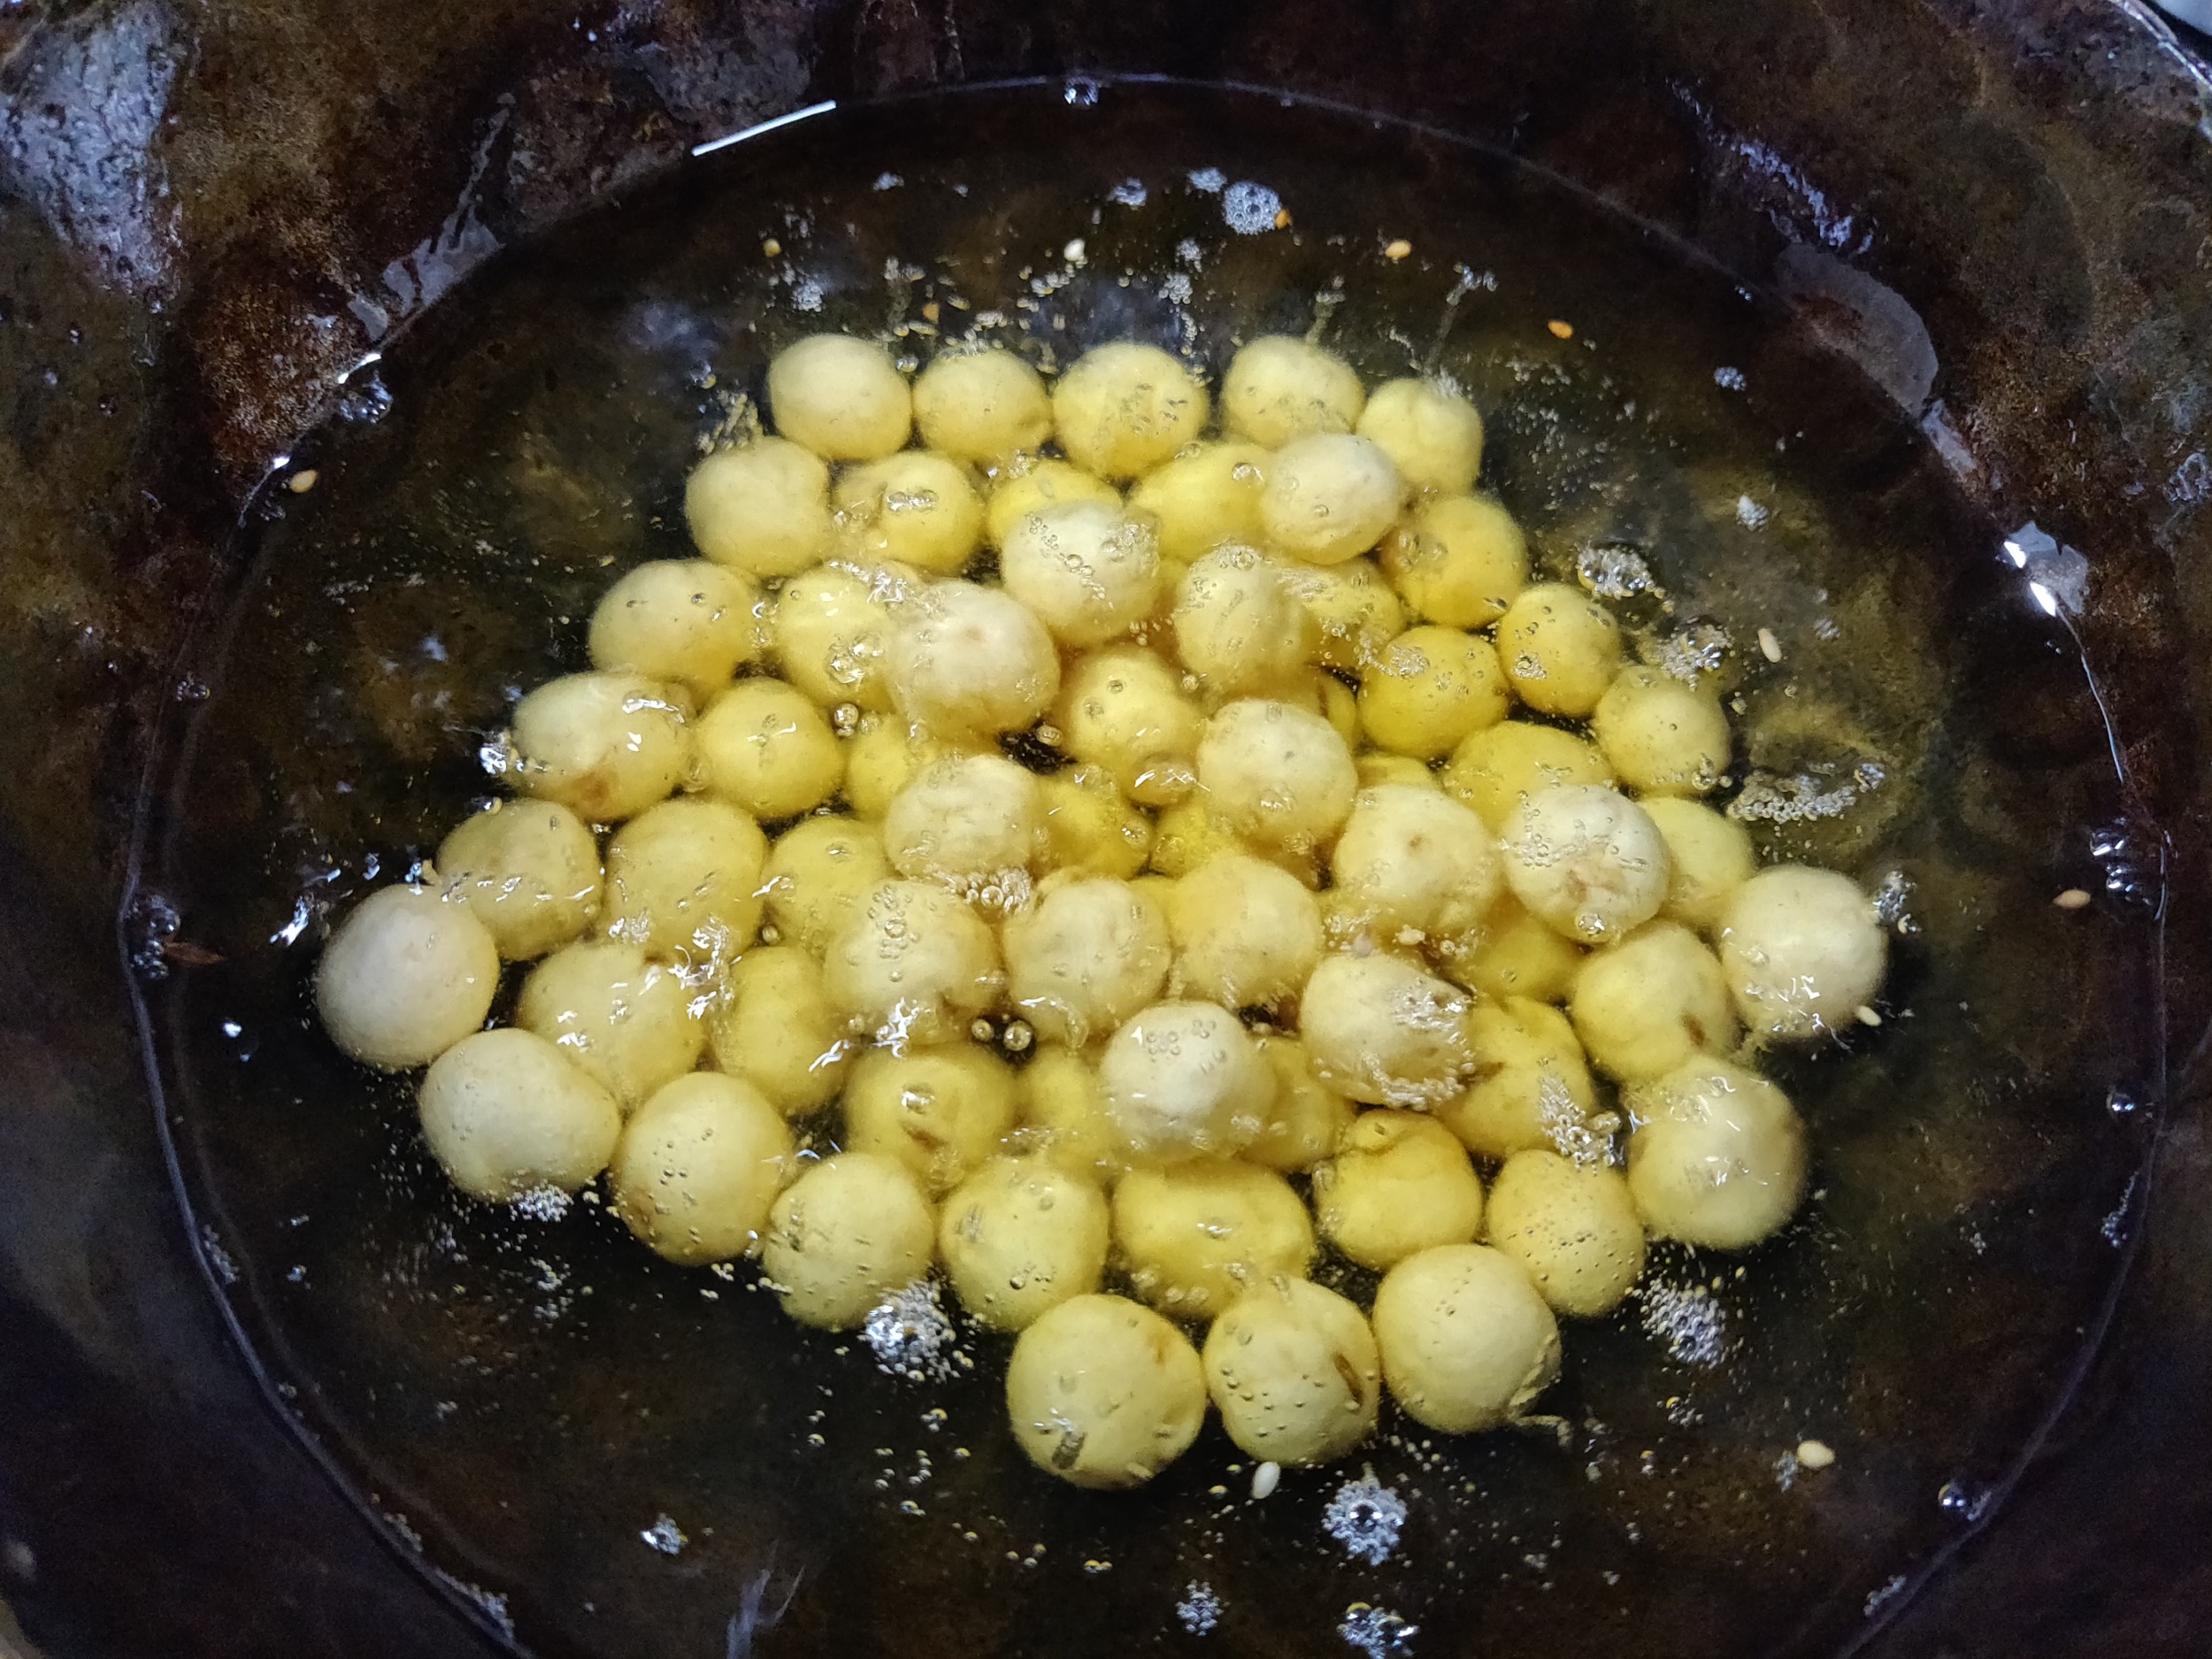
- Heat oil in a kadai till it is just hot. Reduce the flame to low and carefully drop a small batch of seedai into oil using a laddle. Do not mix or toss for 2 to 3 minutes.

- After around 3 minutes, gently toss the seedai and continue to cook on a low flame. Toss them intermittently to get a uniform colour.
- When the bubbles subside in the oil, it is an indication that the seedai is done.
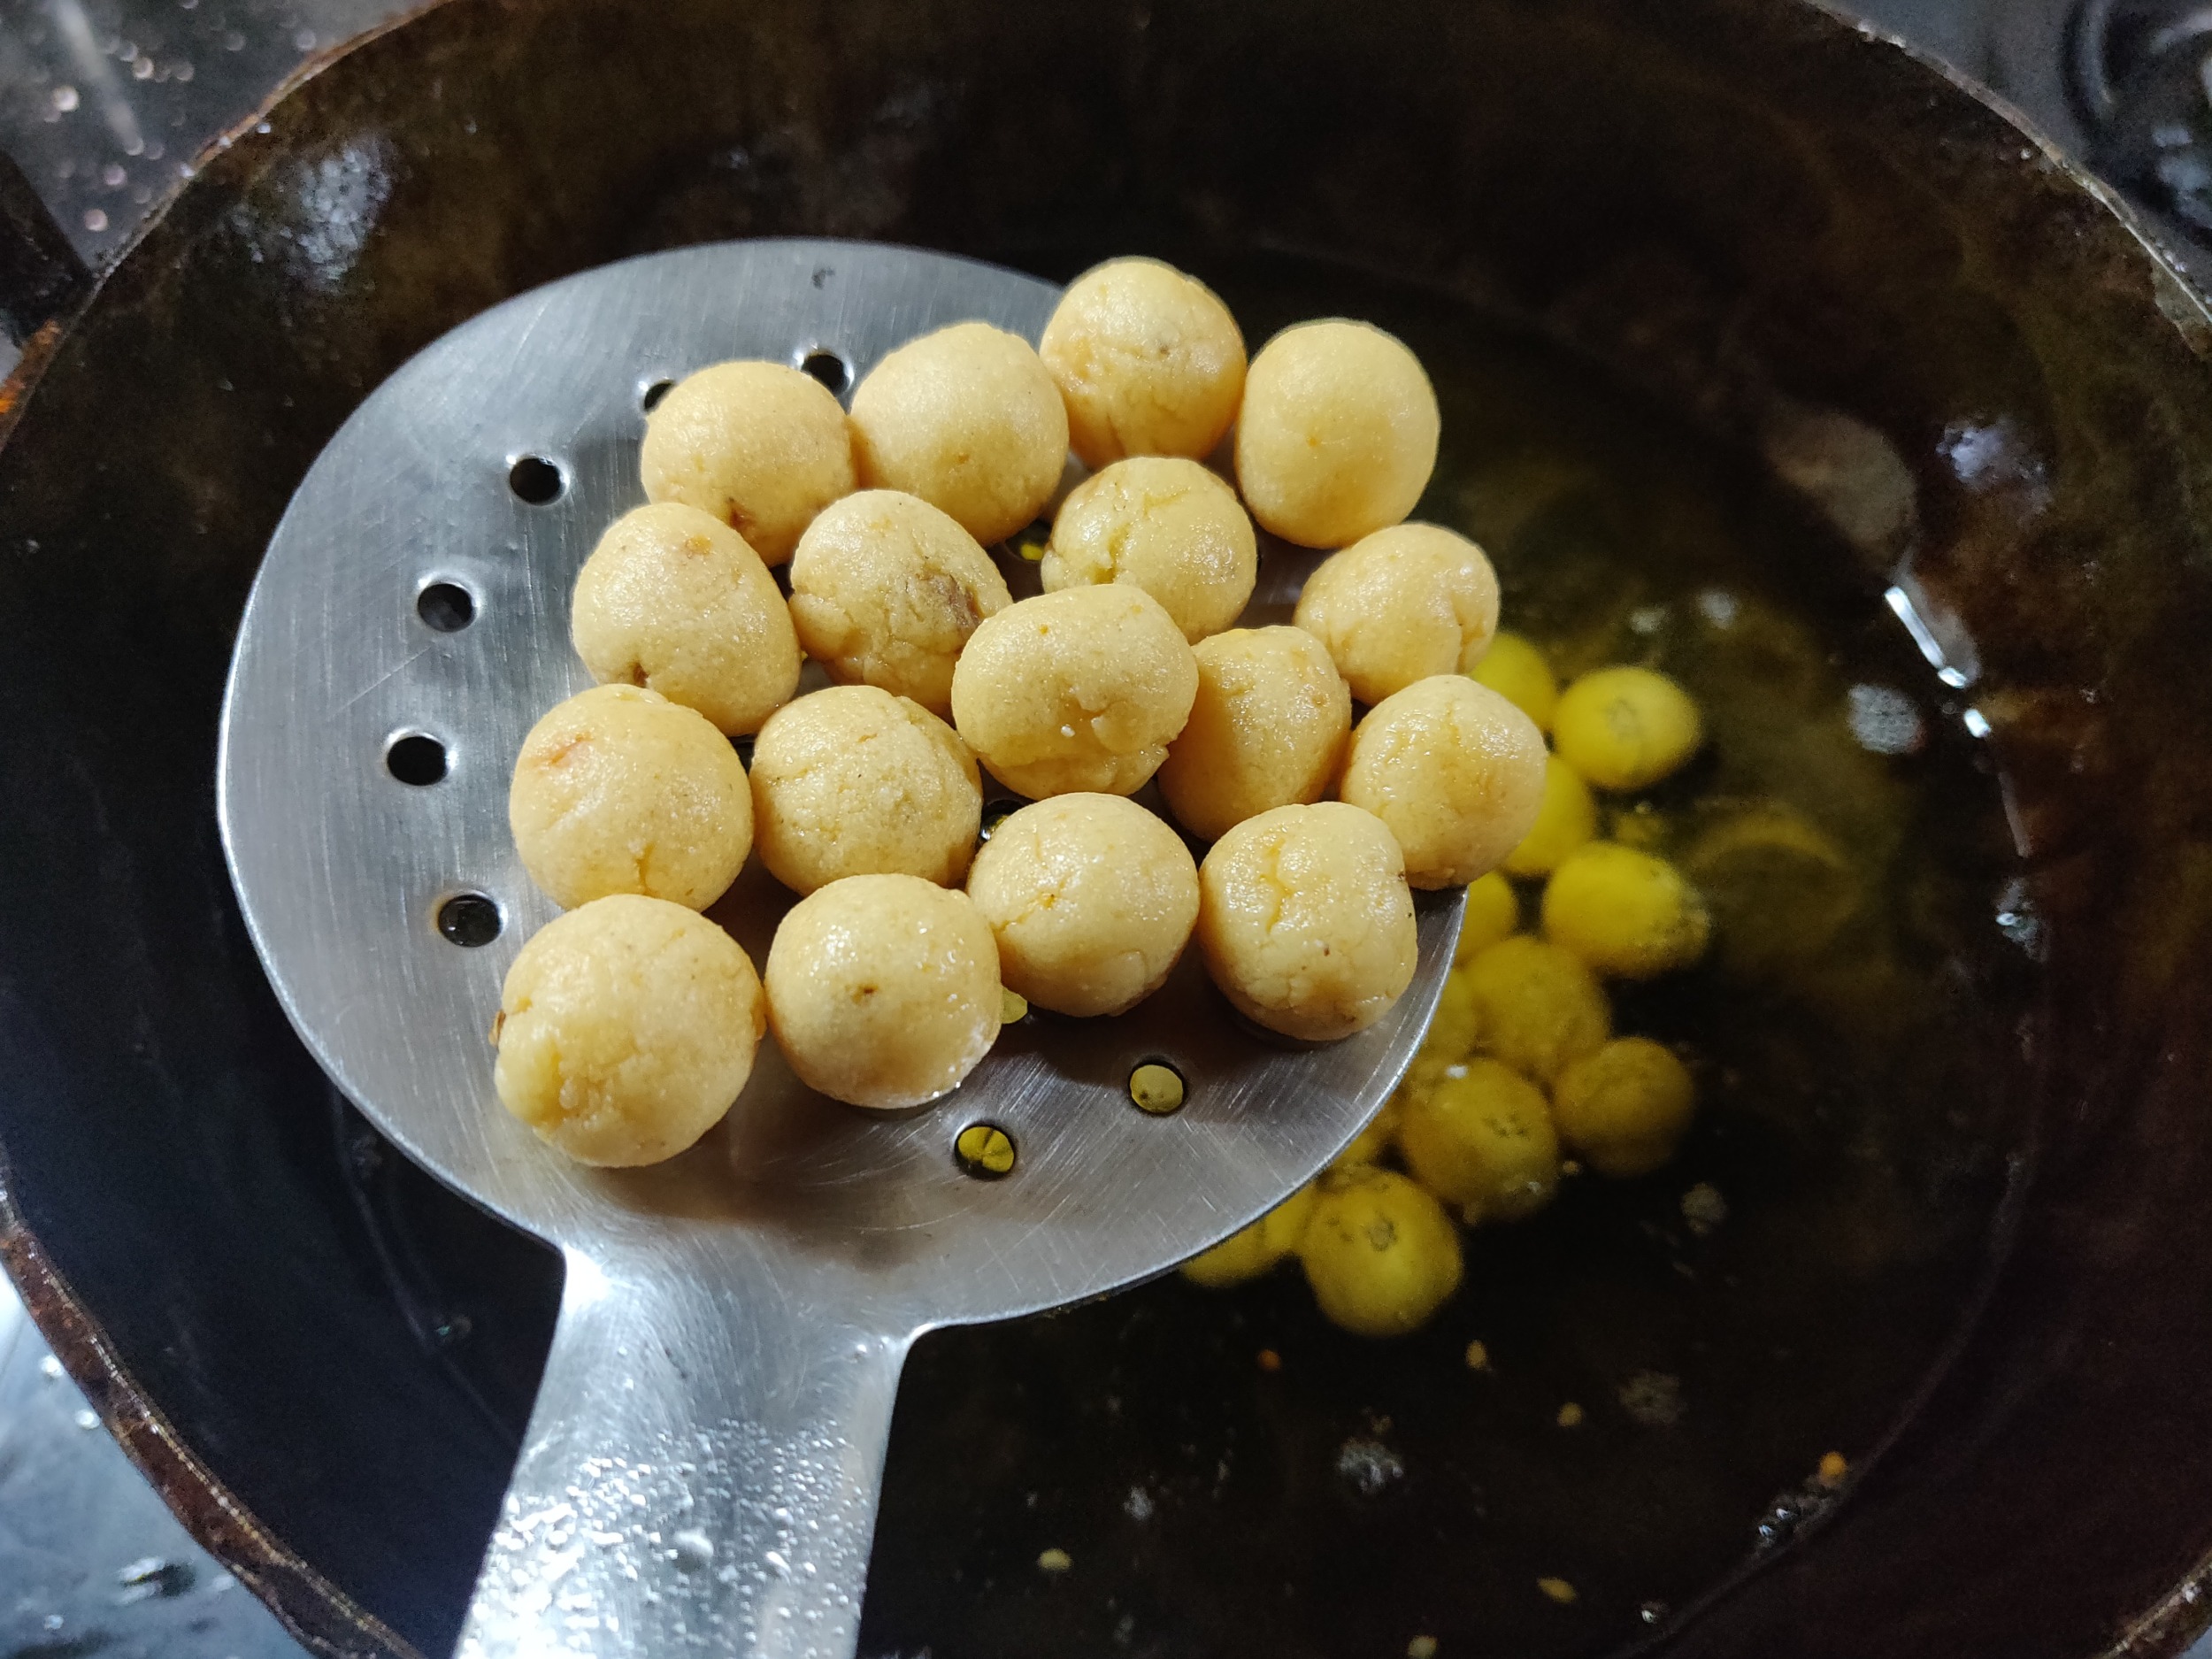
- Take the seedai out of oil while it is still pink in colour, as it would continue to cook for some more time even after taking it out of oil and change colour further. The indication of perfect seedai is when you drop the seedai on a plate, you should hear a crackling sound.
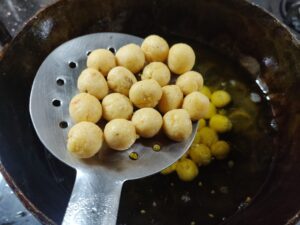
- Continue frying the remaining seedai in batches. Once it is cooled completely, transfer it to an air-tight container.


Notes
- Follow the exact proportions for this recipe and preferably use measuring spoons and cups for the best results.
- It is important to dry roast the rice flour irrespective of whether it is homemade or store bought.
- Make sure to sieve the rice flour and urad dal flour thoroughly to get rid of any lumps or impurities.
- You could also use around 1 tablespoon of coconut oil for extra flavour while kneading the dough. If you are doing so, reduce the amount of butter equivalently.
- Grated coconut gives great flavour to seedai and it also adds to the melt in mouth texture of the seedai. However do not add grated coconut in excess.
- Do not make the dough too tight or too thin. It should be somewhat like a puri dough.
- Rest the dough for 5-10 minutes before rolling. Similarly once rolled, let them air-dry for 15-20 minutes before frying.
- Fry the seedai on low flame while tossing in between to get a uniform colour and perfectly cooked through from inside as well.
- Remove the seedai from oil as soon as the bubbles subside in the oil and also while they are still pink. Seedai continue to cook even after taking them out of oil and the colour changes further.
- Cool the seedai thoroughly before transferring them to an air-tight container.