Adai Dosa
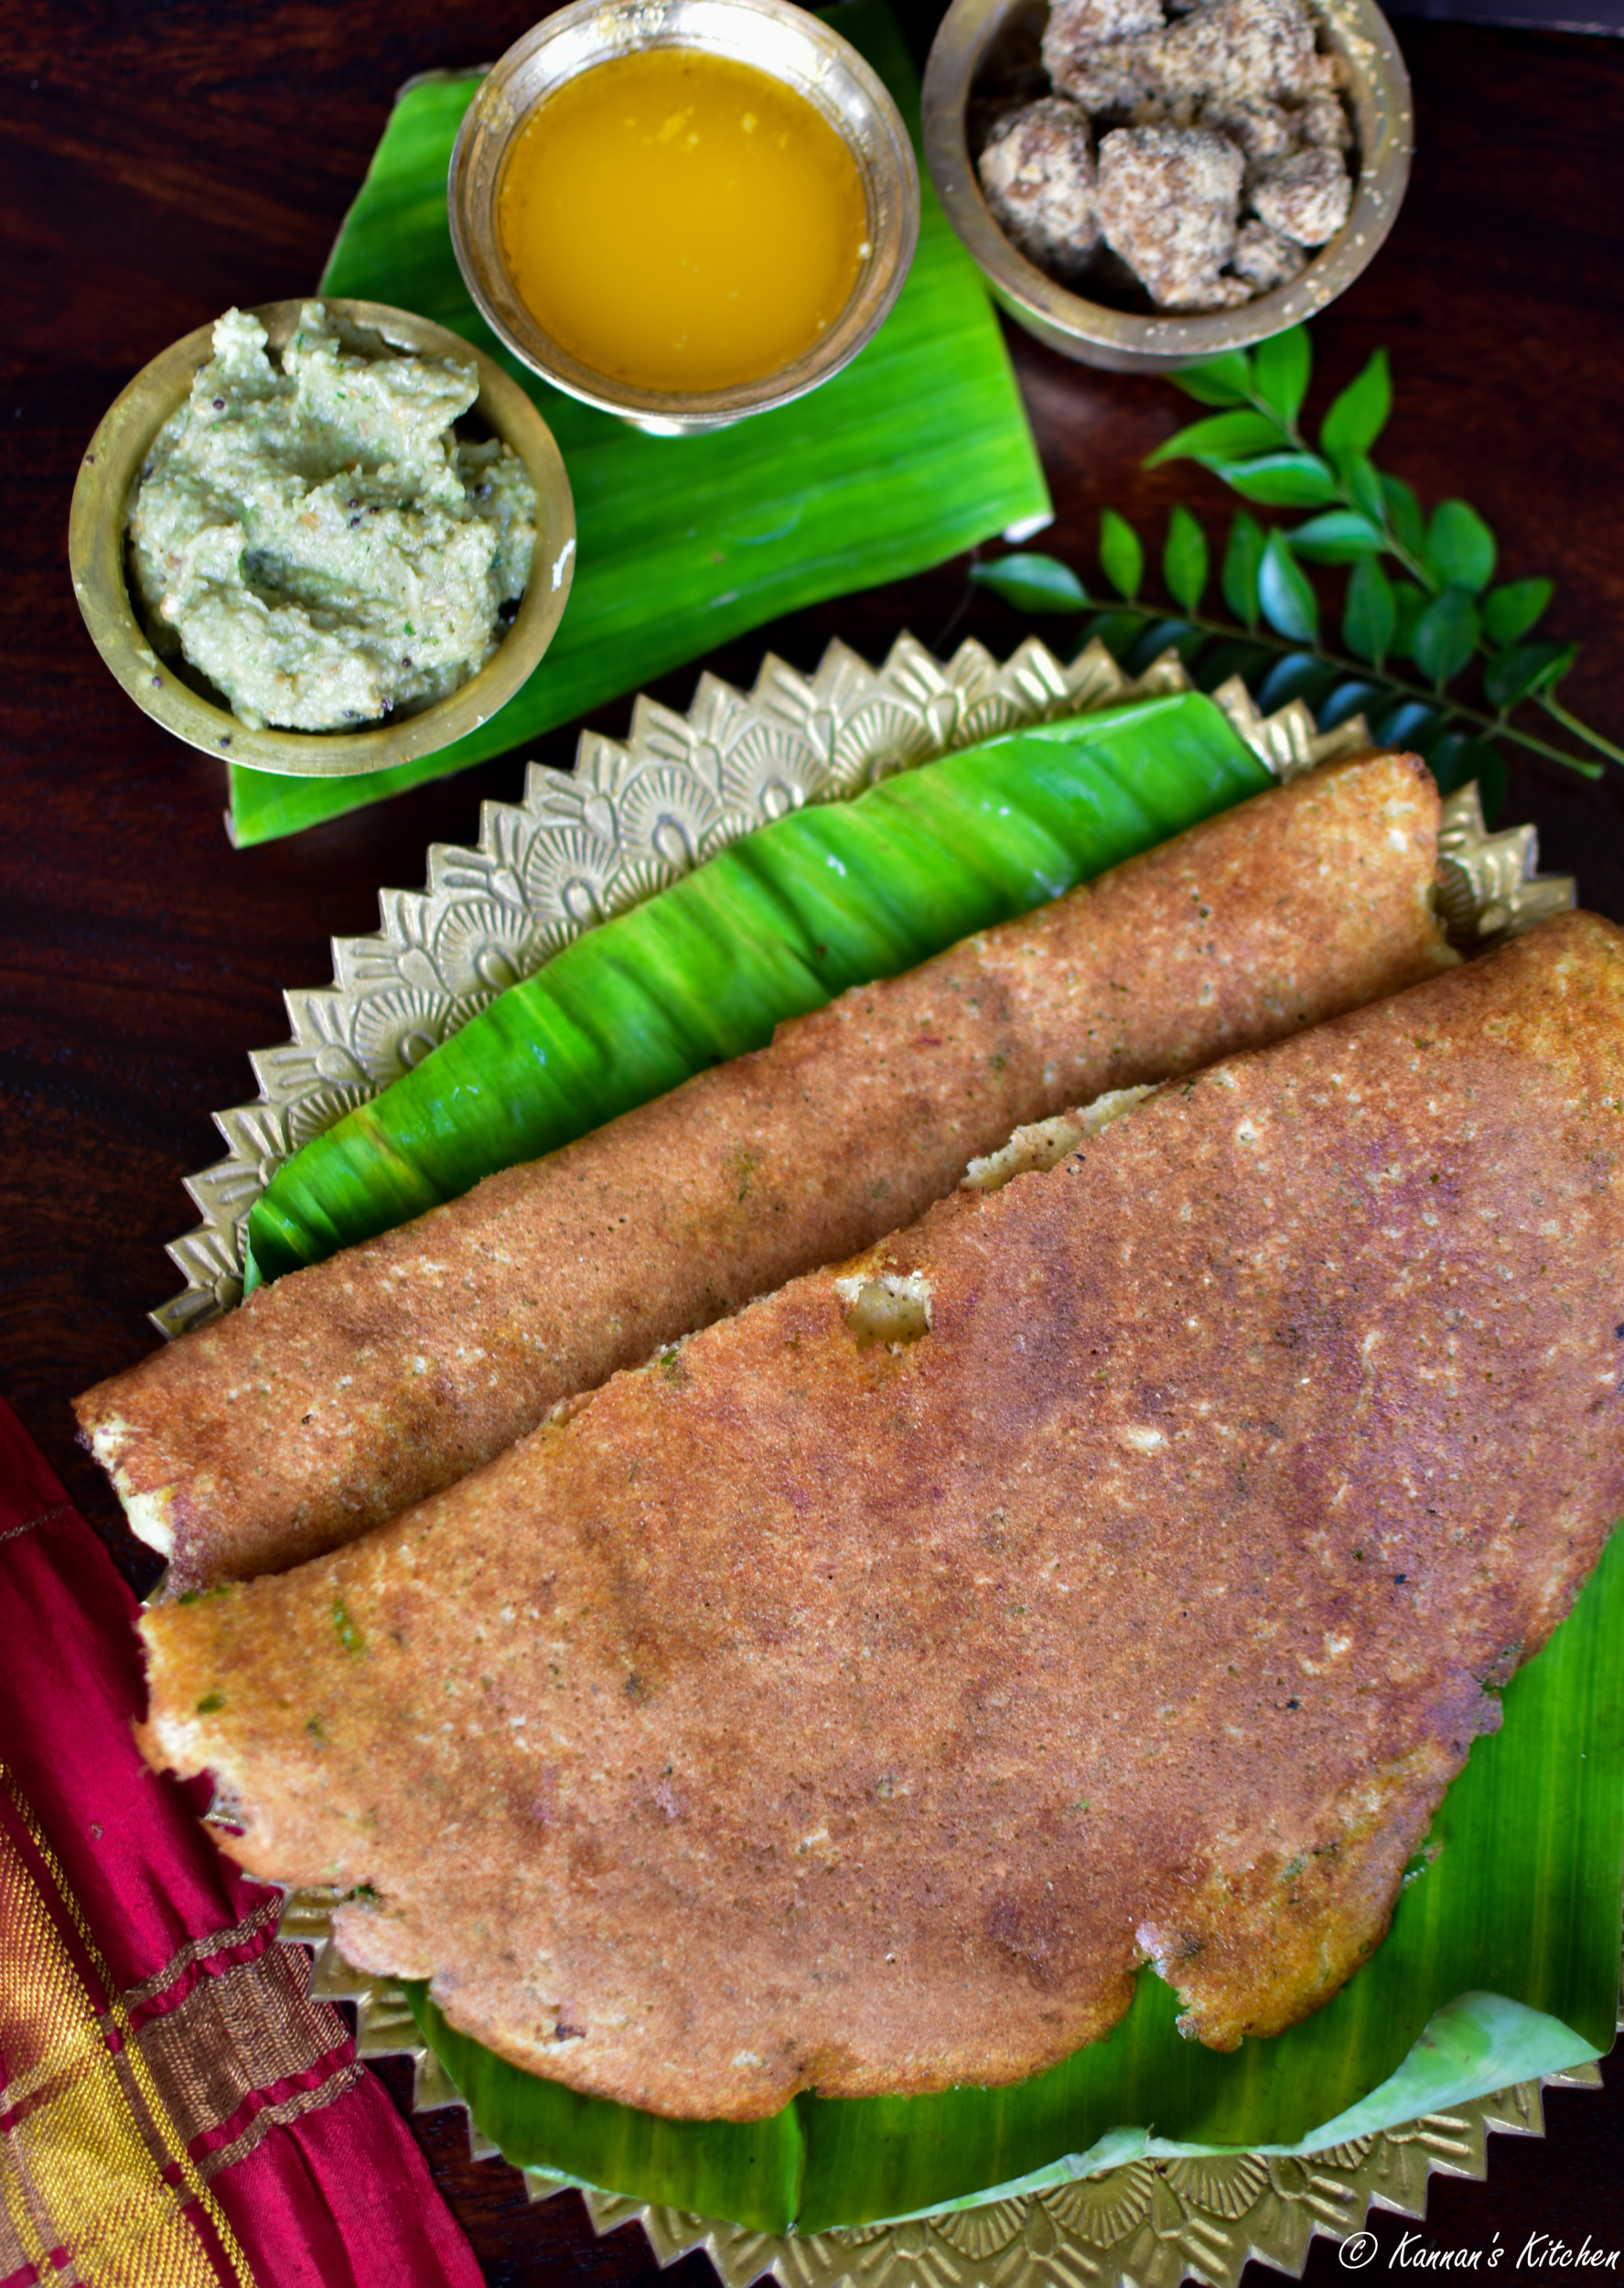
Adai or Adai Dosa is a traditional dosa recipe from the southern state of Tamil Nadu. This is a unique variation from the regular dosas we make and is a blend of rice and various dals. It is a nutritious dish and packed with protein and tastes fabulous too. This is quite a filling as well and makes it a perfect breakfast dish.
Every home has a slightly different recipe for Adai, as the proportion of the dal and rice varies. But generally speaking, this made using two types of rice – raw rice and boiled rice like Idli rice and a blend of dals like toor dal, urad dal and channa dal.
The rice and dal need not be soaked for long and it is enough to soak for 3-4 hours at the max, so it is also quite easy to make and need not soak the ingredients overnight. Another interesting point about this recipe is that the batter does not require fermentation and can be made almost immediately after grinding (however it tastes best if cooked after resting the batter for couple of hours). This recipe also is a boon for the folks living in cold countries where fermenting the normal idli/ dosa batter is always a challenge. In many households, rice and dal are soaked in the afternoon and ground in evening and made for dinner too.
Unlike the regular dosas, the dosa batter is ground slightly coarse and this dosa is made slightly thick. Though the dosa is slightly thick, but when made on a cast iron tawa, it turns out quite crisp too. Though these dosas can be made on non-stick pans as well, but it is traditionally made on a heavy cast iron pan and cooked on a medium flame, which yields a wonderful texture and crispness to the Adai.
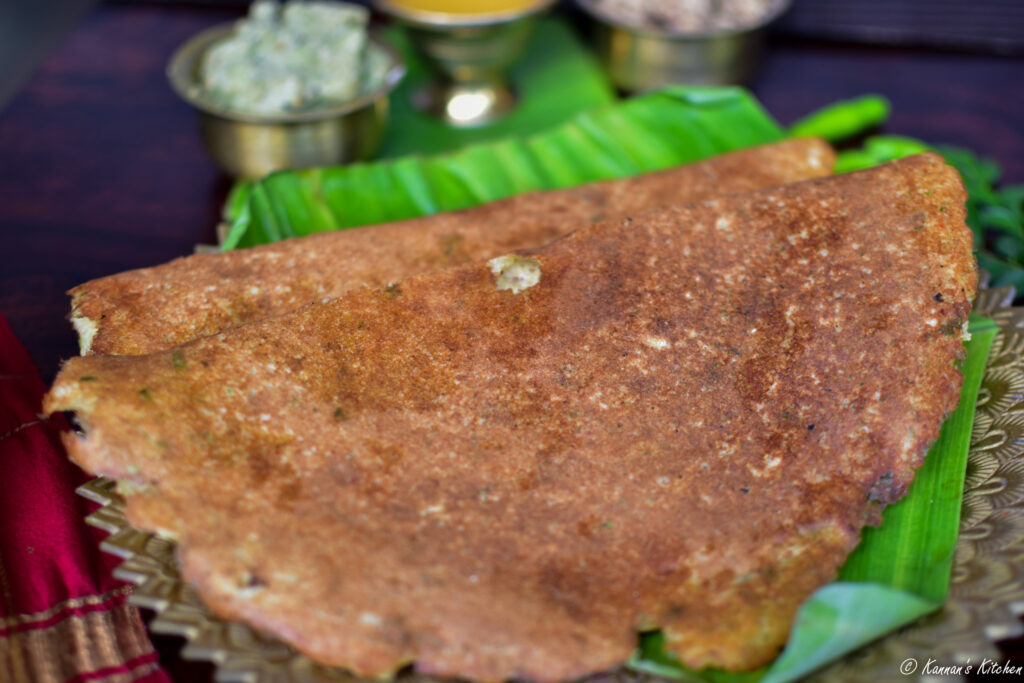
Adai is one of my personal favourite and I make it a point to include in our breakfast at least once in two weeks. Adai tastes best when some slightly roasted onions are added to the batter, however you could skip onions if you do not eat onions or having this dish on a festival day. Another variation to this is addition of freshly grated coconut to the batter and is particularly made on the Hindu festival of Kathikai. I personally prefer grated coconut over onion, but you could use either of them in your recipe. Onions particularly taste best in this recipe when the batter turns slightly sour after 2-3 days.
Serving Suggestion
One of the most popular combination for Adai is Avial, which is a south-Indian dish containing assorted veggies cooked in a coconut based gravy. Another traditional combo is jaggery and ghee or butter. However, I personally prefer having Adai with roasted eggplant chutney which is a signature dish of my mom. This is a personal favourite for most of us at home. You could also serve Adai with coconut chutney.
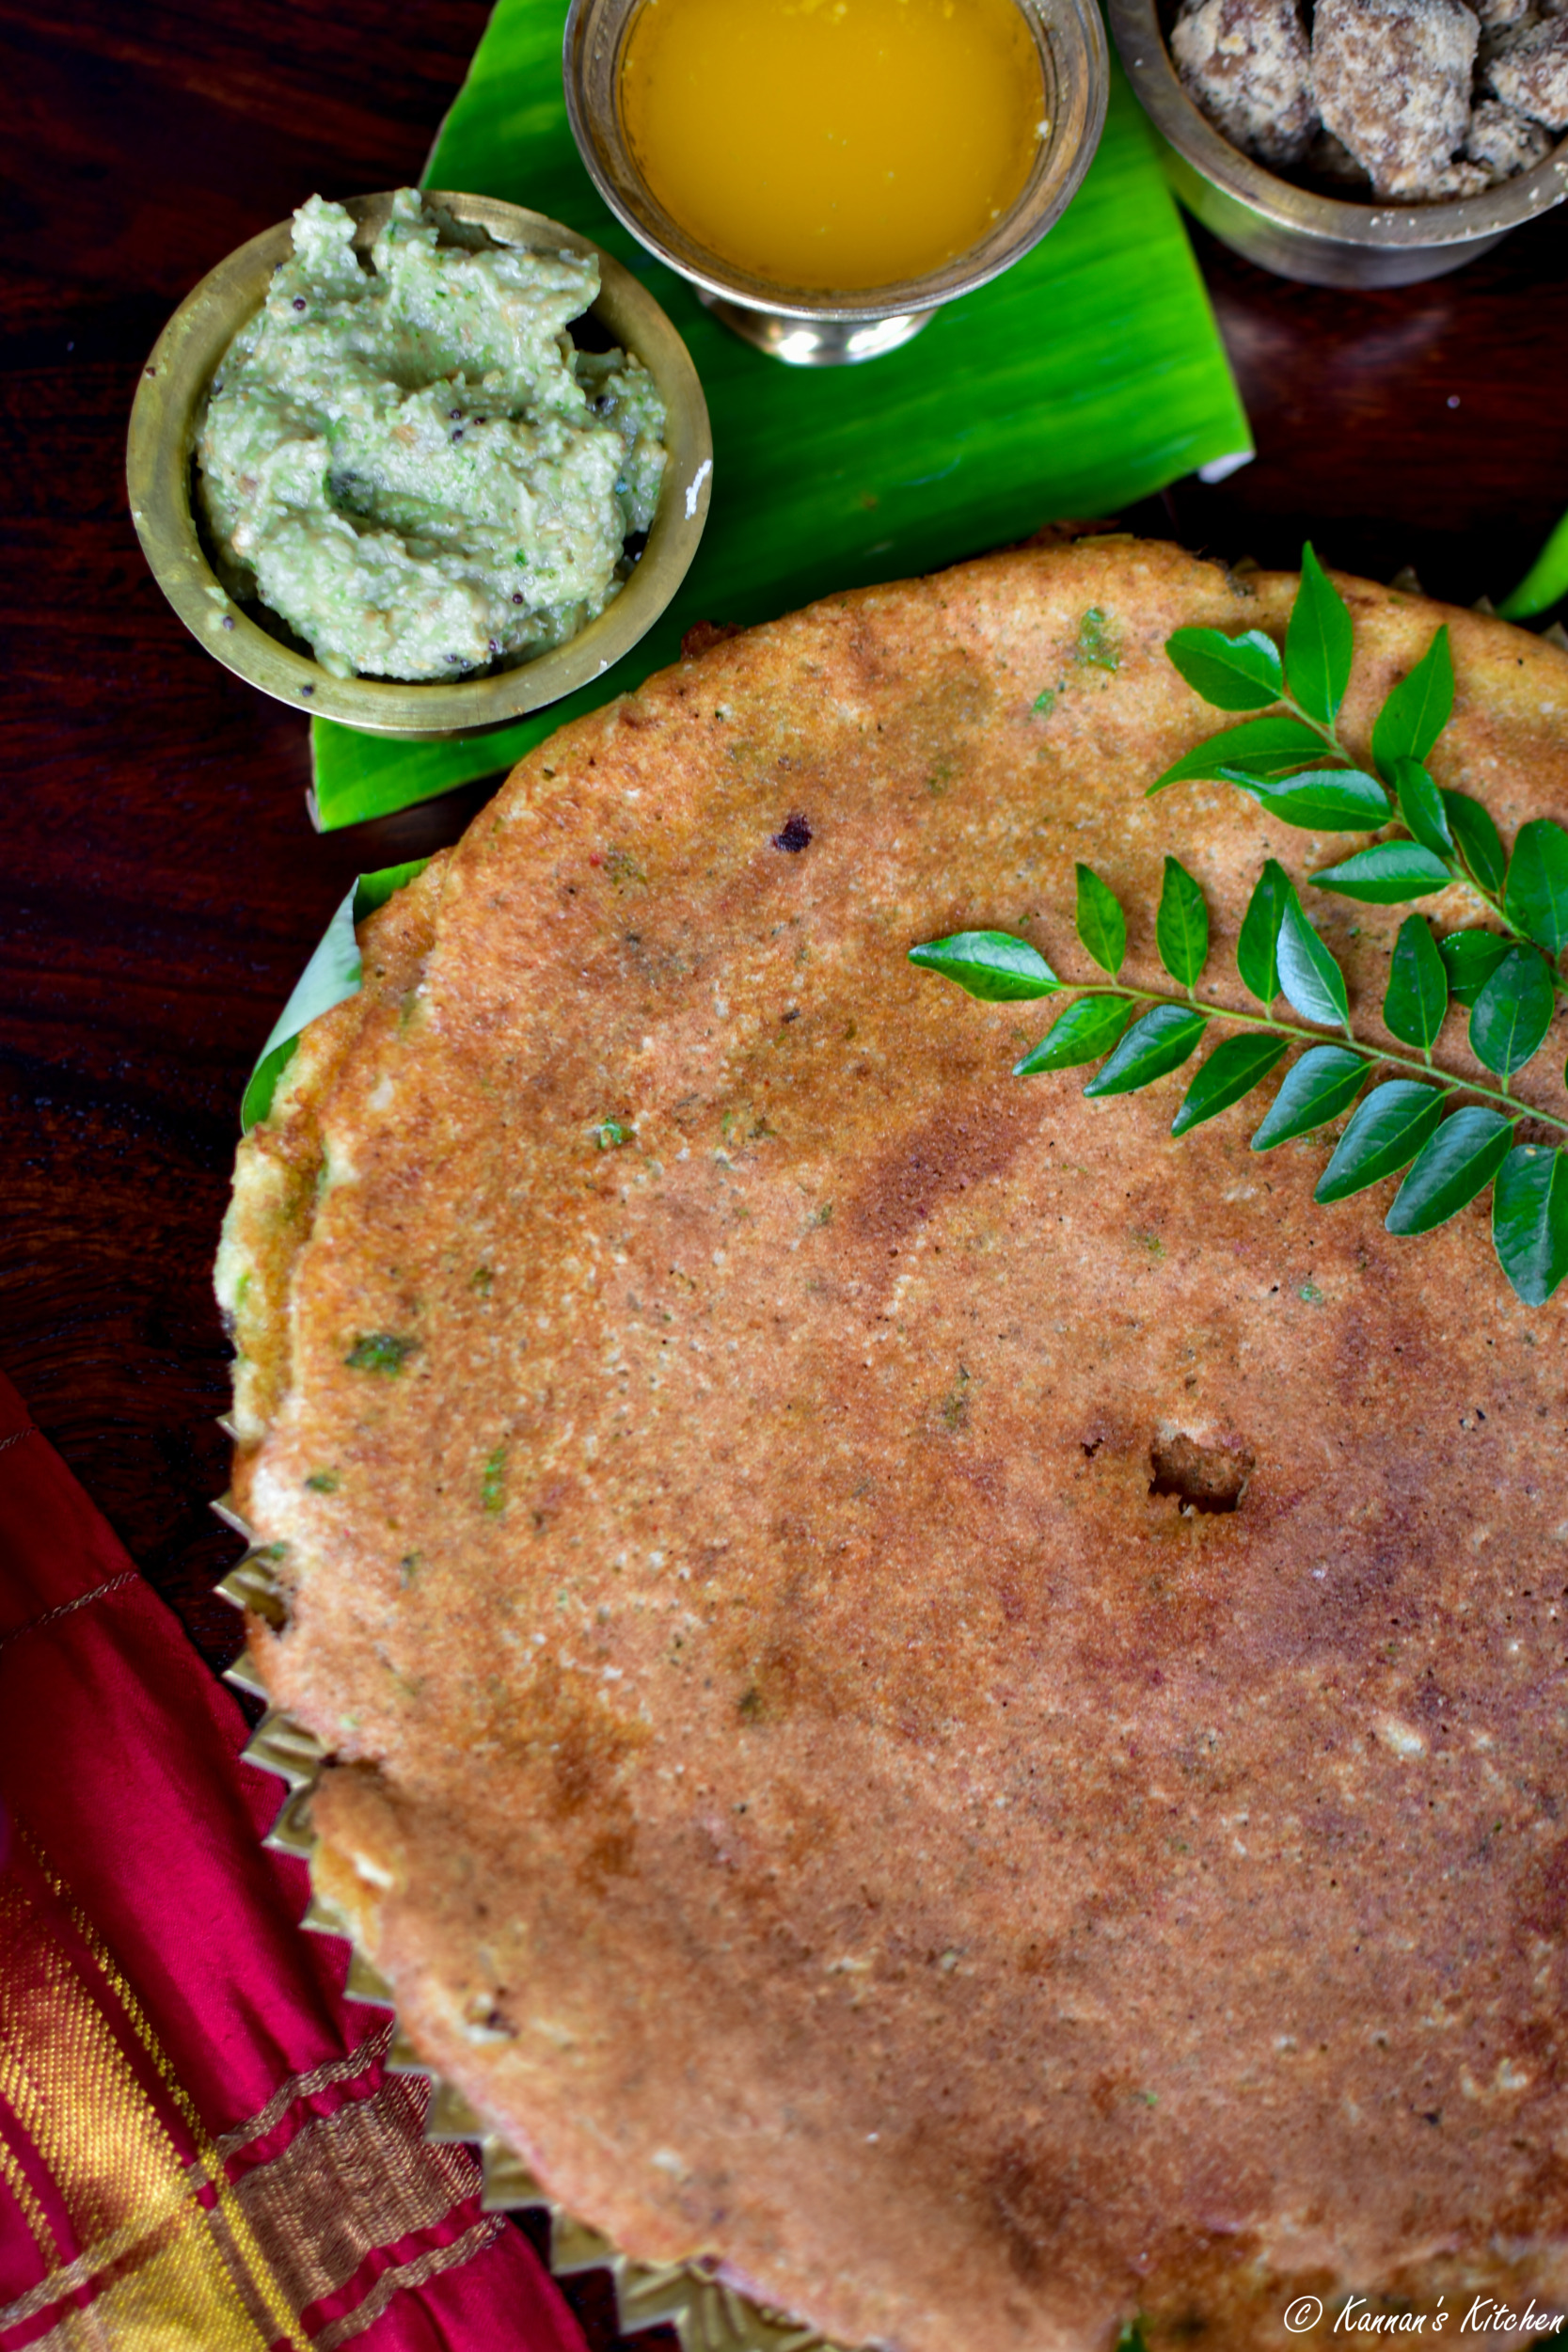
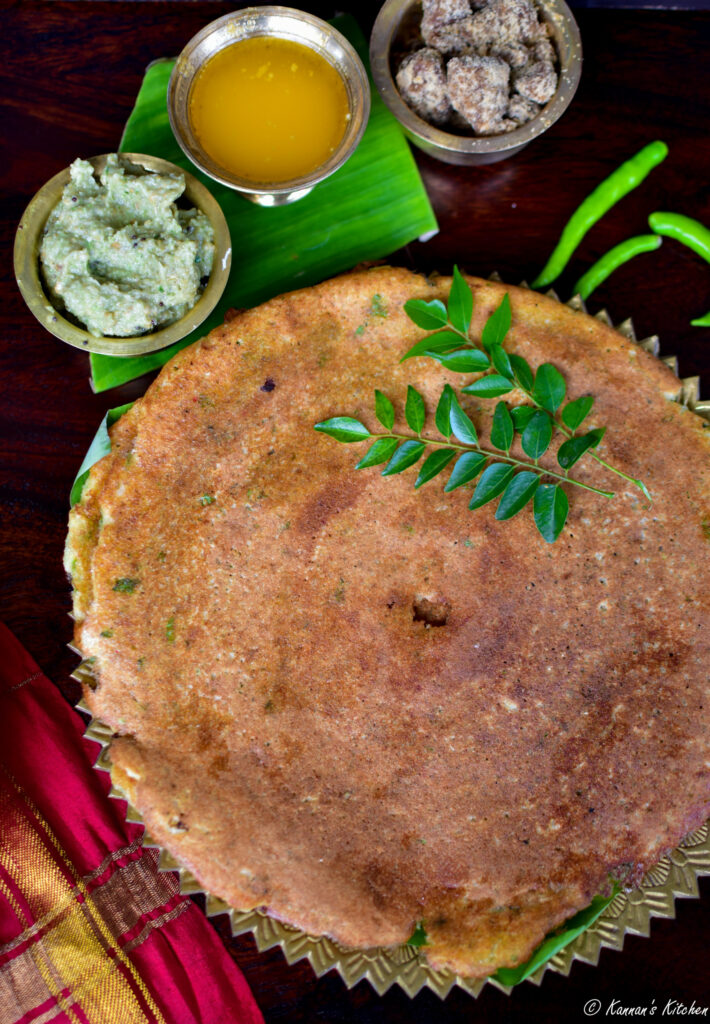
Adai Dosa
Ingredients
- 1¼ cup Idli Rice or Boiled Rice
- ¾ cup Dosa Rice or Raw Rice
- ½ cup Toor Dal
- ½ cup Whole Urad Dal
- 2 tbsp Channa Dal
- ¼ tsp Fenugreek or Methi Seeds
- ½ cup Grated Coconut
- 2 Green Chillies
- 2 Red Chillies
- ¼ tsp Asafoetida
- 2 sprigs Curry Leaves
Instructions
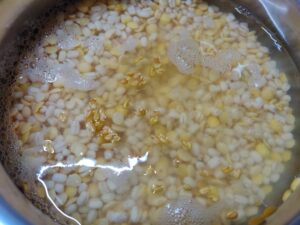
- Wash and soak idli rice, raw rice and channa dal in water for around 3-4 hours.
- Similarly, wash and soak toor dal, urad dal and the fenugreek seeds separately for the same amount of time.
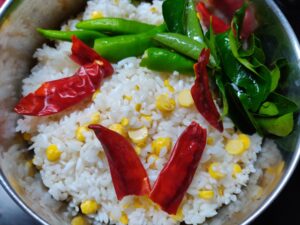
- Drain most of the water from the soaked rice. Transfer the rice and some of the reserved water (around 2 to 3 tablespoons) to a mixer and add the green chillies and red chillies and one sprig of curry leaves and grind to a coarse mixture.
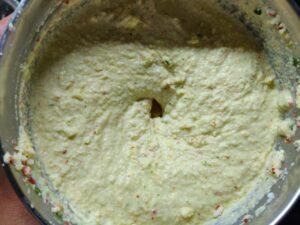
- The texture of the ground batter must be like Rava or Semolina. Transfer the ground batter to a separate vessel.
- Now drain the soaked toor and urad dal and grind this to a similar coarse batter with 2 to 3 tablespoons of the reserved water.
- Mix the ground dal mixture along with the previously ground rice batter. Add little water to adjust the consistency if required. Make note not to add lot of water, as this batter is ought to be slightly thick. Now add some salt and asafoetida and rest this batter for couple of hours.
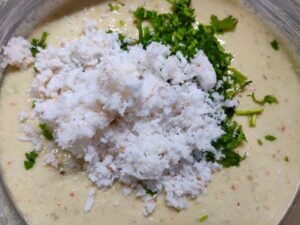
- Before making the dosas, mix half a cup of freshly grated coconut and some chopped coriander and curry leaves. Adjust the batter consistency with little water if required. The batter should be of a thick pouring consistency and not drip immediately when dropped from a ladle. If you would like to replace the grated coconut with onion, saute one large sized onion finely chopped in little oil and mix with the batter.
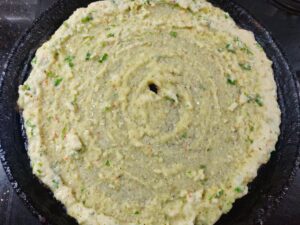
- Heat a cast iron tawa and spread a little oil and spray some water. Pour one ladle of the batter and spread it slightly thick (unlike dosa). Make a hole in the centre using a spatula for even cooking and add some oil. Adai generally requires little extra oil for cooking. Cook on medium flame till the edges start to brown.
- Flip the dosa and cook the other side also on a medium flame. Add some more oil if required. Serve hot with chutney, avial or ghee and jaggery.
Notes
- Soak the rice and dal only for a max of 3 to 4 hours as there has to still be some crunch to it.
- It is very important to grind this batter very coarsely. This is what would yield a good texture and crispness to the dosa.
- Be careful, not to make the batter thin. The consistency of this batter has to be thicker than the regular dosa batter.
- This dosa does not require fermentation, however resting it couple of hours before cooking provides great results. If you are in a hurry, you could make dosas immediately after grinding the batter too.
- The batter could be stored in refrigerator for 3 to 4 days and used when required. If you are making a large batch, I suggest adding the onions as and when required in small batches, else the batter could turn sour quickly.
- Try to use a heavy cast iron tawa for making Adai as it helps in uniform cooking of the Adai and also yields crisper adai.
- Cook adai on medium flame, else it would not be cooked from inside.
- Be generous with the amount of oil used for cooking the adai, as it helps cooking through inside.
- You could either use grated coconut or chopped onions in the batter before cooking the Adai. Both the combinations taste equally good.
- The methi seeds helps giving the adai a nice golden colour when it is cooked. So do not skip this ingredient.





Liked he recipe will try it out soon.thank you
Thank you 🙂