
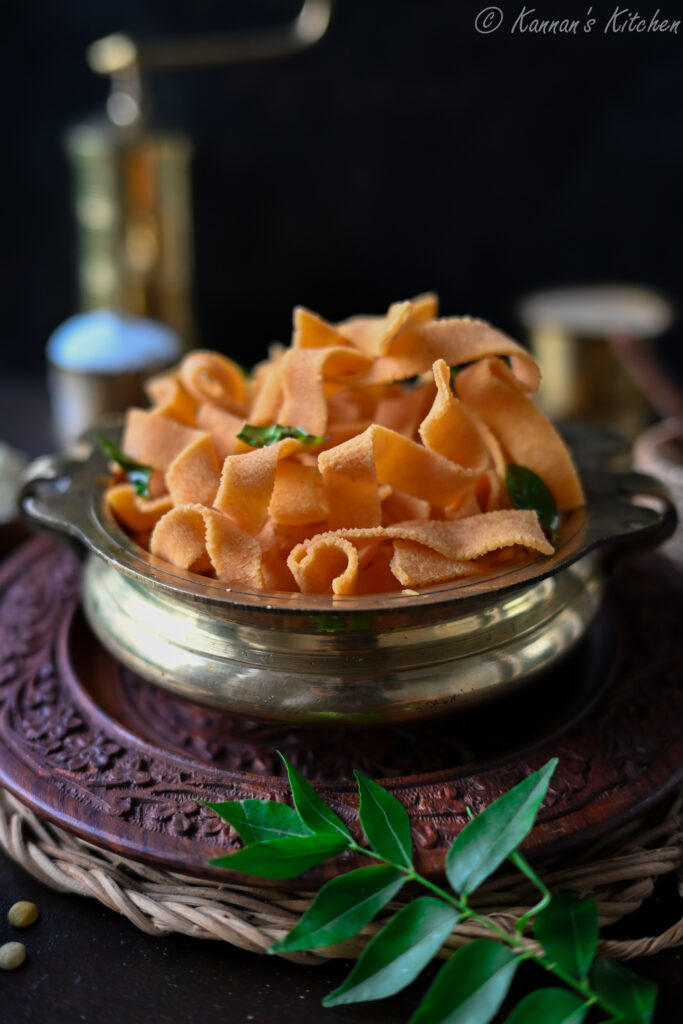
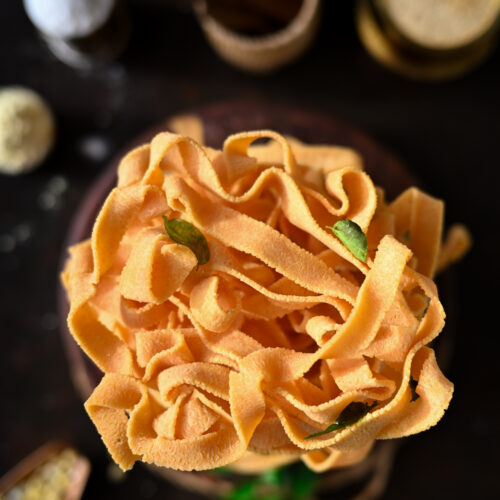
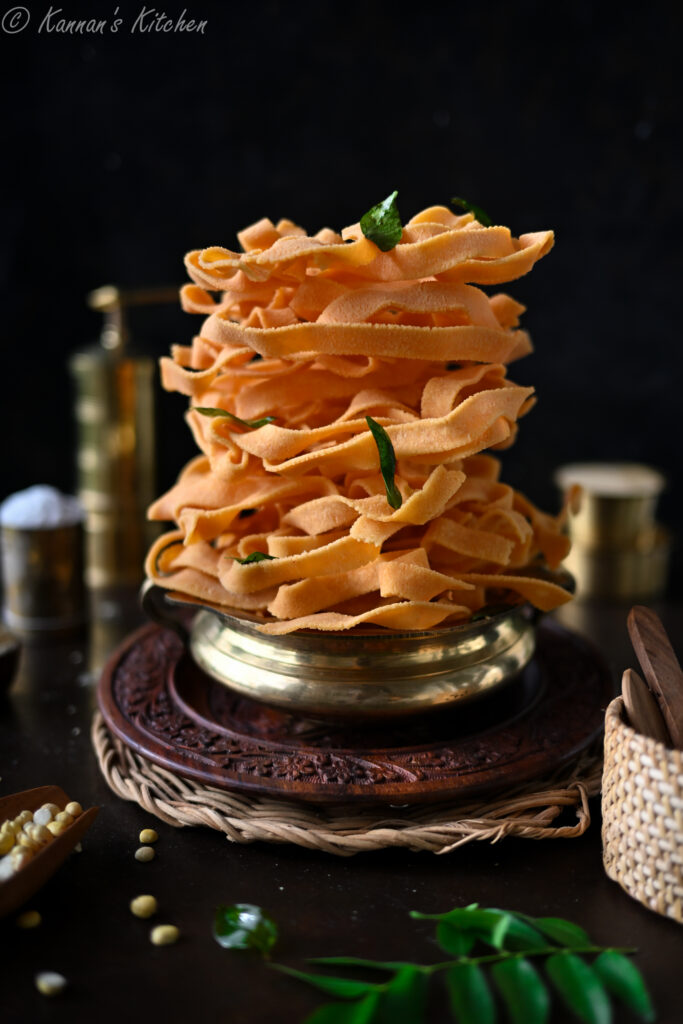
Ribbon Pakoda
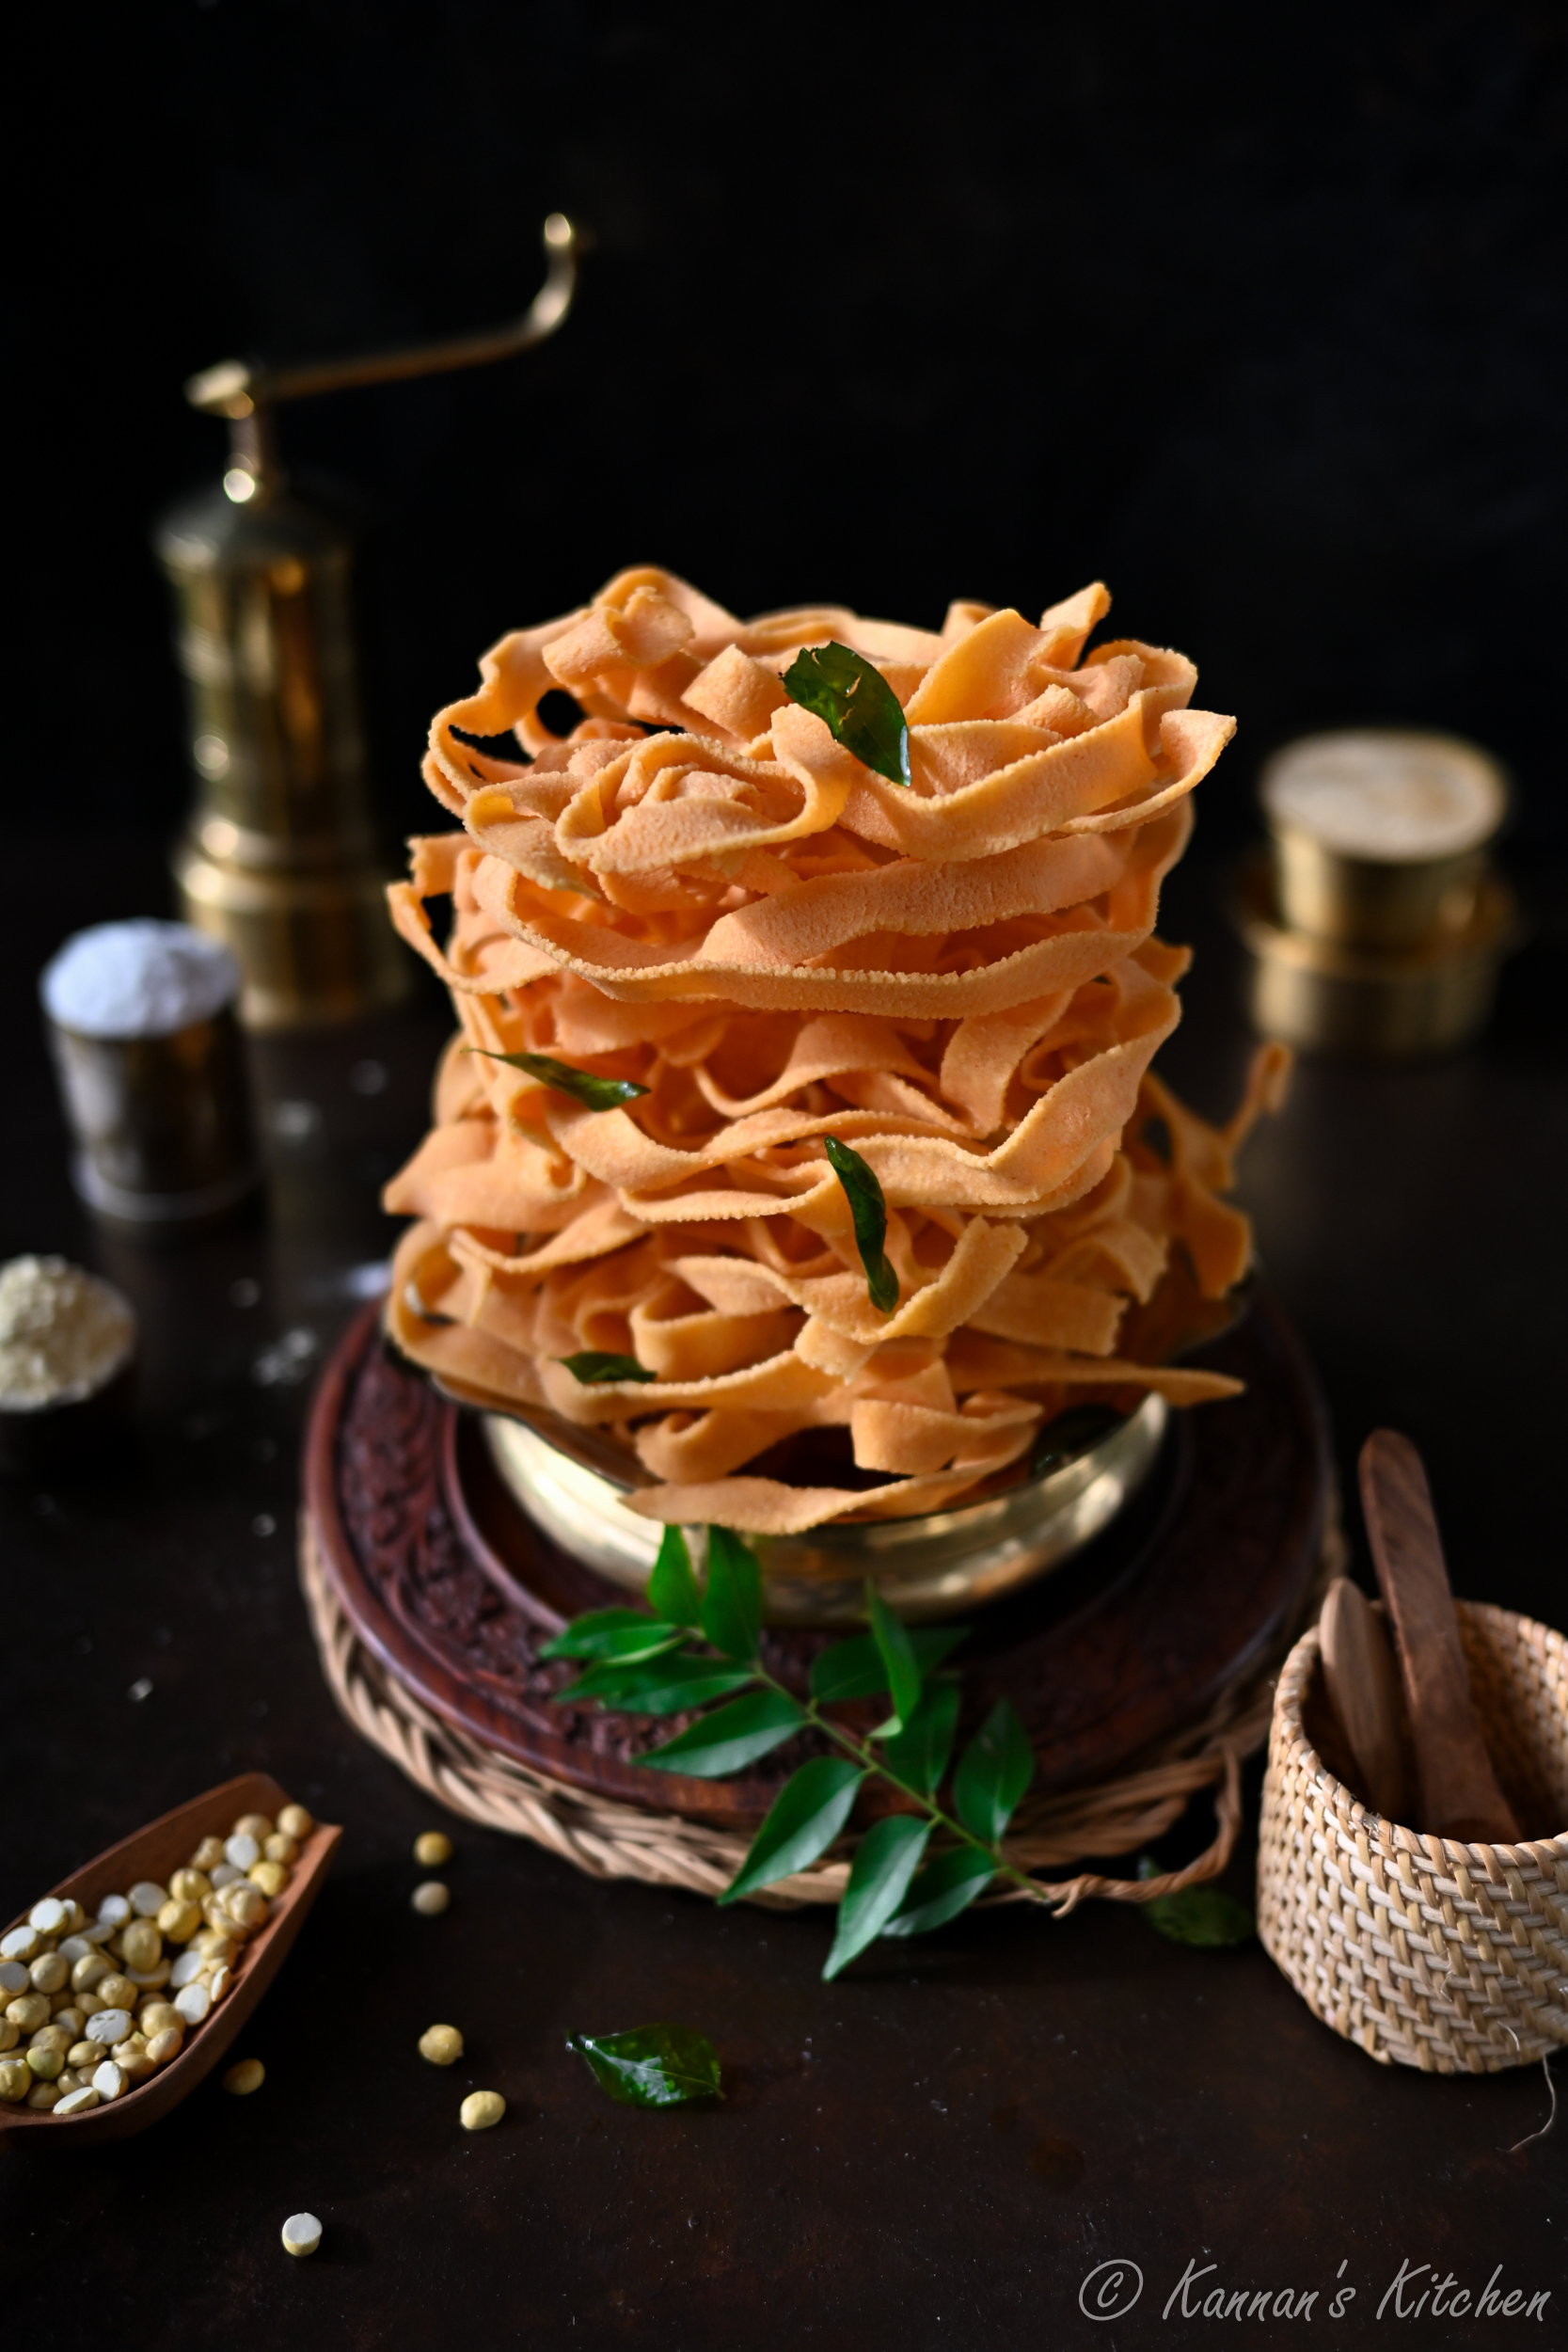
Ribbon Pakoda is a traditional South-Indian deep-fried snack made using rice flour, gram flour or besan and fried Bengal gram flour. This dish gets it’s name as it is squeezed in shape of ribbon.
Traditionally this snack is made on festivals like Janmashtami and Deepavali, but it is a quick and easy all-time snack that can be made any day in a jiffy. For those who fear to make home-made snacks during festivities, this is one of the simplest and no-fail recipe that you can begin with. The ingredients are pretty simple and the process is also uncomplicated.
Each household has a different recipe for Ribbon Pakoda. Although the ingredients are simple and minimal, it is the proportion of the ingredients that brings difference in texture and taste of this snack.
Many make use of equal proportion of gram flour and rice flour in this recipe, but in our home we tend to use a greater proportion of rice flour and a mix of gram flour and fried Bengal gram flour (pottukadalai powdered) instead of only gram flour. In my opinion, too much of gram flour or besan makes Ribbon pakoda heavy and also reduces the crunch. While increased proportion of rice flour helps yield crisp ribbon pakoda, but the secret ingredient here is the fried Bengal gram flour which makes it lighter.
Typically hot oil is used while kneading the dough for this recipe. But I prefer using a mix of both butter and hot oil for making ribbon pakoda. Butter makes the ribbon pakoda crunchy and at the same time ensures that it does not turn hard. Hot oil helps make ribbon pakoda light in texture. So the combination of both is another secret to a perfectly crunchy ribbon pakoda.
The recipe that I am sharing in this post does not contain any other flavouring ingredients like sesame seeds or garlic, but you can add these ingredients as per your preference.
Here are some common problems while making ribbon pakoda and corresponding fix:
If the amount of butter and hot oil added while making the dough is inadequate, ribbon pakoda might turn hard.
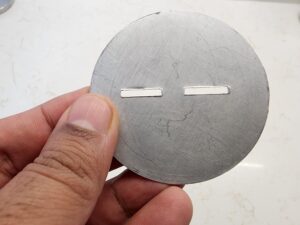
This is a very common problem and there is a simple fix which many overlook. When you place the ribbon pakoda mould plate in the chakli maker, ensure that the rough edge is inside and the smooth edge is outward facing.
If the dough is too thick or too thin, then it would not come out in a continuous flow. So always ensure that the dough is of right consistency, and maintain a constant pressure while squeezing out of chakli maker.
Ribbon pakoda must be fried in medium oil to ensure it is cooked through inside. Always let it cool to room temperature and then transfer to airtight container.
If you add butter and hot oil in excess while kneading the dough, it might absorb lot of oil while frying. Also maintain optimum oil temperature while frying
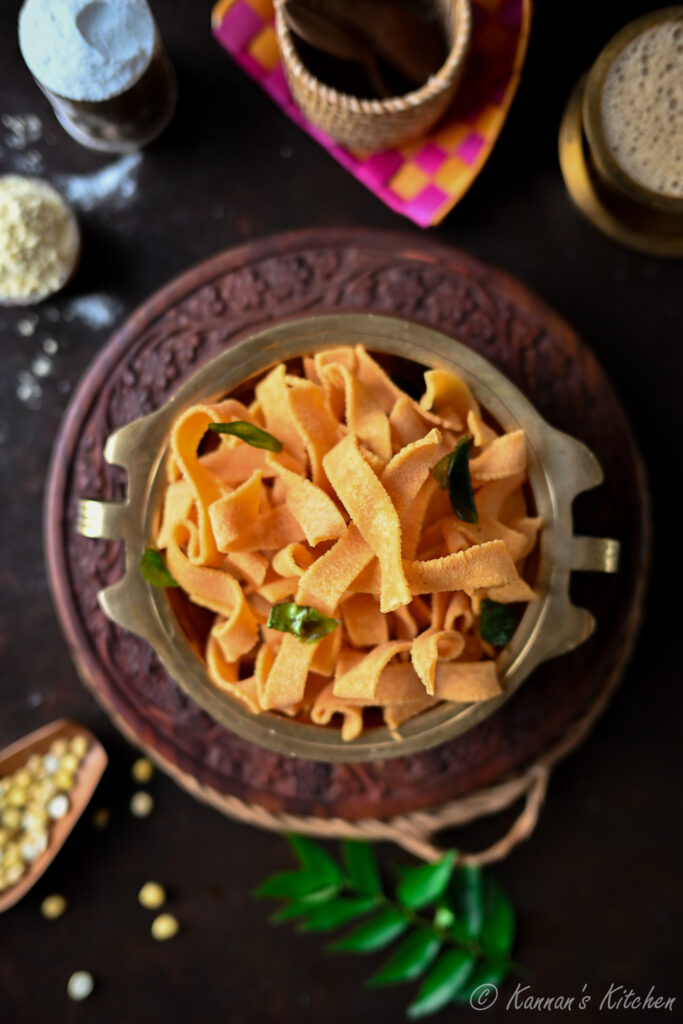
You can make use of both the traditional mould press or the spiral one for making ribbon pakoda. Likewise, some mould plates have one hole and others have two in it -you can use either of them. Unlike murukku which is made in small individual pieces, typically ribbon pakoda is squeezed as one big piece with concentric circles. You can break them slightly once it is fried and cooled for easy storage.
Ribbon pakoda has a shelf life of a week to 10 days when stored in an airtight container. The snack would still be edible beyond this timeframe, but it might not be as crunchy and fresh. So it is best to make this in batches as required.
Ribbon Pakoda
Equipment
- Standard Measuring Cups and Spoons
Ingredients
- 2 cups Rice Flour
- 0.5 cup Besan or Gram Flour
- 0.5 cup Fried Bengal gram flour or Pottukadalai flour
- 3 tbsp Unsalted Butter
- 1.5 tbsp Hot Oil
- ½ tsp Asafoetida or Hing
- 2-3 tsp Red Chilli Powder
- Oil for deep frying
- Water to knead dough
Instructions
- Grind pottukadalai or fried Bengal gram in mixer to a fine powder.

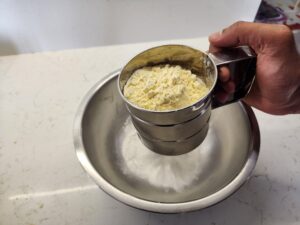
- Take Rice flour, besan or gram flour and ground fried Bengal gram in a sieve and sieve all the ingredients together.
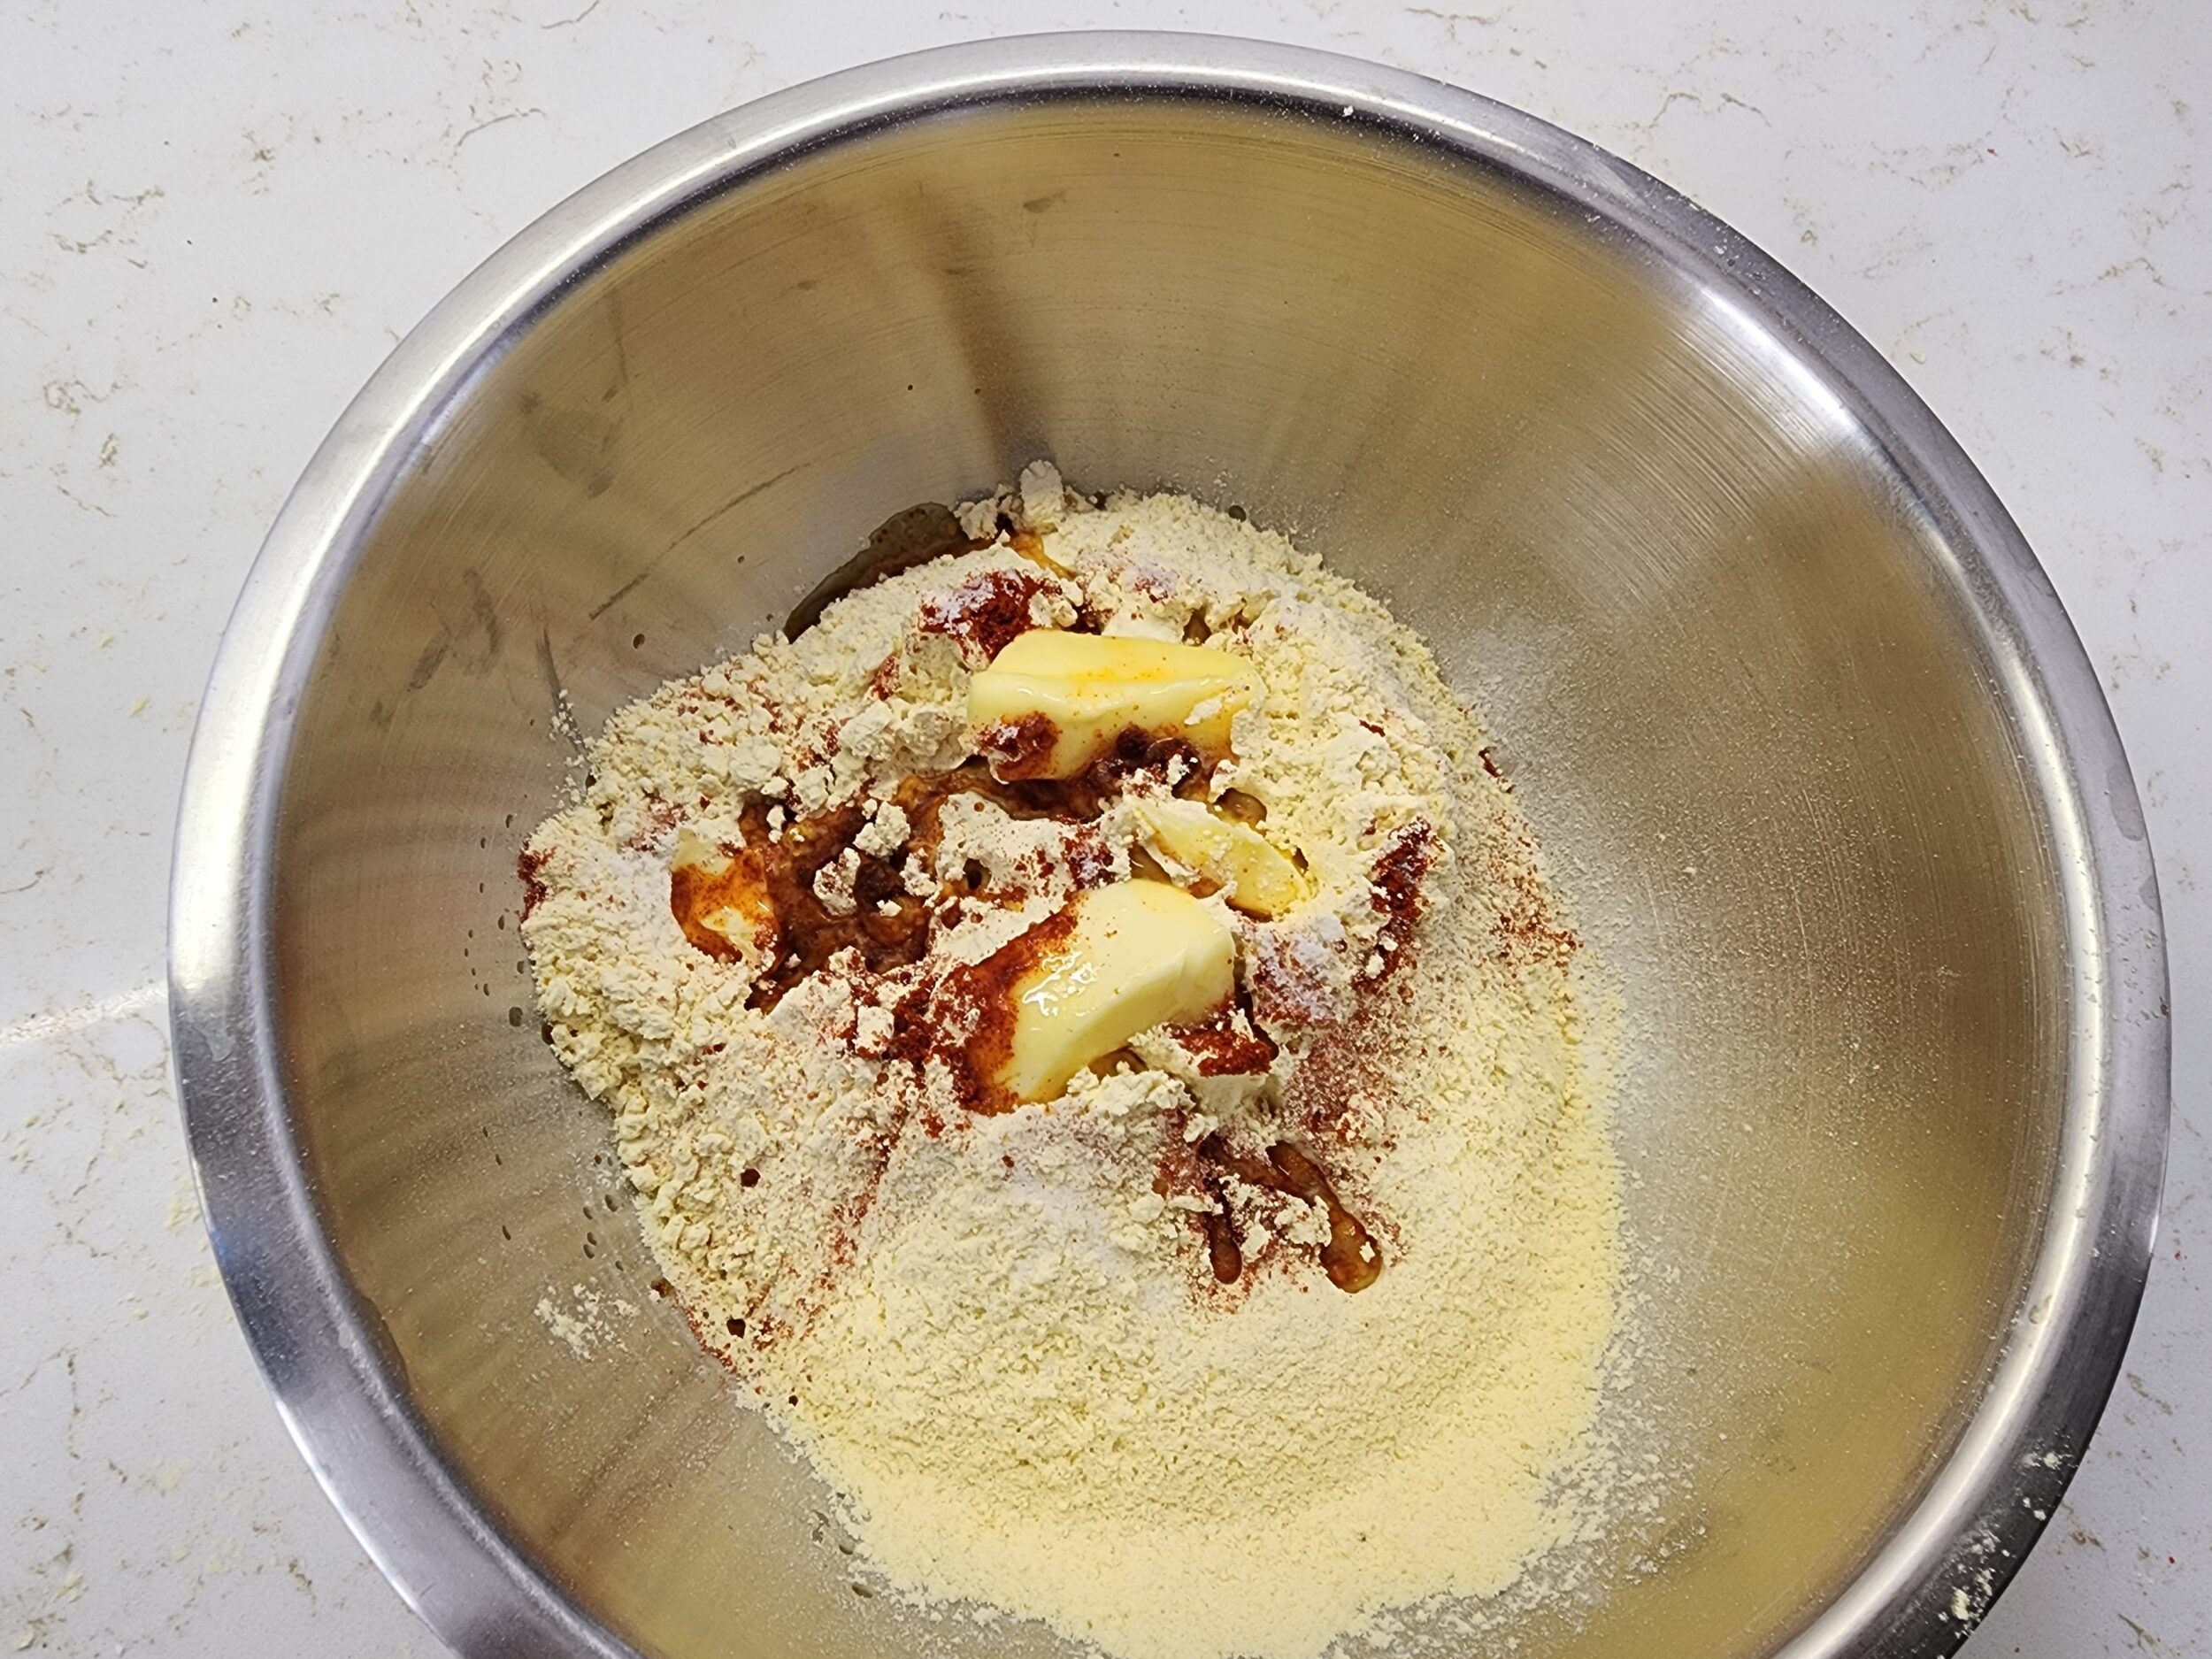
- Heat oil in a large kadai while you prepare the dough. Add red chilli powder, salt, asafoetida, butter and hot oil (from kadai) to the flour.

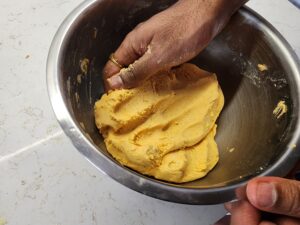
- Add water gradually and knead to a smooth dough. The dough should be softer than chapati dough and must have enough moisture, but not too runny or soft.
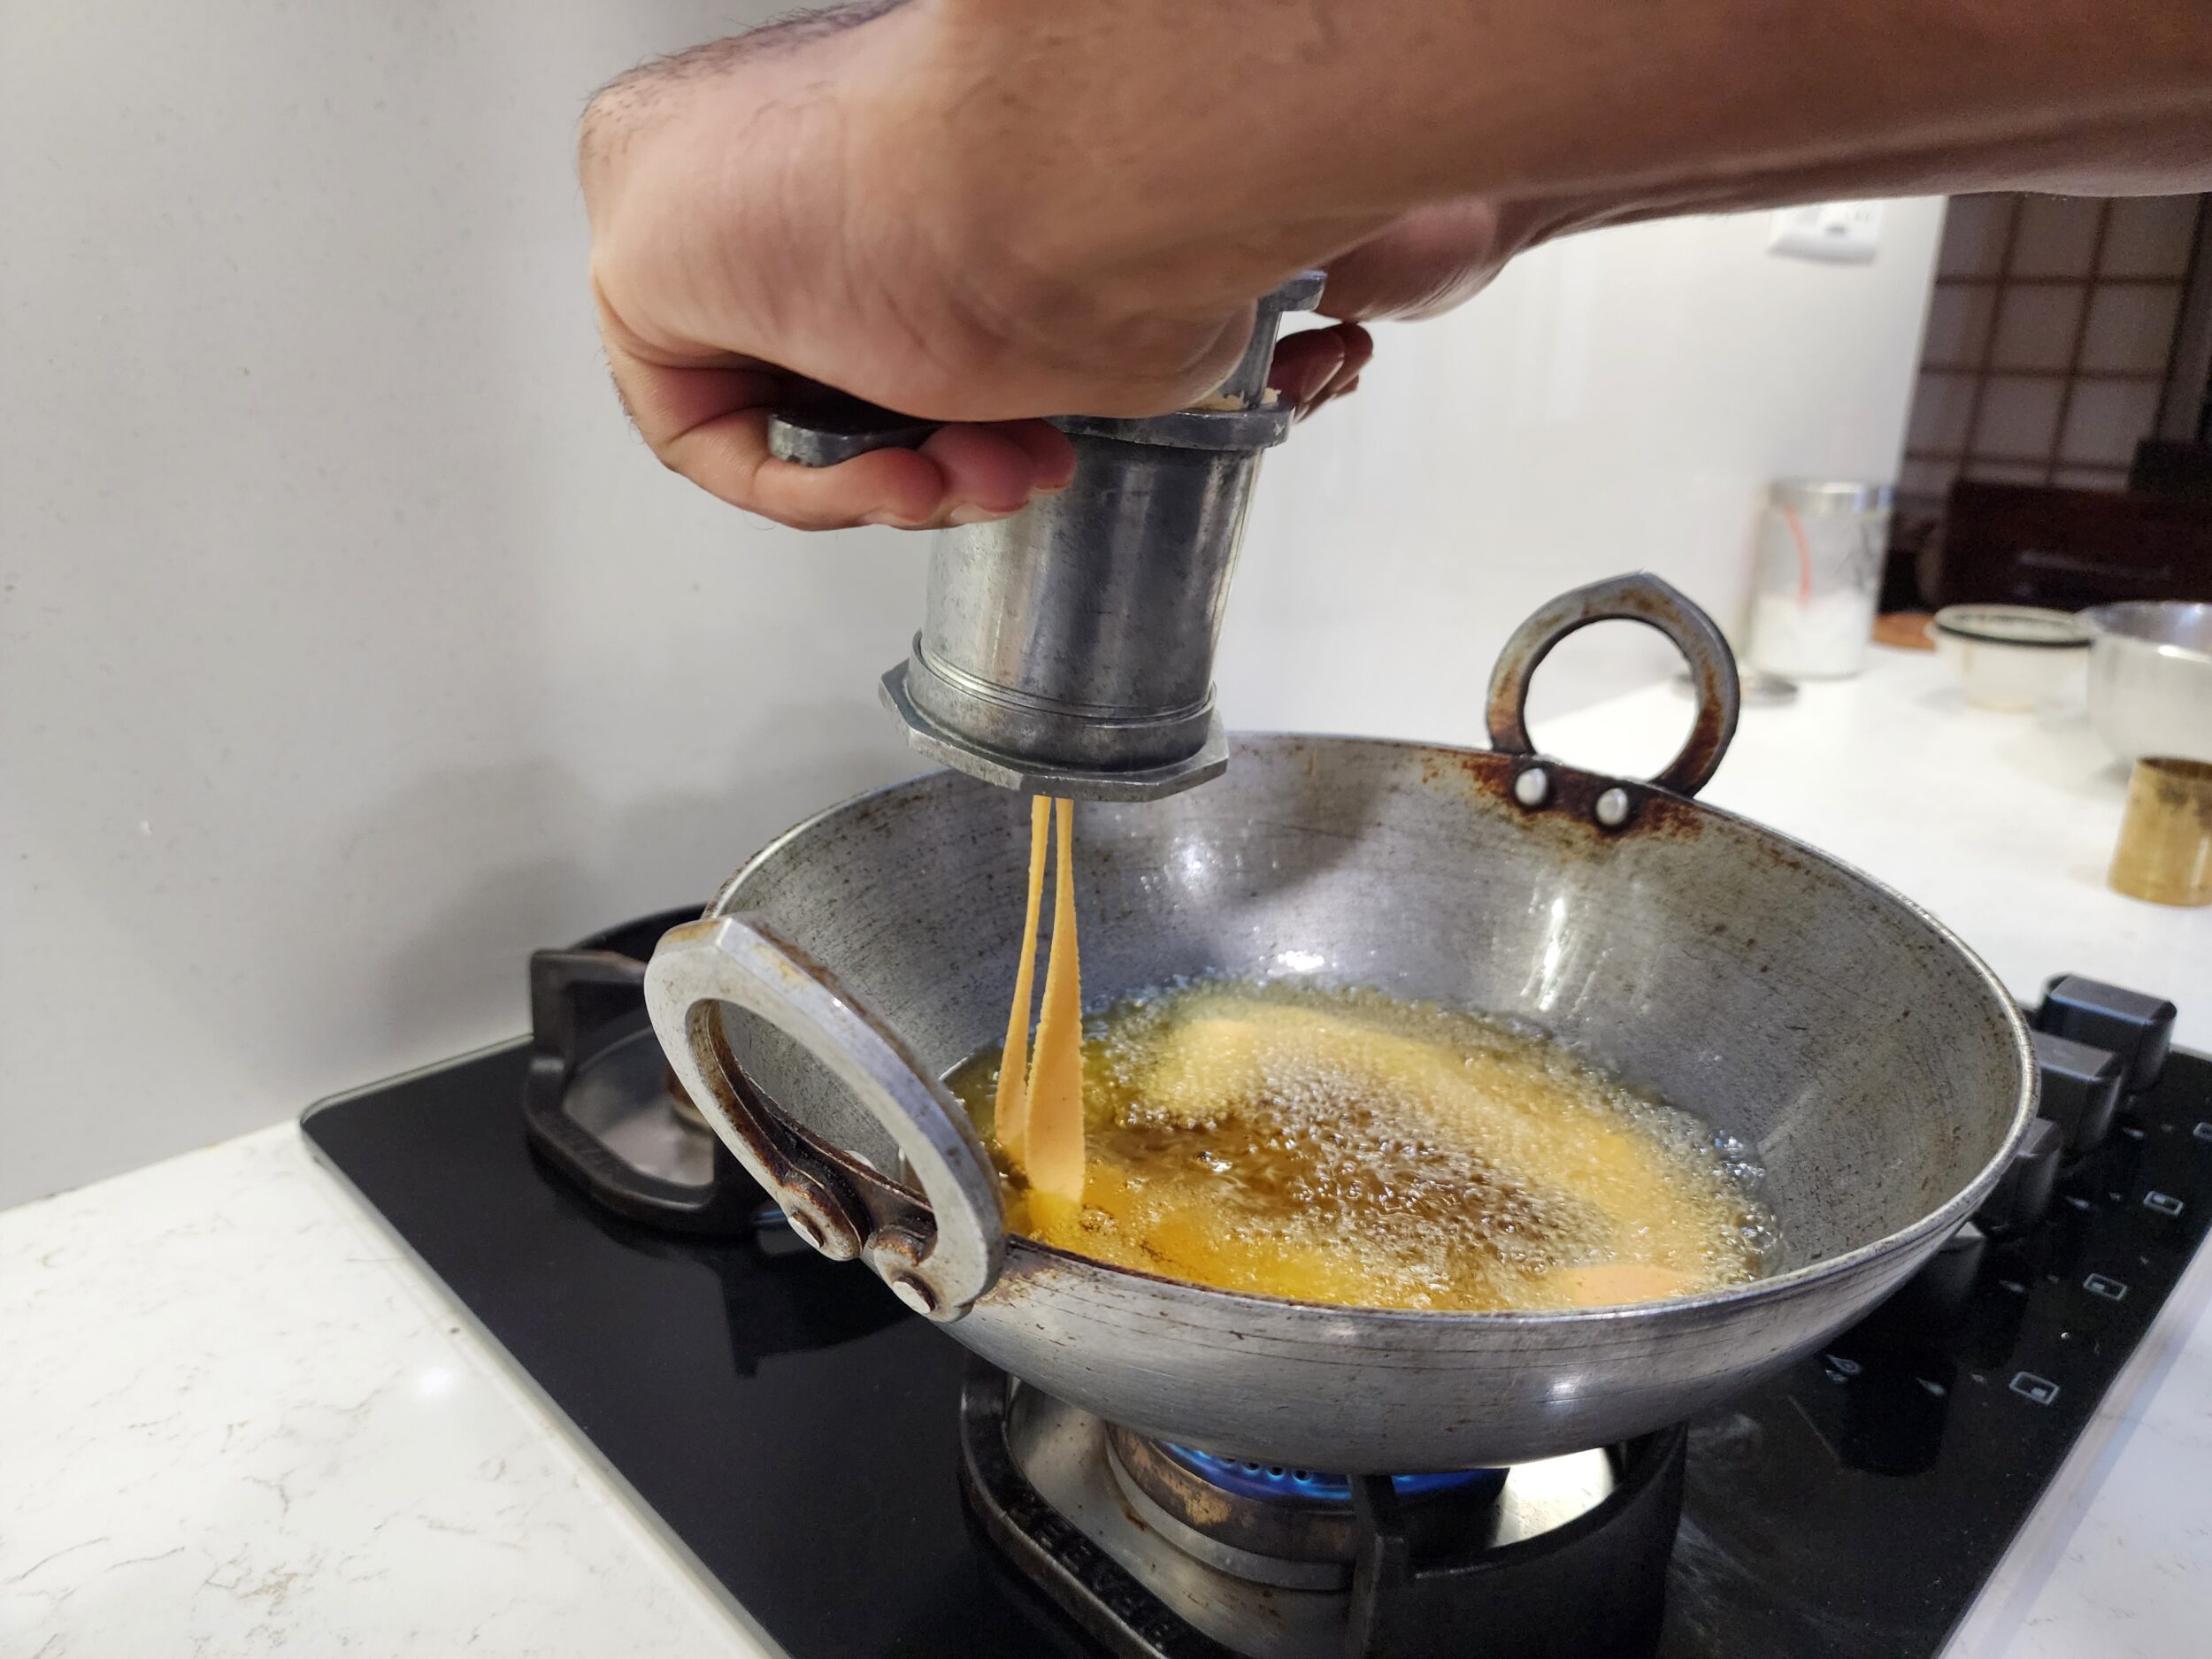
- Make sure to use this mould in the chakli maker. Also note to keep the uneven edge towards the inside of the chakli maker. This is important to get smooth edges in ribbon pakoda.
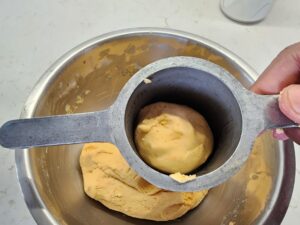
- Take a portion of the dough and transfer to the chakli maker.
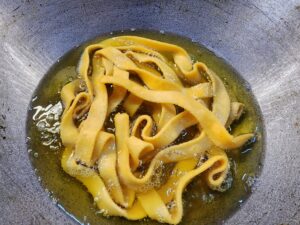
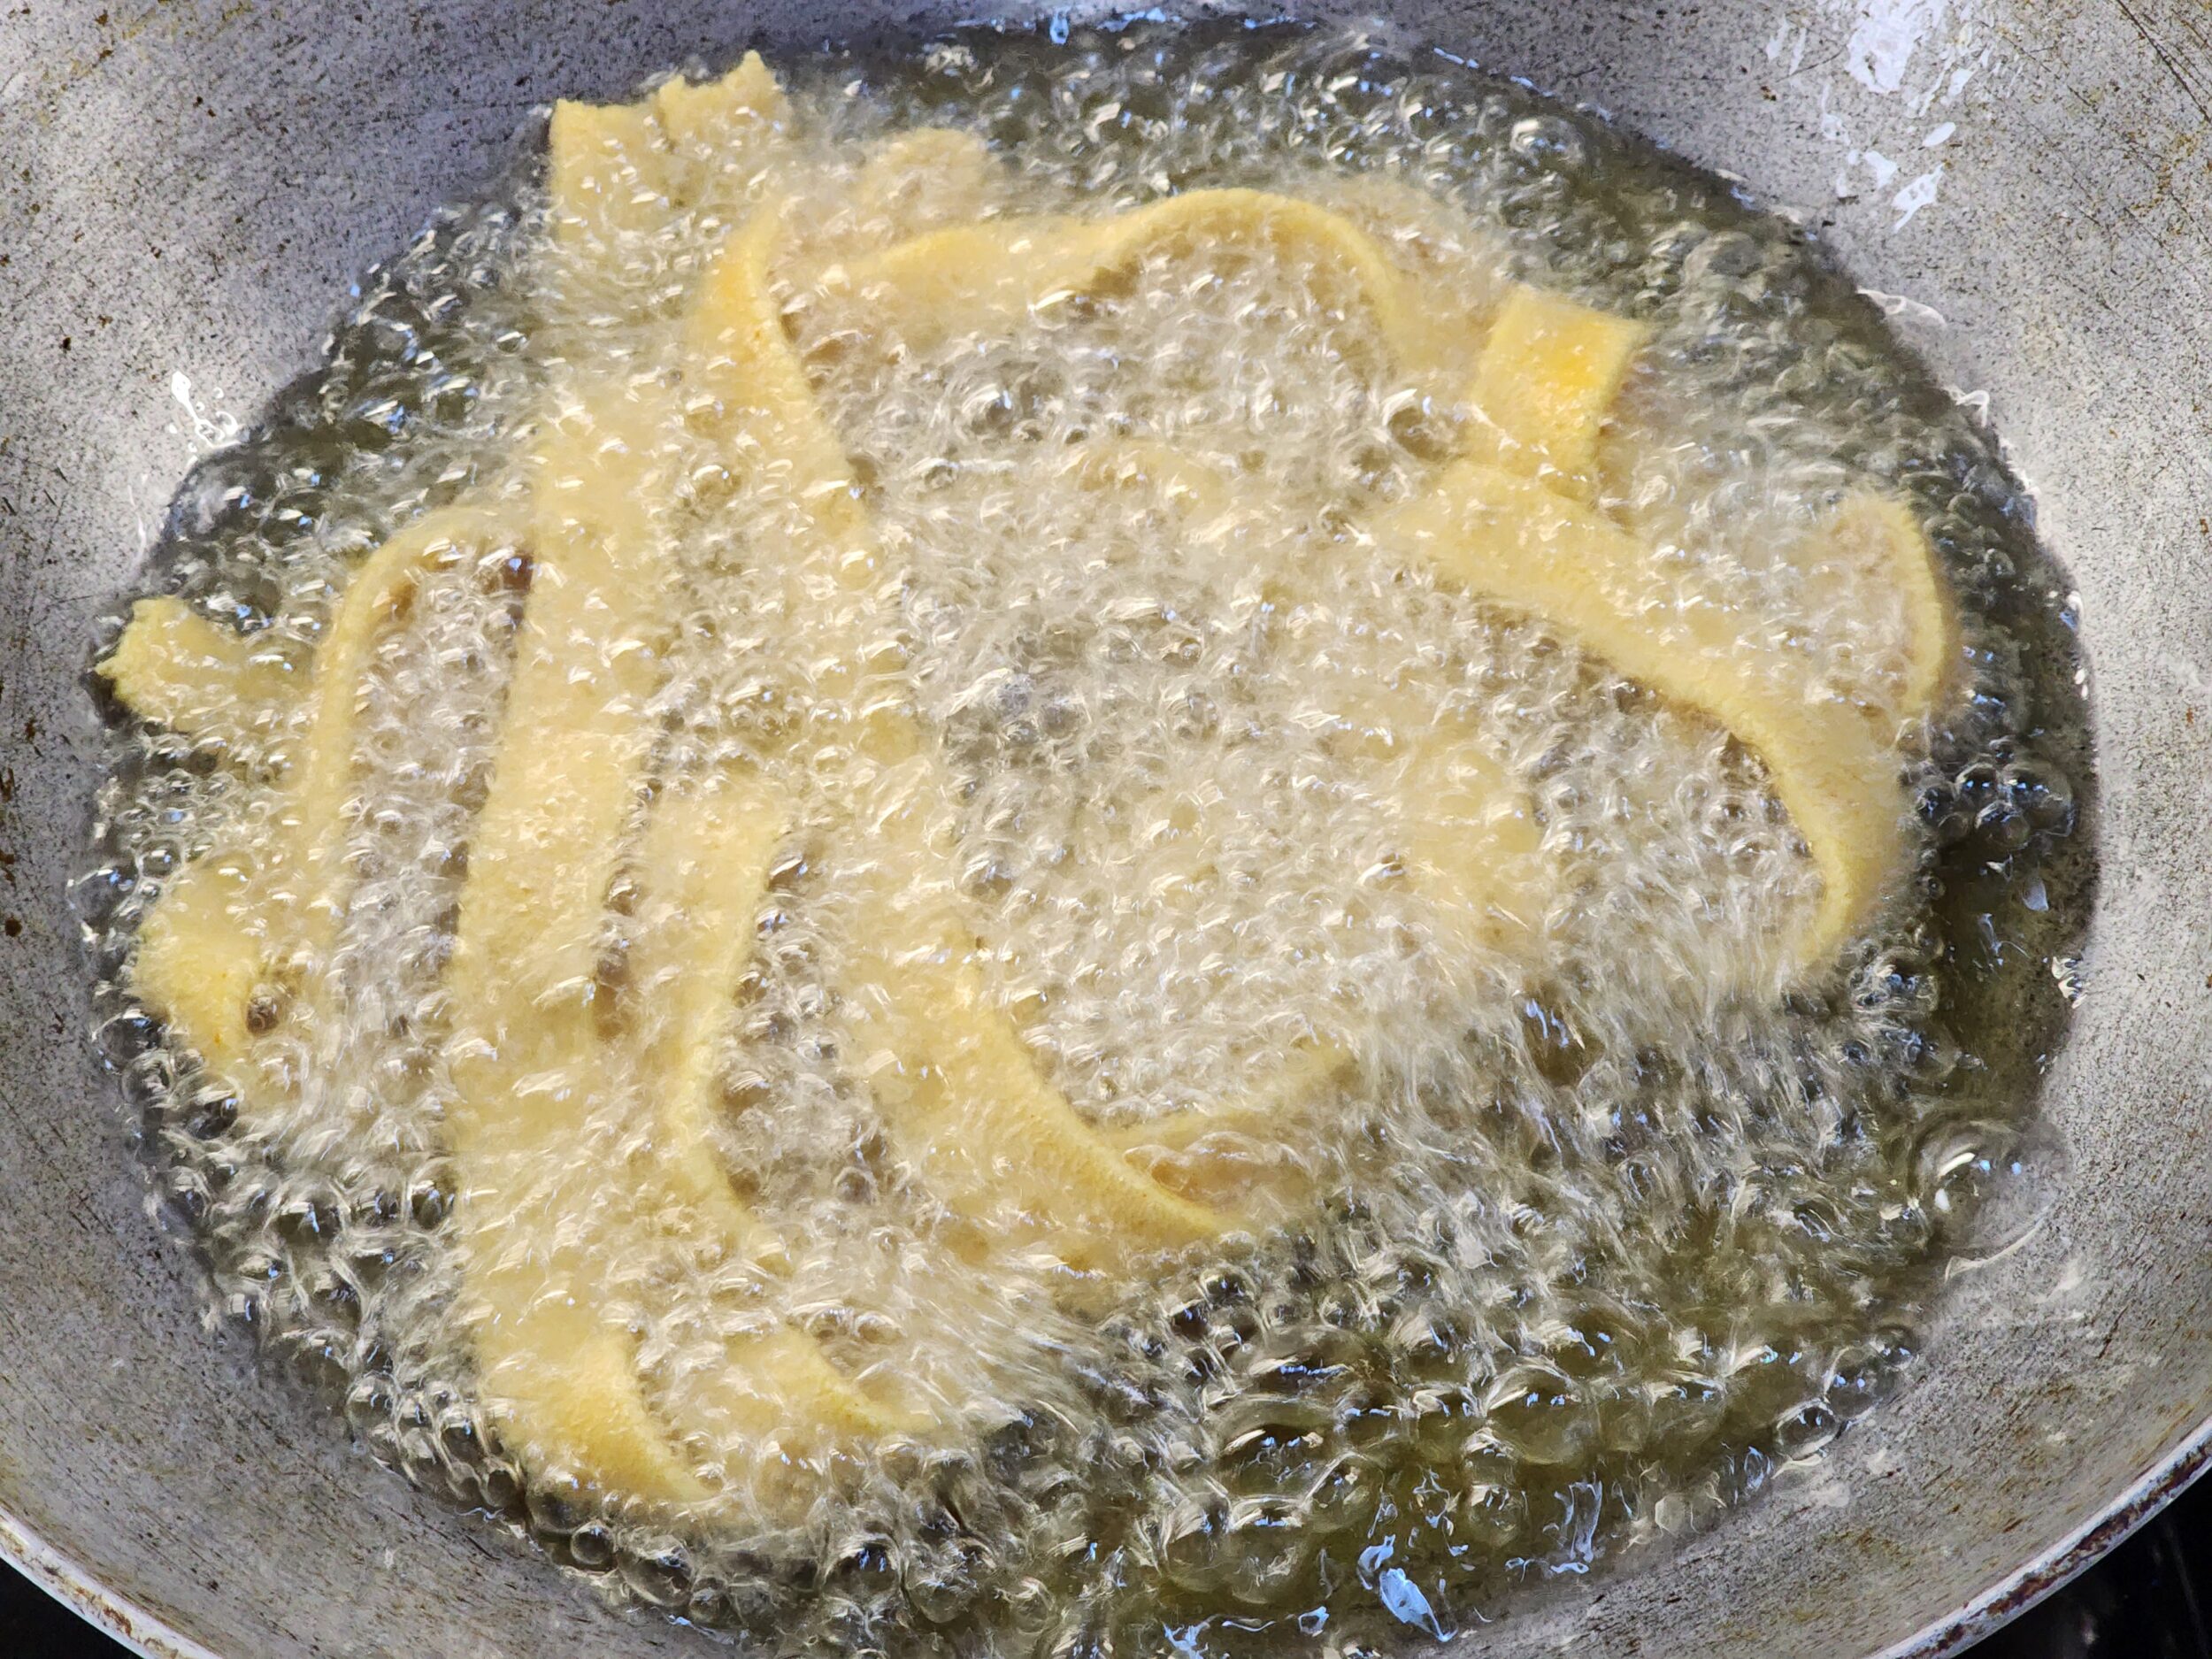
- Squeeze ribbon pakoda from chakli maker directly over hot oil. Keep the gas flame medium to low while squeezing.

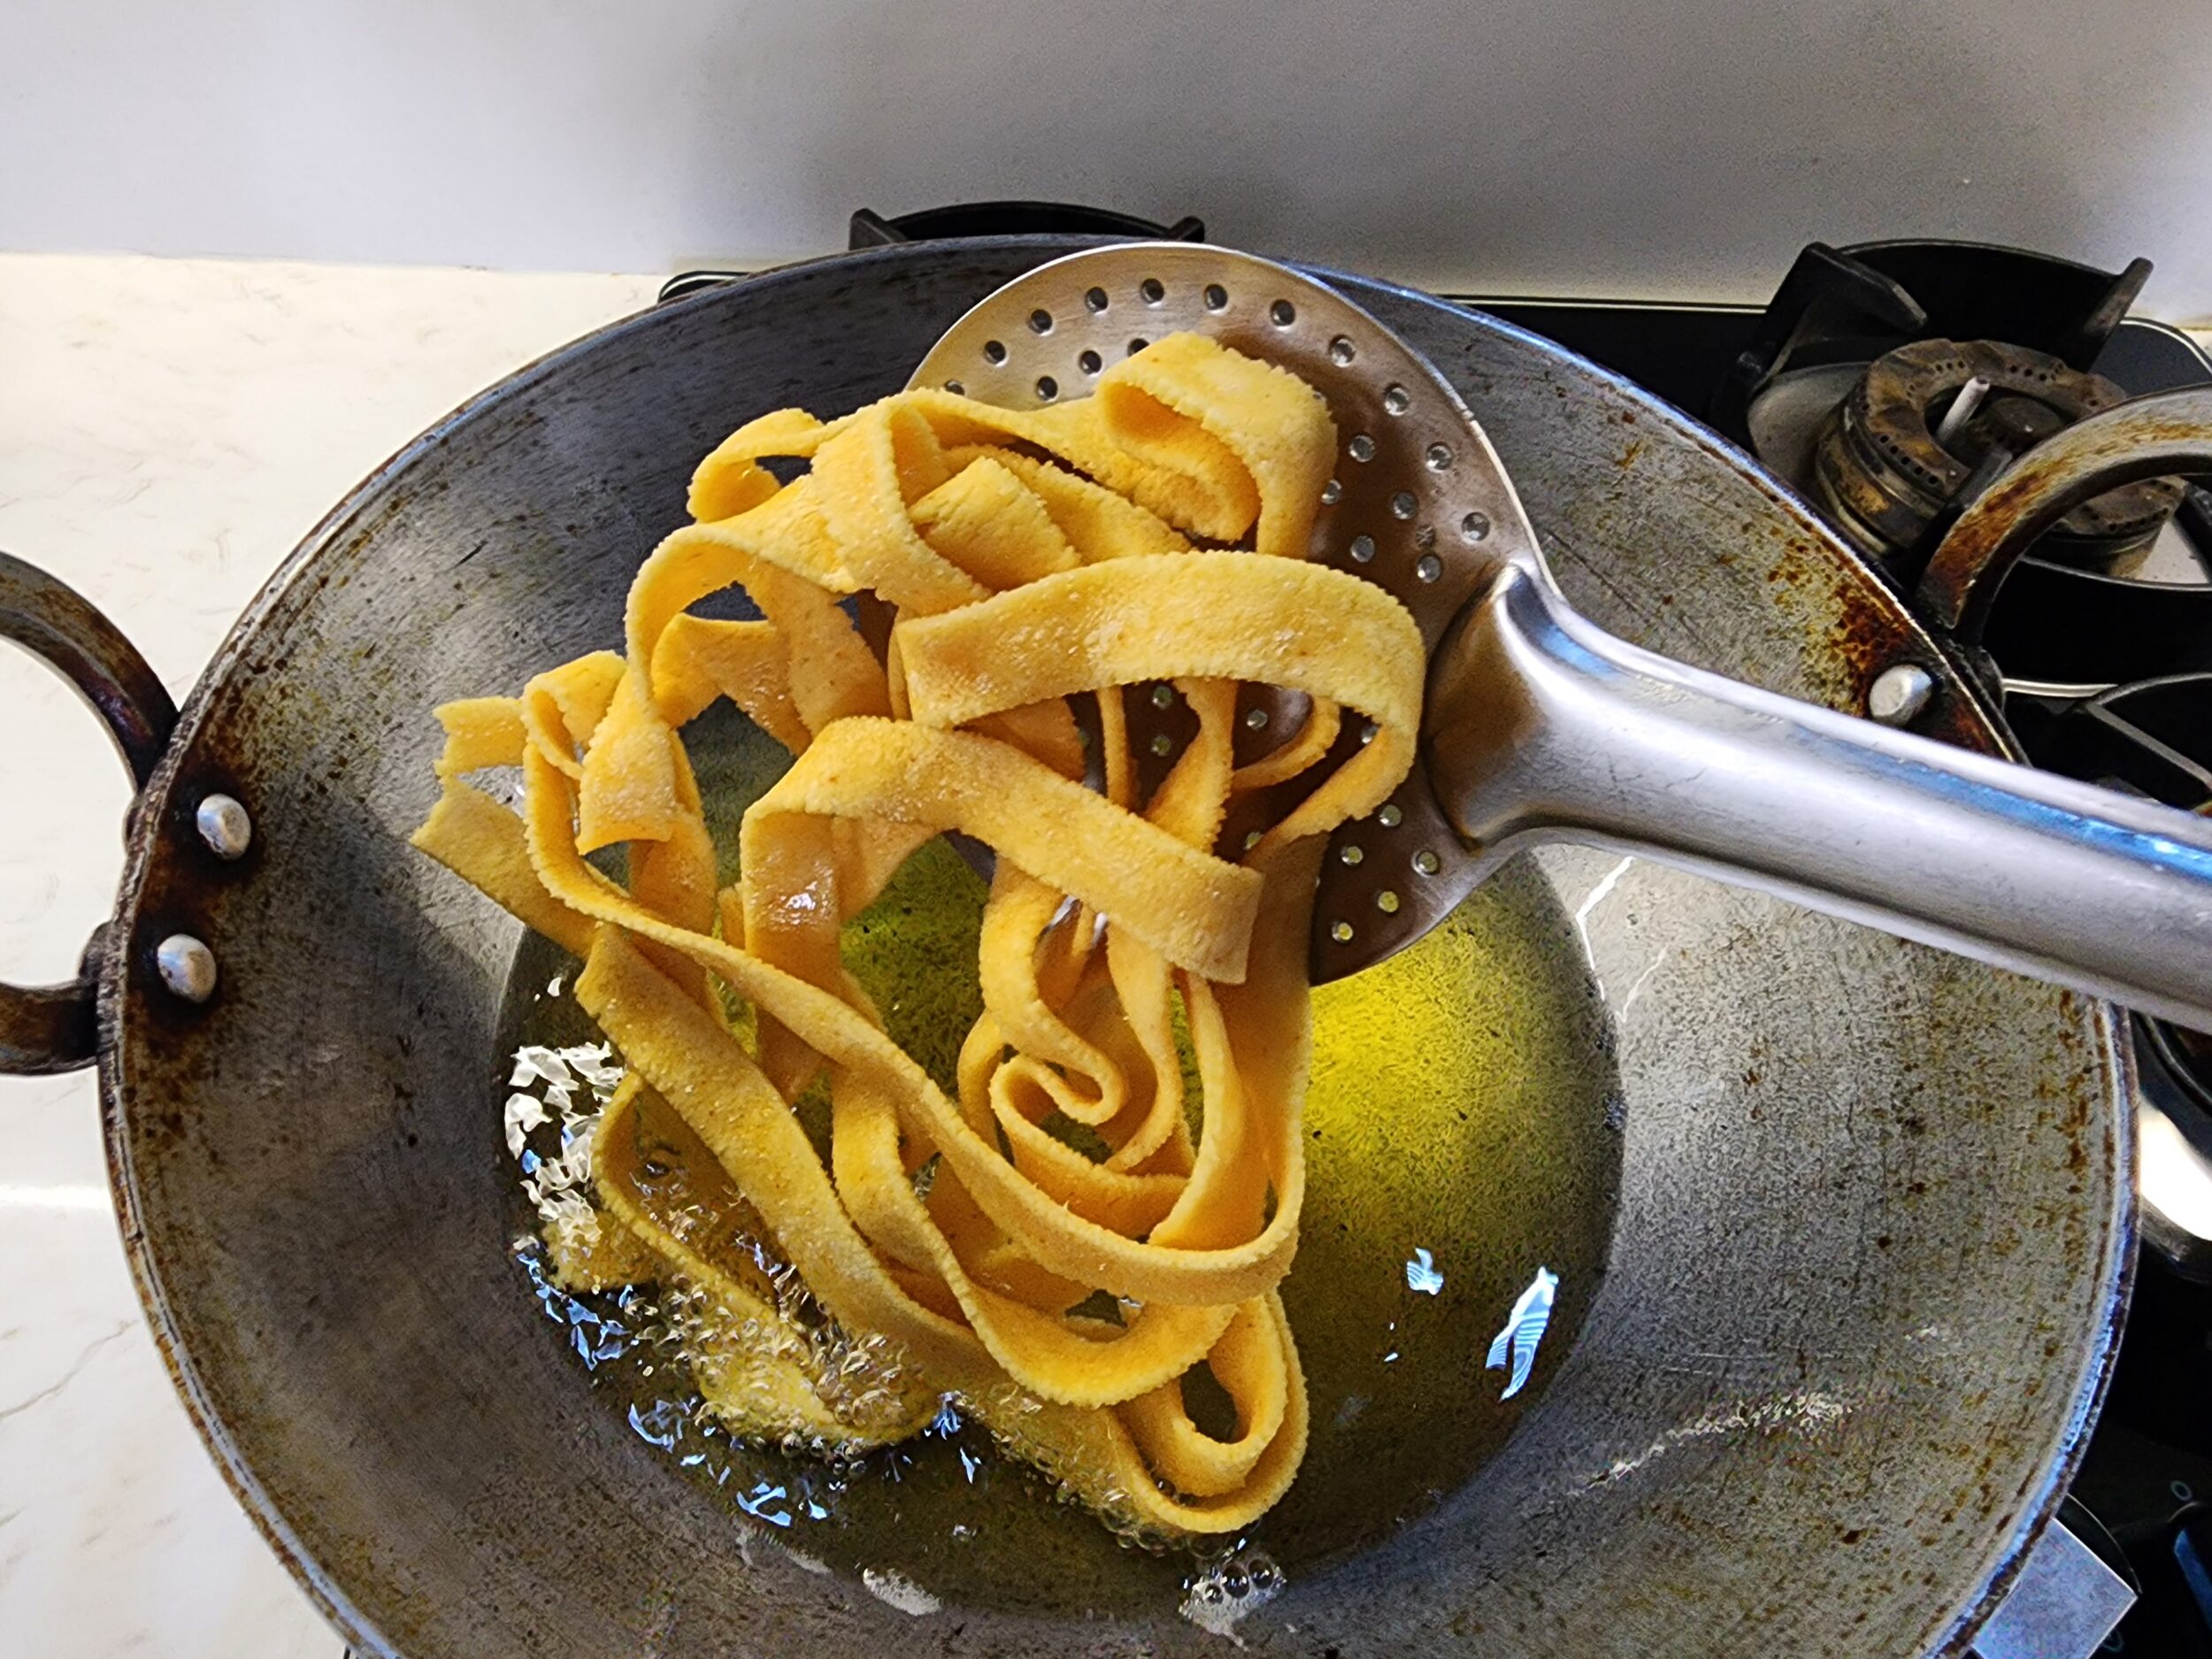
- Cook ribbon pakoda in medium flame till one side is done.

- Flip over and cook the other side as well on medium flame.
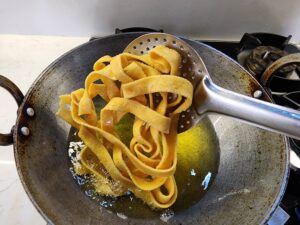
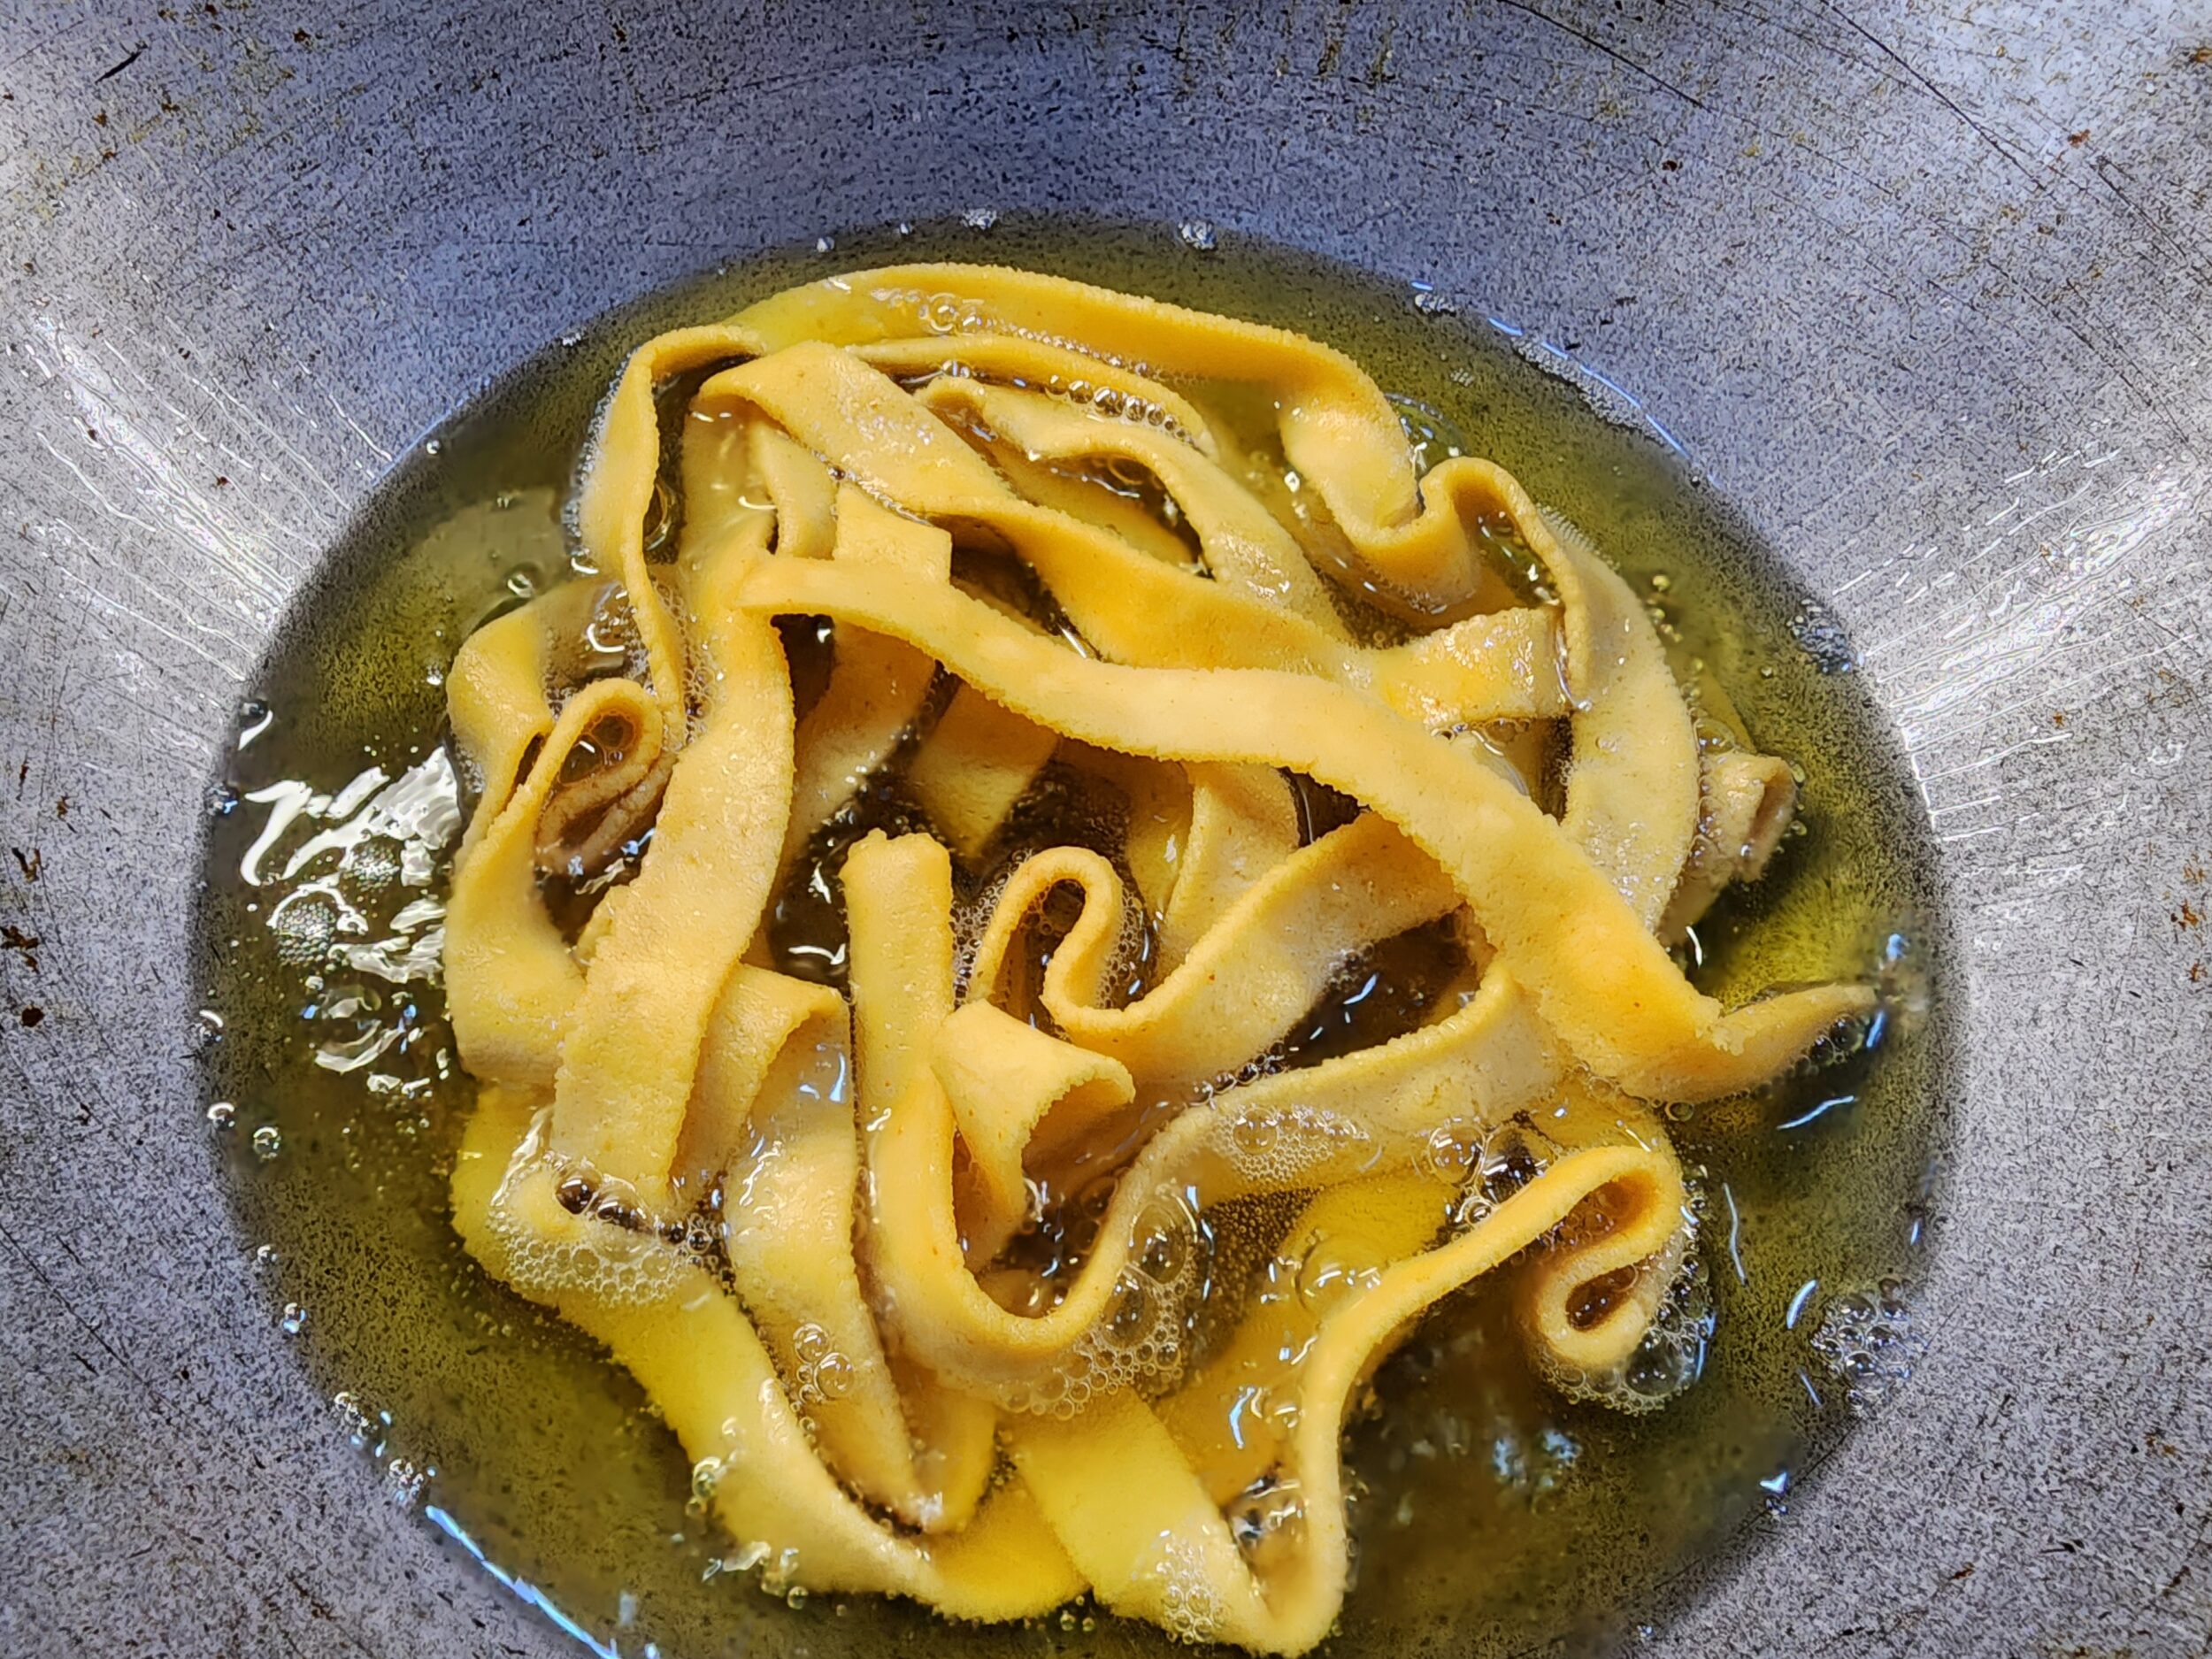
- Ribbon pakoda is cooked once the bubbles settle down completely.
- Transfer to a draining plate. Continue making the remaining ribbon pakodas

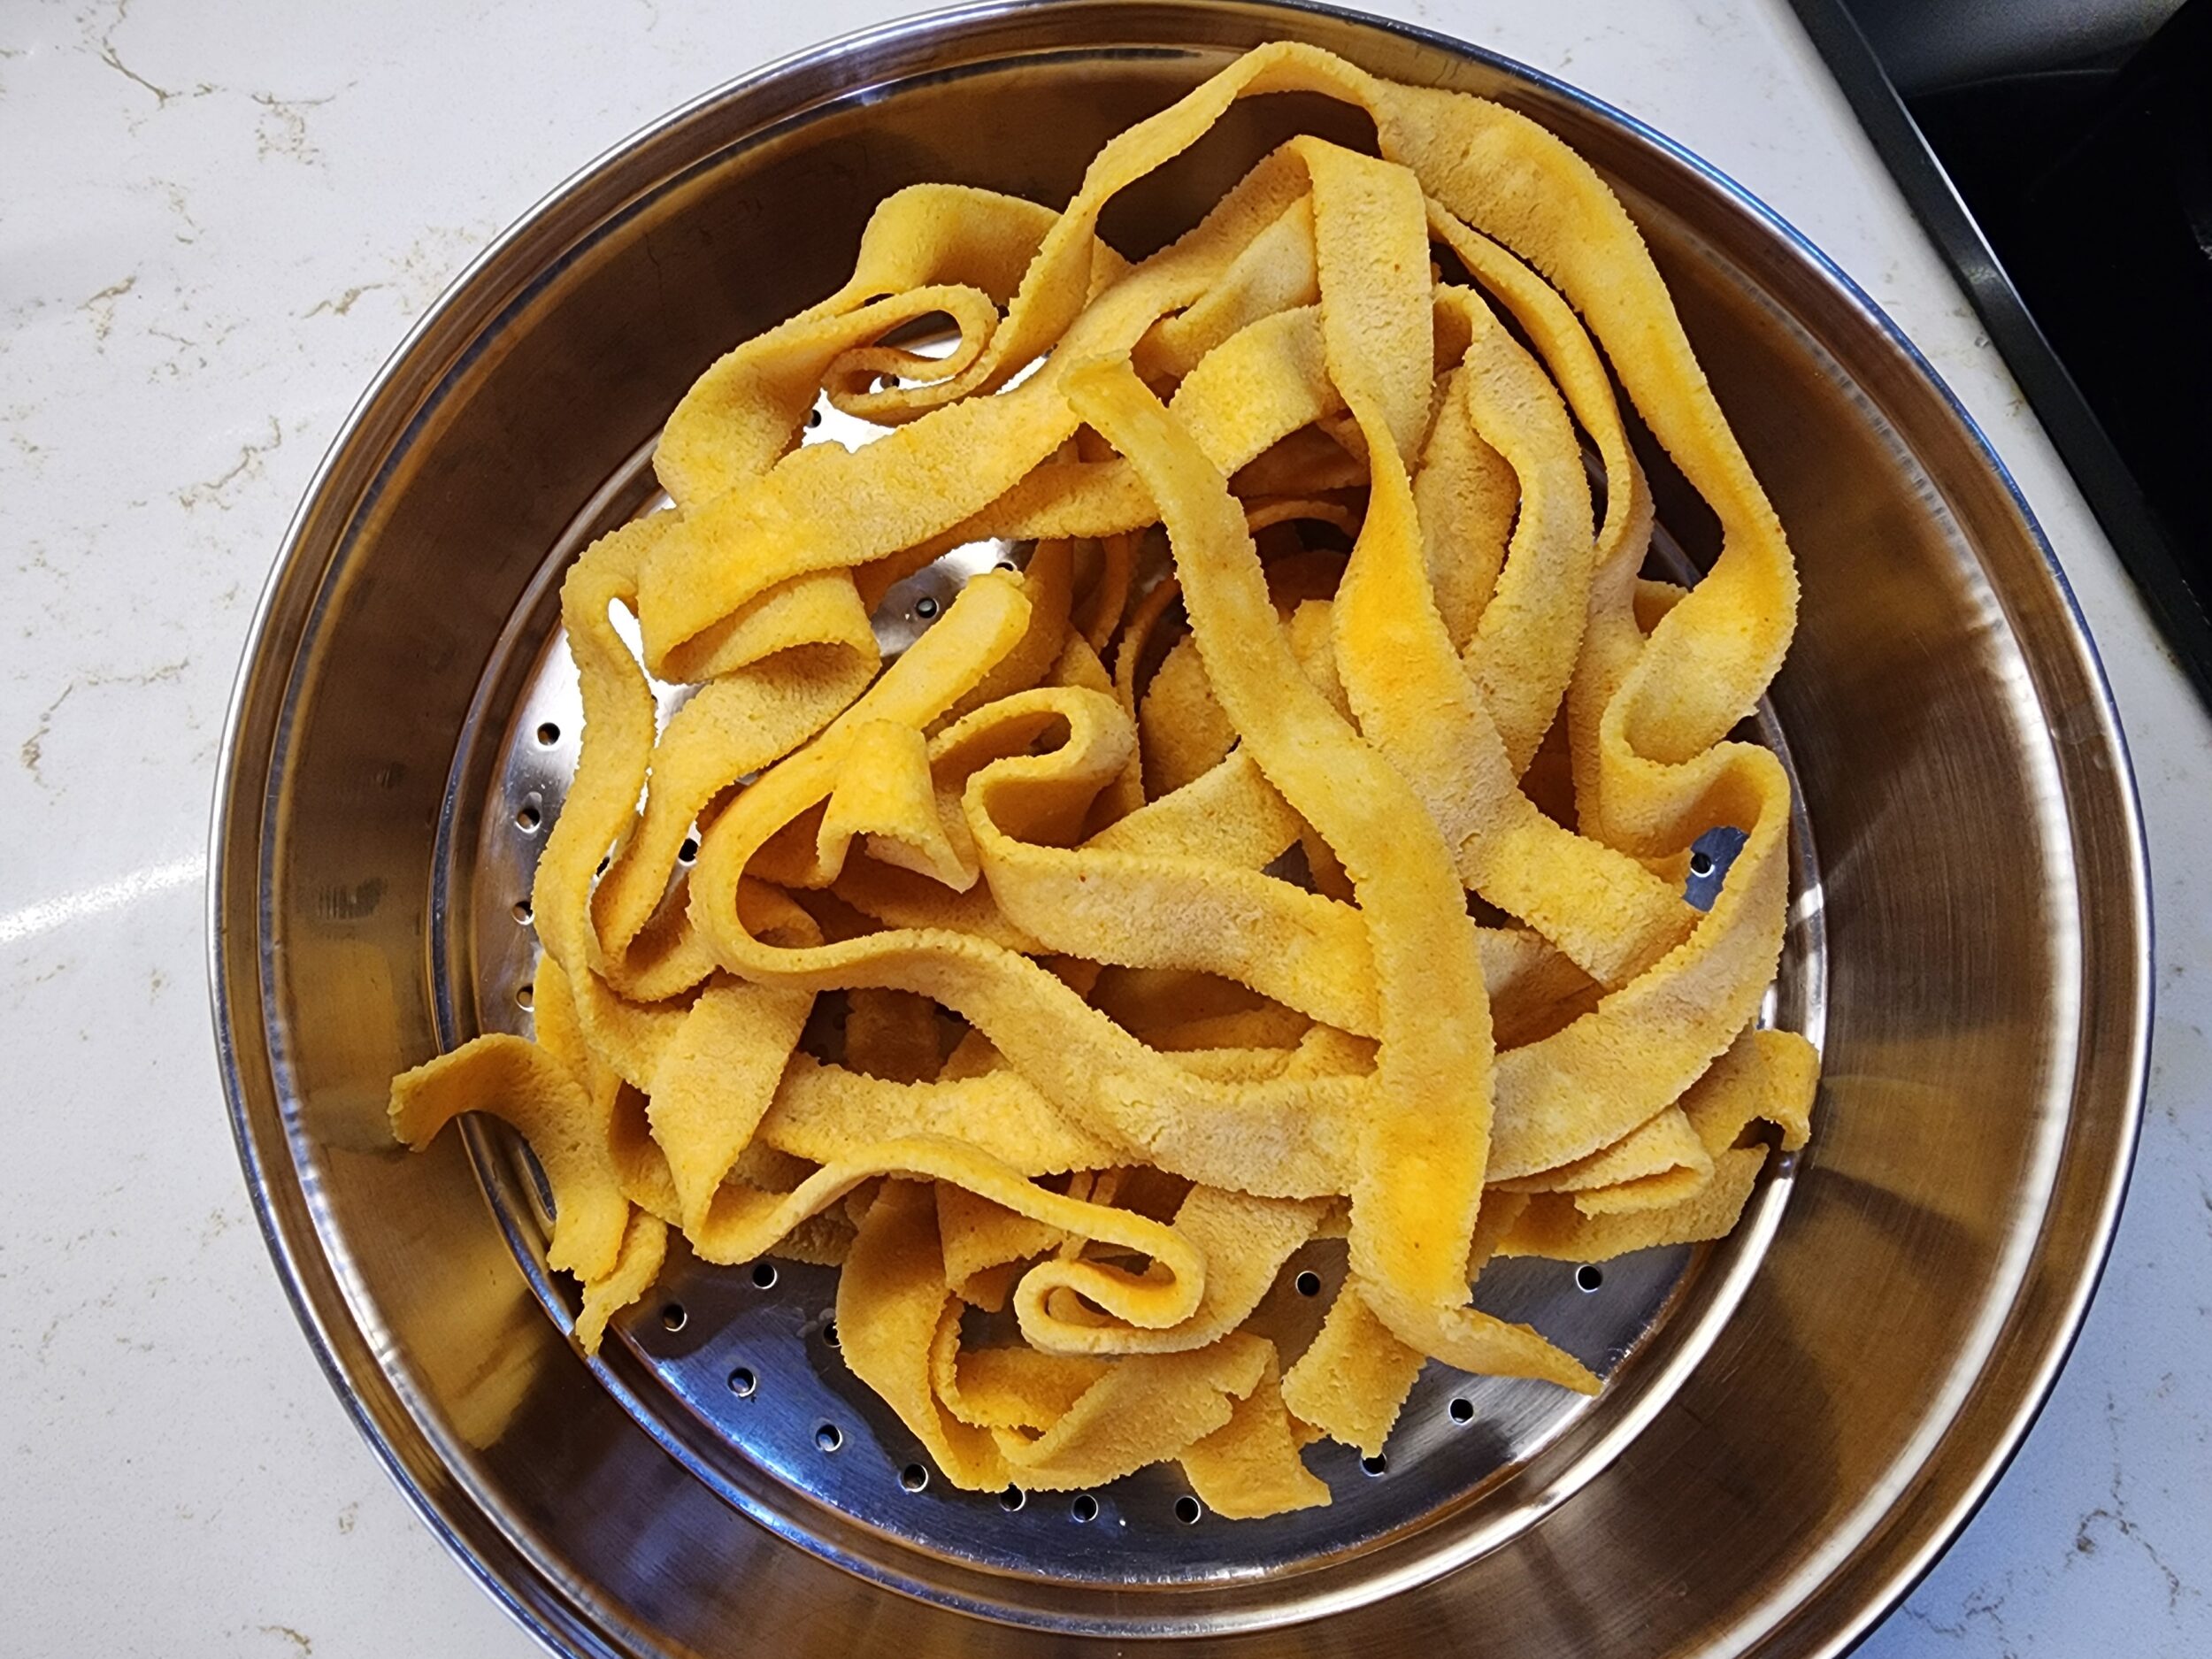
- Let the ribbon pakoda cool completely before transferring to an airtight container.


Notes
- It is always best to sieve the flour to get rid of any impurities before deep frying
- You can either use store bought rice flour like Idiyappam flour or home made flour (soaking the rice, drying and then grinding and dry roasting it)
- Make sure that the dough is not too tight and not too thin. If the dough is tight, it might be difficult to squeeze out of the mould, and you might also not get a continuous flow.
- Always cook ribbon pakoda in medium flame to ensure they are cooked through evenly.
- Ribbon pakoda is cooked once the bubbles in oil subside completely. Do not cook any further, as it might introduce a burnt taste.
- Ribbon pakoda continues to change colour once taken out of oil.
- Let the ribbon pakoda come to room temperature before transferring to airtight container. Else the residual heat can make it soggy.
If you liked this recipe or have tried it, please rate the recipe below and leave your valuable feedback and suggestions. Also, please share this recipe with your friends and family!